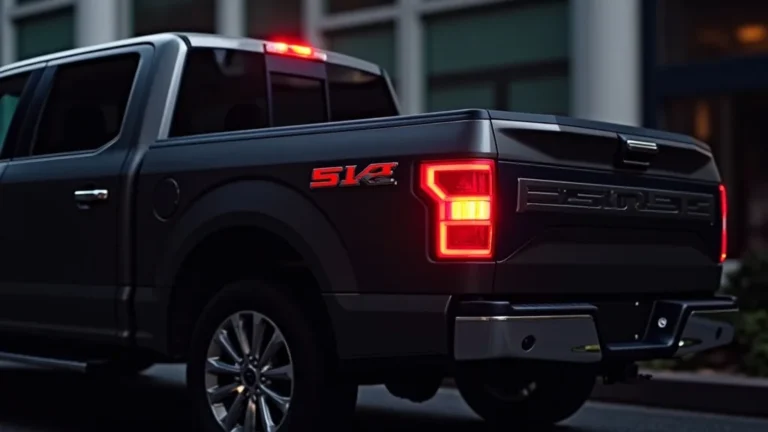
F150 Third Brake Light Leak: Causes and How to Fix It
A f150 third brake light leak is a common problem for many Ford F150 owners. If you’re new to car repairs, it might seem tricky to handle water leaks. But don’t worry! This guide will break down the causes of this issue and give you a simple, step-by-step solution to get things fixed. We’ll show you exactly how to find the leak and stop it, so you don’t have to stress about water getting into your truck. Let’s get started and solve this problem together.
Identifying the Root of the F150 Third Brake Light Leak
The first step in fixing a f150 third brake light leak is to figure out where the water is coming from. Water often gets in through the third brake light, which is mounted on the back of the cab. This light is exposed to the elements, so it’s prone to leaks over time. If you notice water spots on the headliner inside your truck or water trickling down the back window, the third brake light is a likely culprit. Examining the light’s seal and the surrounding area will help pinpoint the exact entry point, ensuring a targeted repair. It is essential to address the leak quickly to avoid more extensive damage.
Common Leak Entry Points
Several areas around the third brake light are vulnerable to leaks. The most typical spot is the seal between the light housing and the truck’s cab. This seal can deteriorate over time because of exposure to sunlight, temperature changes, and general wear and tear. Another area to check is the mounting hardware, such as the screws that hold the light in place. If these screws are loose or if their holes are damaged, water can seep in. Also, the light housing itself might have cracks or damage, which is another common cause of leaks.
- Seal Degradation: The rubber or foam seal around the third brake light can dry out, crack, or compress over time. This loss of elasticity creates gaps that allow water to enter the truck bed and headliner area. The constant exposure to weather accelerates this process.
- Loose Mounting Screws: Over time, vibrations from driving can loosen the screws that secure the third brake light. Loose screws create small openings where water can enter. Regularly checking these screws can prevent many third brake light leaks.
- Housing Cracks: The plastic housing of the third brake light can develop cracks from sun exposure or impacts. Even tiny cracks can allow water to seep in, especially when combined with a degraded seal. Inspecting the housing for damage is important during maintenance.
- Wiring Harness Entry Points: The area where the wiring harness enters the cab can be another area where leaks occur. The rubber grommet or sealant around the wires might degrade, creating an entry point for water.
Tools You Will Need
Gathering the right tools beforehand makes the repair process go much smoother. You won’t need anything too fancy, but having the correct tools can save time and frustration. The primary tools required include screwdrivers or a socket set for removing the third brake light, a scraper to clear away any old sealant, and a cleaning agent to prepare the surface. Fresh sealant and a replacement third brake light assembly, if necessary, are also critical. Keeping these items ready will help ensure a successful repair.
- Screwdrivers or Socket Set: You will need these to remove the screws holding the third brake light in place. The size and type of screwdriver or socket will depend on your truck model. Make sure you have the correct size to prevent stripping the screws.
- Scraper: Use a scraper to remove the old sealant or adhesive from the truck’s cab. A plastic scraper is often better than metal, as it reduces the risk of scratching the paint. Clean the area thoroughly to ensure a good seal.
- Cleaning Agent: You will need a cleaning agent, like isopropyl alcohol, to clean the surface of the truck cab and the third brake light housing. Clean surfaces help the new sealant stick. Make sure the area is completely dry before applying new sealant.
- New Sealant: Automotive-grade silicone sealant is your best choice for creating a waterproof seal. You can purchase it at any auto parts store. Apply the sealant evenly to the light housing to prevent leaks.
Step-by-Step Guide to Fixing the Leak
Fixing the f150 third brake light leak is a manageable project. Follow this guide to effectively diagnose and resolve the issue. The process involves removing the light assembly, cleaning the sealing surfaces, applying new sealant, and reinstalling the light. Carefully following each step will lead to a successful outcome. The goal is to create a watertight seal that will keep your truck bed dry and prevent further damage.
Removing the Third Brake Light
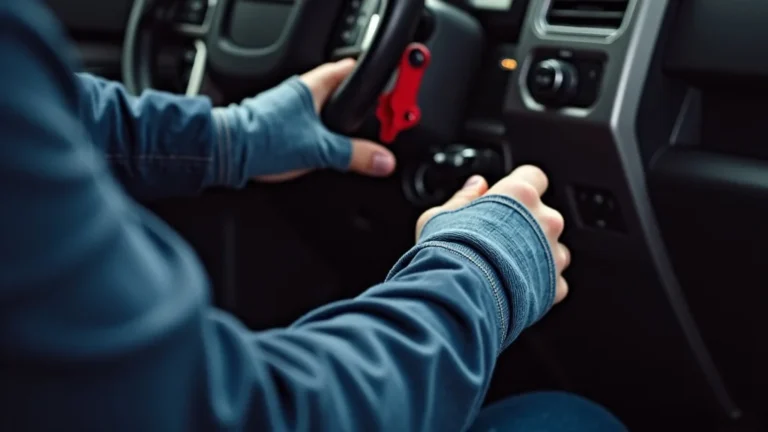
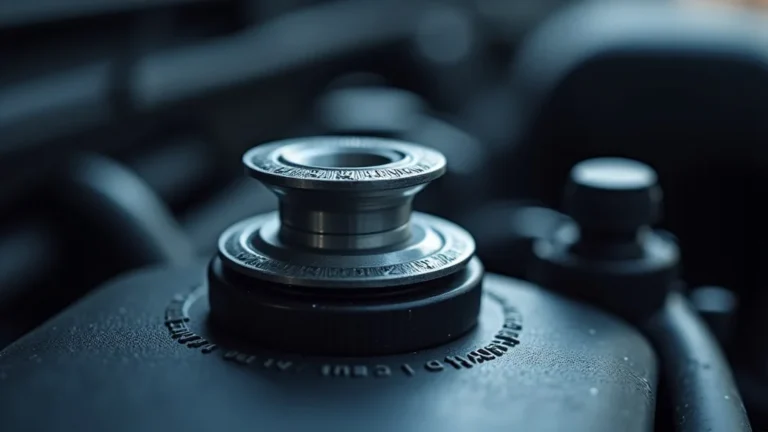
The first step involves removing the third brake light from your F150. Start by opening your truck’s tailgate for better access. Most third brake lights are attached with screws. Find and remove these screws using a screwdriver or socket wrench. Gently pull the light assembly away from the cab. Be careful not to break any wires connected to the light. This part involves the physical separation of the light from the truck.
- Locate the Screws: Find the screws that attach the third brake light to the cab. These are usually visible from the outside, but you may need to open the tailgate for better access. The number of screws can vary depending on the F150’s model year.
- Remove the Screws: Use the correct screwdriver or socket to remove the screws. Place the screws in a safe place where they won’t be lost. If the screws are rusted, apply a penetrating oil beforehand to make removal easier.
- Carefully Detach the Light: Once the screws are removed, gently pull the light assembly away from the cab. Avoid yanking, as the wiring harness is still attached. If the light sticks, gently pry it loose using a plastic trim tool to prevent damage.
- Disconnect the Wiring Harness: Detach the electrical connector for the brake light. Some connectors have a small clip that needs to be pressed or squeezed to release them. Handle the wires carefully to avoid damage, and note the connector’s position for reinstallation.
Cleaning and Preparing the Surfaces
Cleaning is an important step to ensure a good seal. Remove all old sealant, using a scraper or plastic razor blade. Clean the area where the light sits on the cab thoroughly with a cleaning agent. This removes dirt, grease, and any remaining old sealant residue. Let the cleaned surfaces dry completely before applying new sealant. The aim is to create a clean surface for the new sealant to adhere properly, ensuring a watertight seal.
- Scrape Away Old Sealant: Use a scraper to remove the old sealant or adhesive from the surface of the cab where the brake light sits. Work carefully to avoid scratching the paint. A plastic scraper is a good choice to minimize damage.
- Clean the Cab Surface: Use a cleaning agent to clean the area. This removes any remaining dirt, grease, or old adhesive residue. Make sure the surface is clean to provide an ideal surface for the new sealant.
- Clean the Light Housing: Clean the surface of the third brake light housing where the sealant will be applied. This is also important for the sealant to properly bond. A clean light housing ensures a reliable seal.
- Allow to Dry Completely: After cleaning, let the surfaces dry completely before applying new sealant. Moisture can interfere with the sealant’s effectiveness. Allow for adequate drying time to ensure the new seal functions as designed.
Applying New Sealant
Applying the new sealant is the most important part of stopping the leak. Use an automotive-grade silicone sealant. Apply a consistent bead of sealant around the perimeter of the third brake light housing. Make sure the bead is thick enough to fill any gaps but not so thick that it squeezes out excessively when the light is reinstalled. Proper application ensures the seal is waterproof, preventing water from getting into your truck bed and headliner.
- Choose Automotive-Grade Sealant: Select a high-quality, automotive-grade silicone sealant. These sealants are formulated to withstand weather exposure, temperature changes, and vibration. This will ensure durability and effectiveness.
- Apply a Consistent Bead: Apply a consistent bead of sealant around the entire perimeter of the third brake light housing. Make sure the bead is uniform to ensure a complete seal. A good application is key to preventing leaks.
- Avoid Over-Application: Avoid applying too much sealant, as it can squeeze out excessively when the light is reinstalled. A slightly thicker bead will fill any imperfections, but excess sealant can be messy and unnecessary.
- Ensure Full Coverage: Check that the sealant covers all potential entry points. This includes around the mounting holes and any other openings. Full coverage ensures that the seal will be completely watertight.
Reinstalling the Third Brake Light
Reinstalling the third brake light involves carefully aligning the light with the mounting holes. Make sure the wiring harness is properly connected before securing the light. Carefully position the light assembly and align it with the cab. Reinsert the screws and tighten them, but avoid over-tightening. This can damage the housing or the cab. The proper reinstallation secures the light in place while maintaining a waterproof seal.
- Align and Position: Carefully align the third brake light with the mounting holes on the cab. Make sure the light sits correctly and that the wiring harness can reach its connector. Accurate positioning ensures that the light assembly functions correctly.
- Connect the Wiring: Reconnect the electrical connector for the brake light. Ensure that the connector is properly secured. Make sure the connection is snug to avoid any electrical issues.
- Insert and Tighten Screws: Insert the screws and tighten them using the correct screwdriver or socket. Tighten the screws until the light is secure, but avoid over-tightening, as this can crack the plastic housing.
- Check for a Tight Seal: Once the light is reinstalled, visually inspect the area around the light to make sure the sealant has created a tight seal. Look for any gaps or areas where water could potentially enter. A thorough check confirms the repair’s effectiveness.
Addressing Specific F150 Third Brake Light Leak Issues
Besides general causes, certain models or years of the F150 have unique issues. Some trucks have a common leak point at the mounting hardware. Other models may have a design flaw with the light housing itself. Recognizing these specific issues can lead to a more effective solution. Knowing these details can guide your troubleshooting and repair efforts. Addressing the specific model’s issues can prevent recurring problems.
Model-Specific Challenges
Certain F150 models or years are prone to distinct problems. Older models may have rubber seals that are degraded from age and wear. Newer models may have issues related to the design of the light housing. For instance, the shape of the light or the location of the mounting points may contribute to leaks. Identifying these model-specific challenges can tailor your approach to the repair. Tailoring the approach to the model ensures a thorough and long-lasting solution.
- Older Models: Older F150 models often have rubber seals that have dried out and cracked. Inspecting the seals carefully and replacing them with new, high-quality seals is important. Proper seal replacement will ensure a watertight barrier.
- Newer Models: Newer models may have design-related issues with the light housing. Check for any known issues with the specific model year, like mounting hardware that isn’t robust or housing imperfections.
- Corrosion Around Screws: Some models experience corrosion around the screw holes. Removing and cleaning the area before reinstalling the light is essential to create a better seal. Proper maintenance prevents further deterioration.
- Housing Material Degradation: Over time, the plastic housing of the third brake light can degrade due to exposure to sunlight and extreme temperatures. Inspect for any cracks or warps in the housing. Replace the housing if necessary to maintain its structural integrity.
Diagnosing and Troubleshooting
Thorough diagnosis and troubleshooting are essential to identifying the true source of the leak. First, examine the light assembly for cracks or damage. Next, inspect the seal between the light housing and the cab. Check the mounting screws to see if they’re loose or damaged. If you find water stains inside the cab, track where the water is coming from. Taking these steps helps pinpoint the exact cause of the leak and ensures an effective repair.
- Visual Inspection: Start with a visual inspection of the third brake light housing. Look for cracks, damage, or any signs of deterioration. This can indicate where the water is entering the system. Identify any obvious damage to the housing.
- Water Test: Pour water over the third brake light while observing the inside of the cab. This can help you identify the exact point where the water is entering. Use this simple test to locate the leak’s source directly.
- Check Mounting Screws: Check the mounting screws to see if they are loose or if they have corroded. Loose screws or corrosion can create entry points for water. Replace corroded screws and tighten to stop leaks.
- Inspect the Seal: Carefully examine the seal between the light housing and the cab for any signs of damage or wear. Cracks or degradation in the seal can cause leaks. Replace the seal to fix the leak.
Case Studies: Successful Repairs
Learning from real-world examples can provide valuable insights. One case involved an F150 owner who found water leaking into their truck bed. After removing the third brake light, they found that the seal was completely deteriorated. By cleaning the area, applying fresh sealant, and reinstalling the light, they successfully stopped the leak. Another case involved an owner who discovered cracked housing. Replacing the assembly solved the problem. These examples show how applying a methodical approach can yield successful repairs.
- Case Study 1: Seal
- Case Study 2: Housing Replacement: A 2015 F150 owner noticed water accumulating in the truck bed. The inspection found a cracked light housing. After replacing the entire third brake light assembly, the owner successfully fixed the leak. Replacing the housing offered a complete, lasting fix.
- Case Study 3: Screw
Frequently Asked Questions
Question: How often should I inspect my F150’s third brake light?
Answer: Inspect your third brake light at least twice a year, or more frequently if you live in an area with harsh weather conditions like extreme heat or cold. Check for any signs of cracking, wear, or water stains around the light.
Question: Can I use any sealant to fix a third brake light leak?
Answer: It is important to use automotive-grade silicone sealant. Other sealants might not withstand weather exposure and temperature changes, and could lead to leaks. Automotive-grade sealant will provide a durable, waterproof seal.
Question: Do I need to replace the entire third brake light assembly?
Answer: Not always. If the housing is not cracked or damaged, you may only need to replace the seal and apply fresh sealant. However, if the housing is damaged, replacing the entire assembly is best to ensure a complete fix.
Question: How can I tell if the water leak is coming from the third brake light?
Answer: Check for water stains on the headliner, water dripping down the back window, or water pooling in the truck bed. The location of these signs will often align with the position of the third brake light. Also, pouring water over the light can help identify the leak’s origin.
Question: What’s the best way to clean the surface before applying sealant?
Answer: Use a cleaning agent, such as isopropyl alcohol, and a clean cloth to remove any dirt, grease, or old sealant residue. Ensure the surface is completely dry before applying the new sealant. This will help the new sealant bond effectively.
Final Thoughts
Fixing a f150 third brake light leak is a manageable project. By identifying the root cause of the leak, gathering the right tools, and following the steps in this guide, you can successfully address this common problem. Remember to inspect the light housing, clean the surfaces, apply a fresh sealant, and reinstall the light properly. This will keep your truck bed dry and prevent further water damage. With some basic tools and a bit of patience, you can ensure your F150 stays in great shape. Don’t wait until a small leak turns into a big problem: Take action now and keep your truck protected!