How to Stop F150 Rattling Noise for a Smoother Ride
If you own an F150, you might have experienced it: that annoying rattling noise. Figuring out how to stop f150 rattling noise can feel tricky, especially if you’re new to car repairs. Don’t worry, it’s often something simple. This guide will help you step-by-step to track down the cause and fix it. We’ll look at common culprits and give you easy solutions. Let’s get started and make your ride quiet again!
Pinpointing the Source of the Rattling
The first step in addressing any issue, including how to stop f150 rattling noise, is to find out exactly where it’s coming from. This might seem obvious, but it’s important. Rattles can travel, making it seem like the sound is coming from somewhere it’s not. Take your time. It’s important for proper diagnosis. To start, take your truck for a short drive, or ask someone to drive while you listen closely. Turn off the radio and the air conditioning. Focus on when the rattling occurs – during acceleration, braking, over bumps, or at idle. Note the specific circumstances. This information helps narrow down potential causes. Record any observations.
Listening for Clues
When you’re trying to figure out where the noise is coming from, pay close attention to the sound itself. Is it a high-pitched metallic rattle, a lower-frequency thud, or a plastic-on-plastic rubbing sound? The type of sound can give you clues about the origin of the problem. For example, a loose heat shield often produces a metallic rattling noise, especially at certain engine speeds or when driving over uneven surfaces. This information will help determine whether the problem is due to vibrations. Also, note the specific areas that the noise seems to be coming from.
- Metal-on-Metal Rattle: This sound often suggests loose or worn components in the exhaust system, suspension, or undercarriage. Check for loose bolts or damaged parts.
- Plastic-on-Plastic Rubbing: This typically points to interior components like trim pieces, dashboards, or door panels. These parts are likely rubbing against each other.
- Low-Frequency Thud: This can be associated with loose items in the bed or cab, like tools or cargo, or worn suspension components. The lower frequency indicates a heavier, or larger, component.
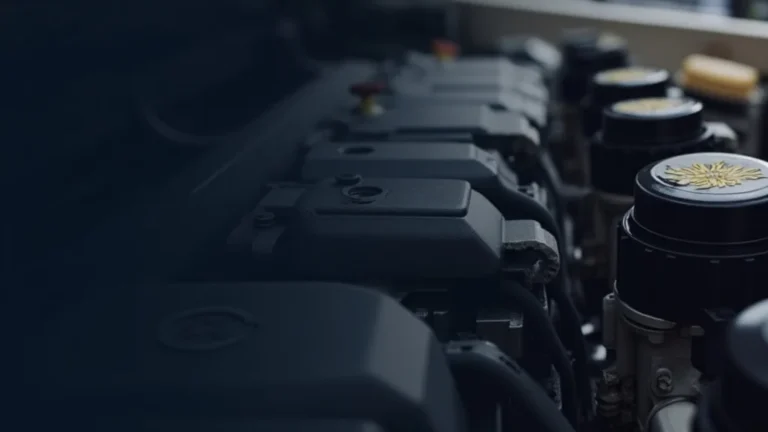
- Engine-Related Noises: Strange noises from the engine compartment, like ticking or knocking, might be related to more complex issues, such as oil pressure, valve train, or spark plugs.
Inspecting the Suspension and Undercarriage
The suspension system is often the source of rattling, particularly when driving over bumps. Inspecting your F150’s suspension and undercarriage is critical when exploring how to stop f150 rattling noise. Start by looking for worn shocks, struts, or damaged components. Also, check for loose parts. These can cause rattling noises. Begin by looking for obvious issues like broken springs or leaking shocks. Also, inspect the sway bar links and bushings. These are common culprits for rattling. Worn bushings allow the sway bar to rattle against other components. Remember to check all the areas. Also, look for signs of rust or damage.
- Visual Inspection: Examine the entire undercarriage, looking for any loose or damaged parts. Pay close attention to the suspension components, exhaust system, and heat shields.
- Sway Bar Links and Bushings: These are frequently damaged and can cause rattling noises. Check the sway bar links for play and the bushings for wear or cracking.
- Shock Absorbers and Struts: Look for any signs of leaking fluid, which may indicate that the shock absorbers or struts are failing. Also, try pushing down on each corner of the truck and observing how the suspension behaves. If there is a rattling noise during this, it may suggest a loose shock or strut.
- Exhaust System Inspection: Check the exhaust system for loose connections or damaged heat shields. Exhaust system vibrations can often cause rattling noises, especially at specific engine speeds or when driving over rough surfaces.
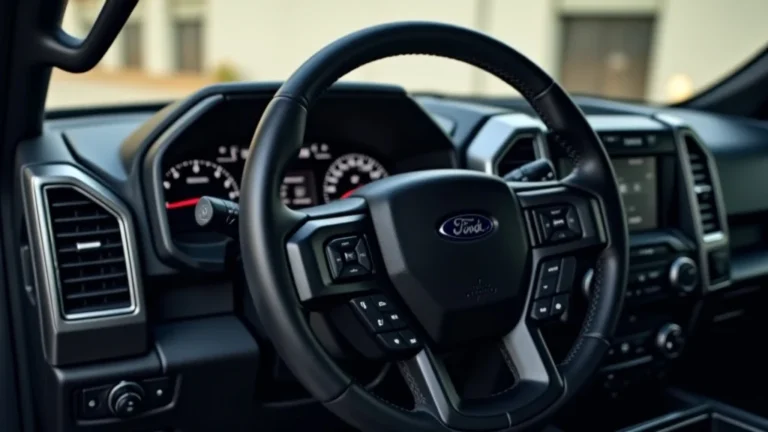
Examining the Interior Components
Once you’ve checked the suspension and undercarriage, turn your attention to the interior. Rattles inside the cab can be just as annoying as external noises. This means looking at areas like the dashboard, door panels, and center console. Common causes include loose trim pieces, items rattling in storage compartments, or issues with the sound system. You can often track down the source by gently tapping or applying pressure to different areas of the interior while the truck is stationary to try to replicate the noise.
Remember that even small items, like coins or pens, can create irritating rattles. Before you start pulling things apart, remove any loose items from the glove box, center console, and door pockets. Ensure that the interior is free of loose objects that could rattle. This simple step can sometimes eliminate the source of the noise. If the rattling continues, you can examine other components.
Addressing Common Rattling Culprits
Once you’ve identified the source, the next step is to address it. Several components are frequent causes of rattling noises. When you explore how to stop f150 rattling noise, you’ll find that many of the fixes involve tightening bolts, replacing worn parts, or adding padding. The specific solution depends on the source of the noise. Let’s look at some common areas that frequently cause rattling. These range from engine components to interior parts.
Loose Heat Shields and Exhaust Systems
Heat shields, which protect components from exhaust heat, are frequently sources of rattling. They can become loose over time due to corrosion or vibration. Another frequent cause of rattling is issues with the exhaust system itself. Examine the exhaust for loose connections. Also, check the brackets and hangers that support the exhaust. A simple tightening of a bolt may resolve the issue. If the heat shield is severely corroded, consider replacing it. A new clamp may also be needed for a tight fit.
- Heat Shield Inspection: Locate the heat shields around the exhaust system, engine, and catalytic converter. Carefully examine each shield for any signs of rust, damage, or loose mounting points.
- Exhaust System Inspection: Examine the entire exhaust system, including the pipes, catalytic converter, and muffler. Check for loose connections or any signs of damage.
- Tightening Bolts and Clamps: Use a wrench to tighten any loose bolts or clamps that you find. If bolts are heavily rusted or damaged, consider replacing them.
- Replacing Damaged Components: If a heat shield is badly corroded, you should
A study found that 35% of vehicle noises reported by owners were linked to the exhaust system. This underscores the importance of a detailed inspection of exhaust-related components. You can frequently resolve many issues with basic tools.
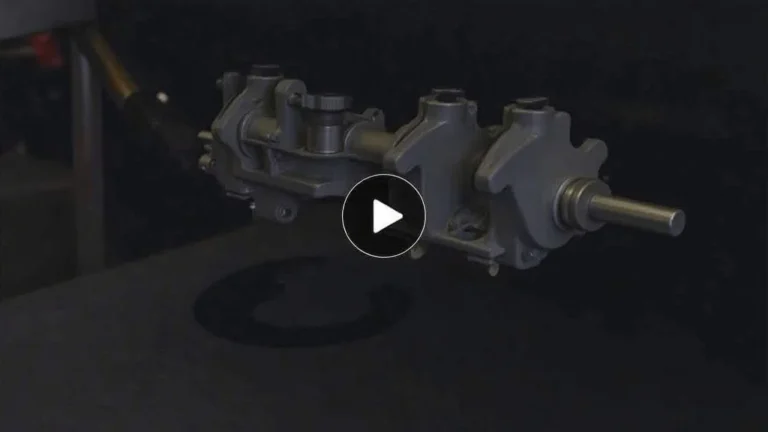
Suspension Components and Their Maintenance
The suspension system, as previously mentioned, is a common source of rattling. As you explore how to stop f150 rattling noise, you’ll want to focus on this area. Worn or damaged suspension parts cause all kinds of noise. Regular maintenance, including checking and replacing components when needed, is the best approach. Issues such as worn shocks, sway bar links, or loose bushings can cause noises when driving. They will amplify as components wear. The good news is that these are often simple fixes.
- Shock Absorbers and Struts: Inspect the shock absorbers and struts for any signs of leaking fluid. Replace worn shocks and struts.
- Sway Bar Links and Bushings: Check for play or wear on the sway bar links and bushings. Replace them if you notice any looseness or damage.
- Springs: Inspect the springs for cracks or damage.
- Wheel Bearings: A damaged wheel bearing may make a noise. Check for unusual sounds.
According to the National Highway Traffic Safety Administration (NHTSA), 15% of all vehicle complaints relate to suspension issues. Addressing these issues can contribute to a safer and quieter ride.
Interior Trim and Dash Components
Interior trim and dash components can also cause annoying rattles. Trim pieces that aren’t fitted properly, or plastic parts that rub together, can generate noises. Addressing interior rattles requires some patience and careful detective work. It’s often a matter of finding the precise spot where the noise originates. This may be time consuming, but the process is straightforward.
- Loose Trim Pieces: Check all interior trim pieces, like door panels and dashboard trim, for proper fit.
- Dashboard Components: Check the dashboard components for loose connections.
- Center Console: Check the center console.
- Lubrication: Adding lubrication can sometimes stop the noise. Use a silicone-based lubricant.
A vehicle interior that is free of noises can greatly enhance your driving experience. Taking these steps will help you enjoy the drive.
Advanced Diagnostics and Solutions
Sometimes, tracking down the source of a rattle requires more advanced diagnostic techniques. This section will guide you through more complicated processes. These include using specific tools and knowledge to identify noises that may be more difficult to find. This section goes beyond the basic inspections previously discussed, which included examining components and tightening bolts. While basic steps resolve most issues, advanced techniques are important for the hard-to-find problems. These can range from specialized tools to techniques that require more mechanical expertise.
Using a Mechanic’s Stethoscope
A mechanic’s stethoscope is a useful tool for pinpointing the origin of a noise. It works by amplifying sound, making it easier to hear where a rattle is coming from. The stethoscope helps to isolate the noise source. You can use it to listen to different parts of the engine, suspension, or interior. The stethoscope amplifies the sound. This helps identify the source of the noise. This tool is great for problems that are hard to diagnose.
- Prepare the Vehicle: Start by making sure the engine is off and the vehicle is safely secured, with the parking brake engaged.
- Locate the Suspected Area: Decide where you think the rattle is. This could be in the engine compartment, under the vehicle, or inside the cab.
- Use the Stethoscope: Place the probe of the stethoscope against different parts of the component. Listen for the loudest sound. This will identify the source.
- Identify the Noise Source: Once you locate the area where the noise is the loudest, it should pinpoint the specific component that is causing the issue.
Road Testing and Data Logging
Road testing can reveal noises that only occur under specific conditions. Road testing involves driving your truck while paying close attention to when the rattle occurs. Pay attention to the speed, terrain, and engine load. This approach is helpful to identify conditions that worsen noises. This technique will help you replicate the noise. This is useful for hard-to-find rattles.
- Record the Conditions: Keep a record of when and how the rattle happens.
- Replicate the Noise: Try to recreate the rattle by driving on similar roads or under the same conditions.
- Narrow Down the Source: Once you can reliably cause the rattle, you can use other diagnostic tools, such as a stethoscope, to pinpoint its source.
- Data Logging Tools: These tools can record data from various sensors. This can provide clues to the cause of the problem.
Professional Inspection and Advice
If you’re still struggling to identify and fix the rattling, it’s often best to seek professional help. A qualified mechanic has the tools and experience to diagnose and fix the problem. They may have special tools. They also have an extensive knowledge of vehicles, and they can offer solutions. This can save you time and frustration. A professional can identify hidden problems. They can also offer safety advice and prevent further issues.
How to Prevent Rattling in Your F150
Prevention is always better than cure. Following some simple guidelines will significantly reduce the chances of your F150 developing annoying rattles. This can keep your truck running smoothly. These tips range from regular maintenance to inspecting and securing loose items. This proactive approach saves time and money. It also helps to keep your ride comfortable.
Regular Maintenance Schedules
Following a regular maintenance schedule is a must for keeping your F150 in top condition. This is especially important if you want to prevent rattling. Regular inspections and preventative maintenance help to stop problems before they arise. This may include inspections of many systems. You can stop potential issues by maintaining a schedule.
- Routine Inspections: Have a mechanic inspect your vehicle regularly.
- Suspension Maintenance: Have your suspension components checked.
- Exhaust System Checks: Inspect your exhaust system.
- Interior Checks: Keep the inside clean.
Securing Loose Items
One of the easiest ways to prevent rattles is to keep your truck free of loose items. Things like tools, cargo, or other items in the bed or cab can vibrate. This will cause rattling. Properly securing these items or keeping them in a designated storage area will prevent noises. A well-organized interior reduces the chances of rattling.
Consider the placement of any items inside the vehicle, particularly items stored in the cabin or bed. This includes cargo. A study by J.D. Power found that the number one cause of customer complaints about new vehicles was noise. Many of these complaints were related to loose objects. Keeping your truck tidy will go a long way.
Upgrading Components
Upgrading certain components of your F150 can also reduce the likelihood of rattling. When you consider how to stop f150 rattling noise, think about improving your vehicle. Replacing worn suspension parts with high-quality alternatives can make your ride smoother. Quality parts last longer. They also perform better.
Upgrading can improve performance. It can also reduce potential sources of noise. Upgrading components is a proactive step that enhances the overall driving experience. High-quality parts and careful installations can help reduce the possibility of rattles. Additionally, it can reduce noise coming from components.
Frequently Asked Questions
Question: What’s the most common cause of rattling in an F150?
Answer: Loose heat shields are a frequent culprit, often due to corrosion or vibrations.
Question: How can I tell if the rattle is coming from the suspension?
Answer: Listen carefully for noises that happen over bumps or when the truck is moving.
Question: Is it safe to drive my F150 if it has a rattling noise?
Answer: It depends on the source, but it’s important to investigate and fix the cause. It could become a bigger issue if ignored.
Question: Should I take my F150 to a mechanic to stop the rattling noise?
Answer: If you’re unsure where the noise is coming from, a mechanic can help.
Question: What tools do I need to fix the rattle myself?
Answer: A basic set of wrenches, screwdrivers, and possibly a mechanic’s stethoscope can be helpful.
Final Thoughts
Tracking down and fixing a rattling noise in your F150 doesn’t have to be hard. By listening carefully, inspecting key components, and using the simple steps we’ve discussed, you can often identify and resolve the issue. Remember to start by listening for the noise and noting when it occurs. Next, check the heat shields, suspension, and interior components. Don’t hesitate to seek professional assistance if needed. With a little effort, you can enjoy a quieter, smoother ride in your F150.