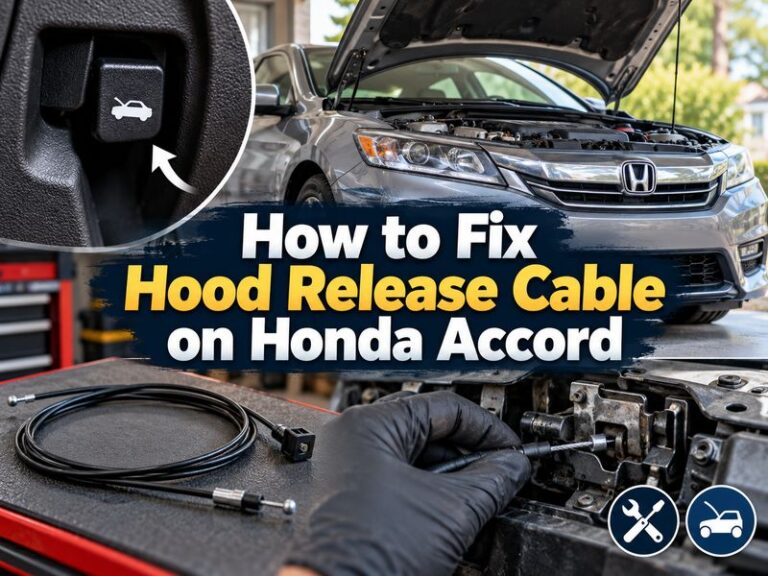
How to Shorten a Hood Release Cable: A Complete Guide for Better Hood Operation
Learning how to shorten a hood release cable can help fix a hood handle that feels loose or fails to release the latch properly. Many vehicles develop cable slack over time because of stretching, worn clips, or movement at the latch connection.
From years of basic automotive repair work, one common lesson is that a cable adjustment should come before replacing the entire cable. A careful inspection can often reveal whether the cable only needs tightening or if it has damage that requires a new part.

Why a Hood Release Cable Becomes Too Loose
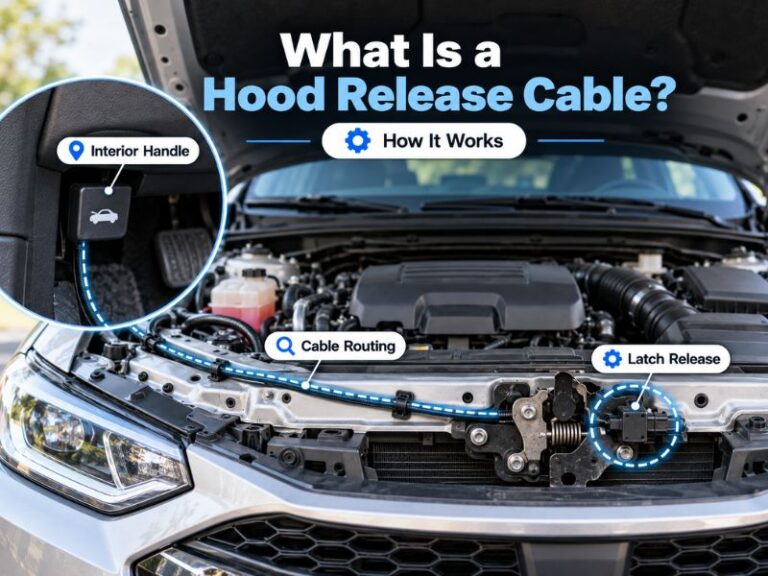
Before learning how to shorten a hood release cable, it helps to understand why the problem happens. A hood release cable works by transferring force from the interior handle to the hood latch. Over time, parts can wear and create extra movement.
A stretched cable may make the interior handle feel soft or require several pulls. In some cases, the hood may not open because the latch does not receive enough movement.

- ✦ Cable stretch
Repeated use can create extra slack in the inner cable or outer housing.
- ✦ Loose mounting points
Clips, brackets, or cable holders may move and reduce pulling force.
- ✦ Latch problems
A dirty or dry hood latch can feel like a cable problem.
Check the Cause Before Making Adjustments
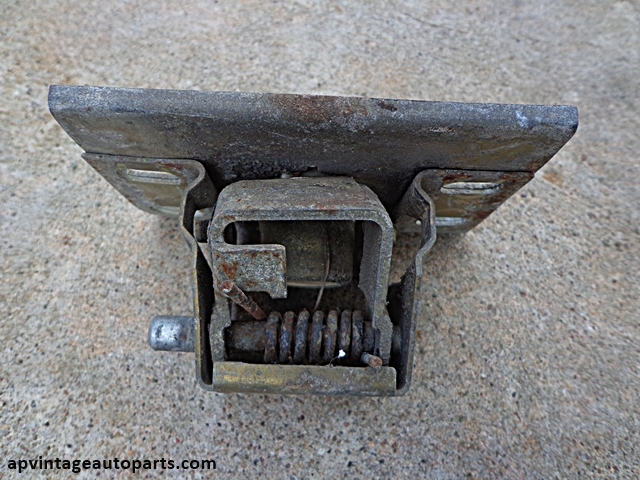
Inspect the cable path from the interior handle to the hood latch. Look for broken clips, sharp bends, rust, or visible damage before trying to shorten the cable.
Tools Needed to Shorten a Hood Release Cable
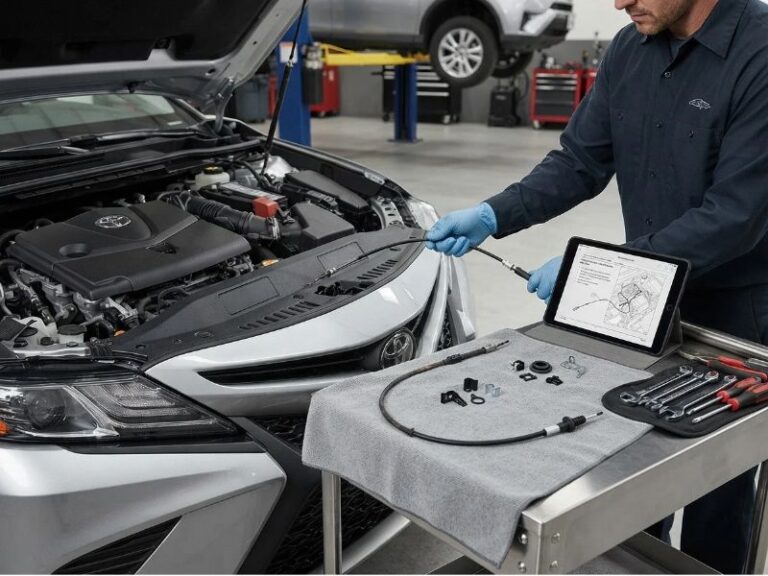
The tools needed for how to shorten a hood release cable depend on the vehicle. Some cars have simple adjustment points, while others need access to the latch area or cable bracket.
Use the correct tools to avoid damaging the cable housing or hood release parts. Working carefully is important because a damaged latch system can make future hood access harder.

- ✦ Basic tools
Common tools include screwdrivers, pliers, wrenches, and a flashlight.
- ✦ Safety items
Gloves and eye protection help protect your hands during engine bay work.
How to Shorten a Hood Release Cable Step by Step
The process for how to shorten a hood release cable starts with locating the cable adjustment point. Many vehicles use a bracket, clip, or threaded section that allows small changes in cable tension.
Disconnecting parts without understanding the latch system can create problems. Make small adjustments and test the hood release after each change.

- ✦ Inspect the cable
Find where the cable connects to the latch and check for slack or damage.
- ✦ Adjust tension
Move the adjustment point to remove extra slack without forcing the cable.
- ✦ Test operation
Open and close the hood several times to confirm proper function.
Avoid Cutting the Cable
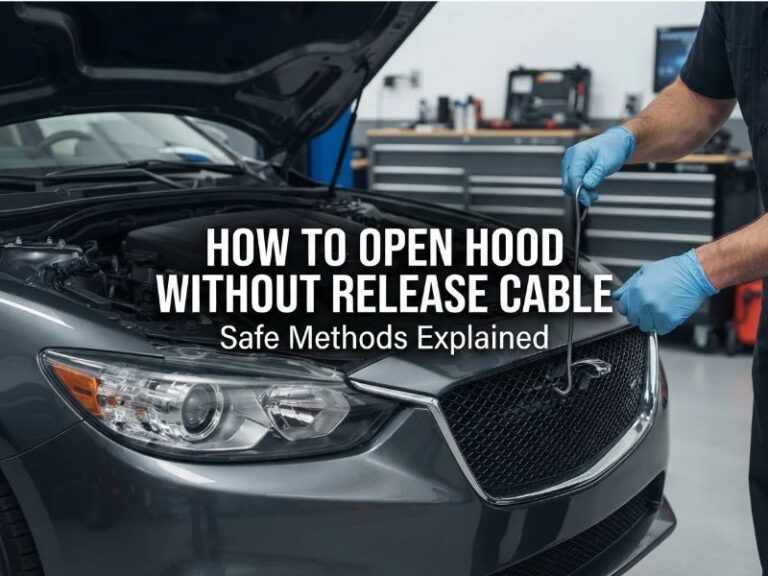
Many people search for how to shorten a hood release cable and assume cutting the cable is the answer. Cutting the cable can create a permanent problem and may prevent correct latch movement.
Common Mistakes When Adjusting a Hood Cable
A common mistake during how to shorten a hood release cable work is removing too much slack. Excessive tension can keep the latch from fully locking or put stress on the handle.
Another mistake is ignoring lubrication. A stiff latch can make a good cable appear faulty, so inspect and clean the latch before making major changes.

- ✦ Over tightening
Too much tension can damage the handle, cable, or latch mechanism.
- ✦ Skipping inspection
A broken clip or worn latch may be the real cause.
When You Should Replace Instead of Shorten the Cable
Knowing how to shorten a hood release cable is useful, but adjustment is not always the right repair. A cable with broken strands, severe rust, or damaged housing should usually be replaced.
Replacement may take more time, but it restores the original design and reduces the chance of future hood release failure.

- ✦ Visible damage
Frayed or broken cable sections are signs that adjustment may not help.
- ✦ Repeated failure
A cable that becomes loose again quickly may need replacement.
How to Test Your Hood Release After Adjustment
After learning how to shorten a hood release cable and making adjustments, testing is the final step. The hood should open smoothly and the latch should fully secure when closed.
Always perform multiple tests before regular driving. A hood that is not locked correctly can create a serious safety risk on the road.

- ✦ Check the handle
The interior handle should move smoothly without unusual resistance.
- ✦ Check the latch
Confirm that the hood closes and locks completely.