How to Clean a Hood Latch Sensor: A Simple Step-by-Step Guide
Learning how to clean a hood latch sensor can help solve common vehicle problems like false hood-open warnings, random alarms, or dashboard alerts. The hood latch sensor sits in a place that collects dirt, grease, moisture, and road debris, especially after daily driving in different weather conditions.
From years of basic vehicle maintenance work, one common lesson is that small sensors often fail because of simple buildup. A careful cleaning routine can restore normal operation in many cases without replacing the entire latch assembly.
This guide explains how to clean a hood latch sensor safely using simple steps that most vehicle owners in the United States can follow at home. Always check your vehicle manual because sensor designs can vary between makes and models.
What Is a Hood Latch Sensor and Why Does It Need Cleaning?
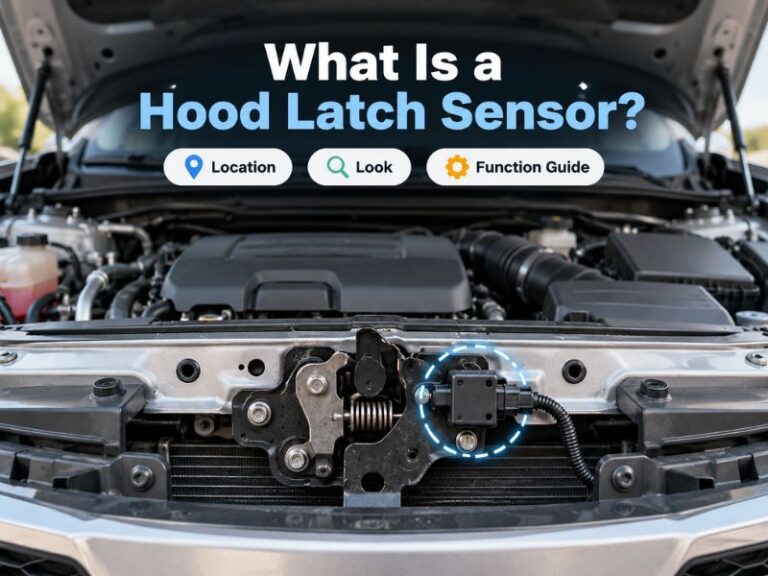
A hood latch sensor is a small switch or electronic device connected to the hood latch system. It tells your vehicle whether the hood is open or closed. Modern cars use this signal for warning lights, alarms, and security features.
Over time, the latch area can collect dust, oil, salt, and moisture. These materials can block the sensor movement or interfere with electrical connections. Understanding how to clean a hood latch sensor starts with knowing where dirt builds up and why it affects performance.

- ✦ False hood warning
A dirty sensor may send incorrect signals and make the dashboard show that the hood is open.
- ✦ Alarm problems
A faulty hood latch sensor can trigger unwanted vehicle alarm activity in some models.
- ✦ Poor sensor contact
Dirt or corrosion can prevent the sensor switch from making a reliable connection.
Common Signs of a Dirty Hood Latch Sensor
Many drivers notice problems before the sensor completely stops working. A warning message that appears randomly is often an early sign of a dirty or worn hood latch sensor.
- ✦ Dashboard hood alert
The vehicle may display a hood-open warning even when the hood is fully closed.
- ✦ Security system issues
Some cars may experience alarm activation when the sensor cannot confirm the hood position.
Tools Needed Before You Clean a Hood Latch Sensor
Before starting the process, gather the right tools. The goal is to remove dirt without damaging sensitive electrical parts. Using simple cleaning supplies can make the job safer and easier.
When learning how to clean a hood latch sensor, avoid aggressive tools that can scratch parts or damage wiring. A gentle approach works best for most vehicles.

- ✦ Soft brush
Use a small brush to remove loose dirt and debris around the latch area.
- ✦ Electrical contact cleaner
Choose a cleaner designed for electrical parts to remove residue safely.
- ✦ Microfiber cloth
Use a clean cloth to wipe away moisture and leftover dirt.
- ✦ Compressed air
Air can help remove dust from small spaces around the sensor.
Safety Steps Before Cleaning
Park your vehicle on a flat surface and turn off the engine before you begin. Let the engine bay cool down if the vehicle was recently driven.
- ✦ Protect your hands
Wear gloves if the latch area has grease, sharp edges, or road debris.
Step-by-Step Guide on How to Clean a Hood Latch Sensor
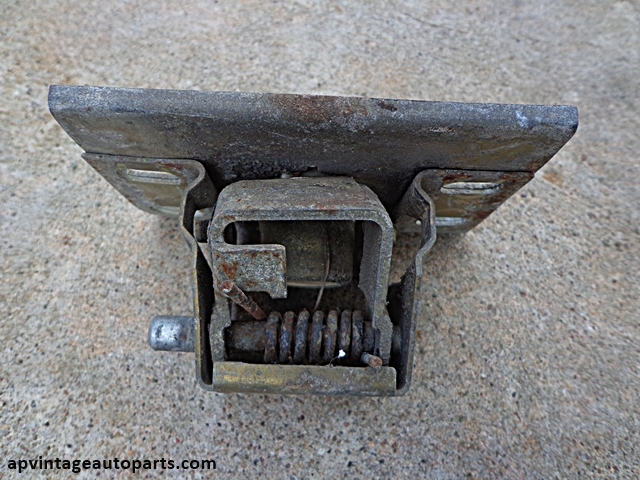
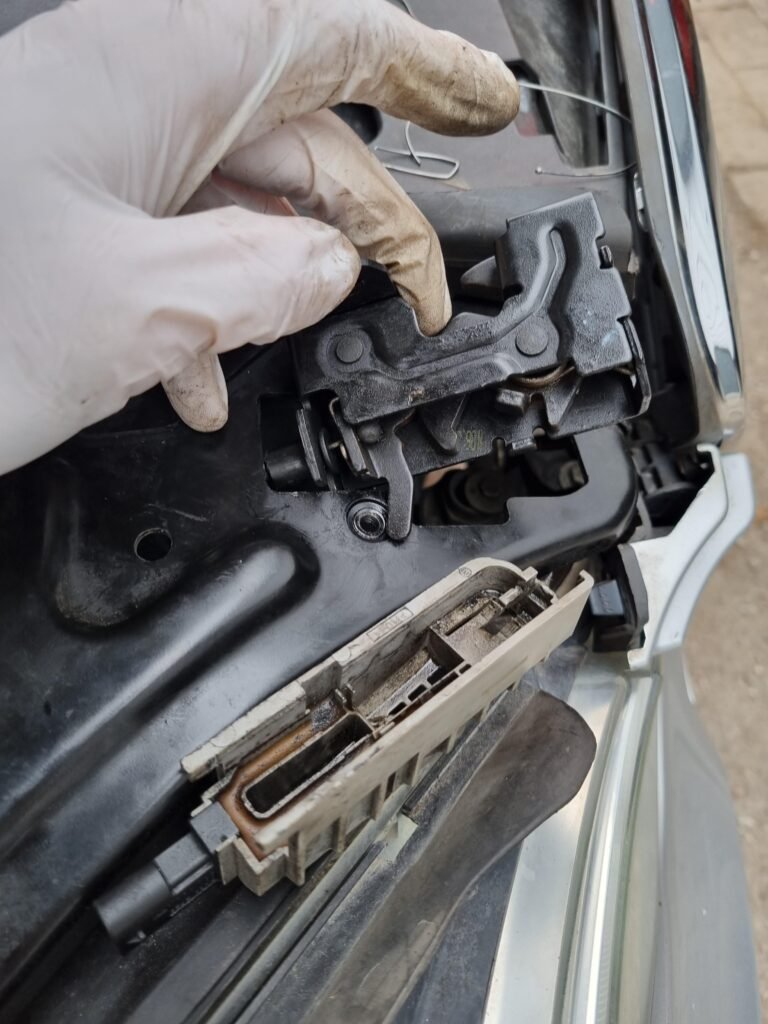
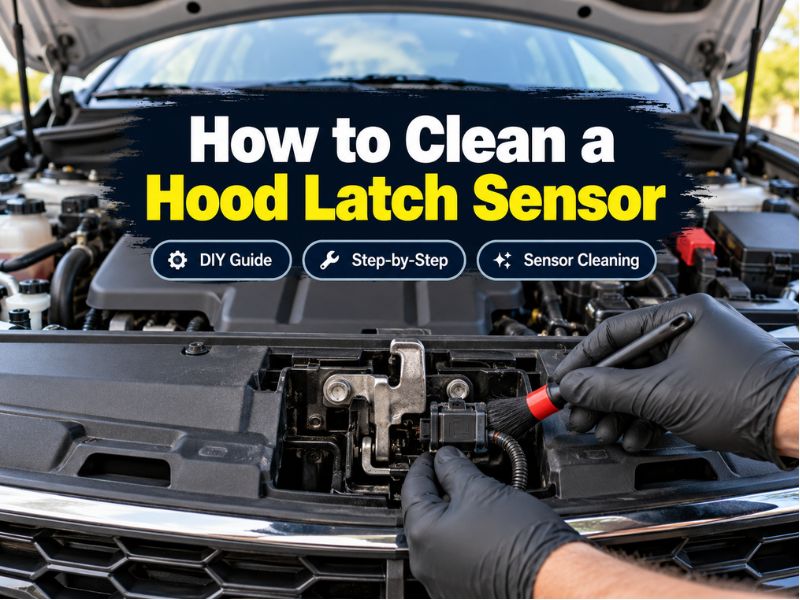
The cleaning process is simple when done carefully. Start by locating the hood latch assembly near the front of the engine compartment. The sensor is usually attached near the latch mechanism.
Knowing how to clean a hood latch sensor correctly means removing contamination while protecting the sensor and wiring. Follow each step slowly instead of forcing parts to move.
- ✦ Step 1: Open and inspect the hood latch
Look for dirt, rust, grease, or damaged wires around the latch and sensor area.
- ✦ Step 2: Remove loose debris
Brush away dust and dirt before applying any cleaner.
- ✦ Step 3: Apply electrical cleaner
Use a small amount of electrical contact cleaner on the sensor area and allow it to dry.
- ✦ Step 4: Wipe and test
Clean remaining residue, close the hood, and check if the warning issue improves.
Avoid These Cleaning Mistakes
Do not spray large amounts of water into the latch assembly. Excess moisture can create new electrical problems.
Avoid using household cleaners because they may leave residue or damage protective coatings.
- ✦ Do not force the sensor
Small switches and connectors can break if pushed too hard.
How to Clean the Hood Latch Sensor Connector
Sometimes the sensor itself is clean, but the electrical connector has dirt or corrosion. The connector carries the signal between the hood latch sensor and the vehicle computer system.
Carefully inspect the plug and wiring before cleaning. If you see broken wires or heavy corrosion, professional repair may be needed.

- ✦ Check the connector
Look for loose connections, green corrosion marks, or damaged wiring.
- ✦ Use electrical cleaner
Apply cleaner designed for connectors and allow it to dry completely.
- ✦ Reconnect carefully
Make sure the connector clicks securely back into place.
When Connector Cleaning Is Not Enough
A damaged sensor, broken wire, or worn latch mechanism may require replacement. Cleaning helps with dirt-related problems but cannot repair damaged components.
- ✦ Professional inspection
A mechanic can test the sensor signal and confirm whether replacement is needed.
How Often Should You Clean a Hood Latch Sensor?
There is no fixed cleaning schedule for every vehicle, but regular inspection during routine maintenance can prevent many issues. Drivers in areas with snow, road salt, dust, or heavy rain may need more frequent checks.
A quick inspection during oil changes or seasonal maintenance can help you notice buildup before it causes warning lights or alarm problems.
- ✦ Check during routine service
Inspect the latch area whenever you check fluids or perform basic maintenance.
- ✦ Clean after harsh conditions
Remove dirt and salt buildup after winter driving or muddy roads.
When to Replace a Hood Latch Sensor Instead of Cleaning It
Cleaning can solve many problems, but some sensors fail because of age, internal damage, or electrical faults. If the warning continues after cleaning, further diagnosis may be needed.
A replacement may be the right choice when the sensor does not respond, the latch assembly is damaged, or electrical testing shows a failure.
- ✦ Persistent warning messages
A constant hood-open warning after cleaning may indicate a failed sensor.
- ✦ Visible damage
Cracked parts, damaged wires, or severe corrosion may require replacement.