How to install a hood lock safely and check the latch properly
A vehicle’s factory hood latch is designed to keep the hood closed during normal driving, but some owners want a second layer of protection. An auxiliary hood lock can discourage casual tampering and provide a visible secondary restraint. The installation is manageable for a beginner when the kit matches the vehicle and the lock is positioned without interfering with the original latch, release cable, or hood alignment.
In most cases, how to install a hood lock depends on the kit style. A bolt-on or drill-free model may use existing openings, while a universal hood-pin or locking-latch kit may require careful drilling through the grille support or body panel. The hardware must be installed securely, but the hood must still open normally from inside the vehicle and remain fully closed after the work.
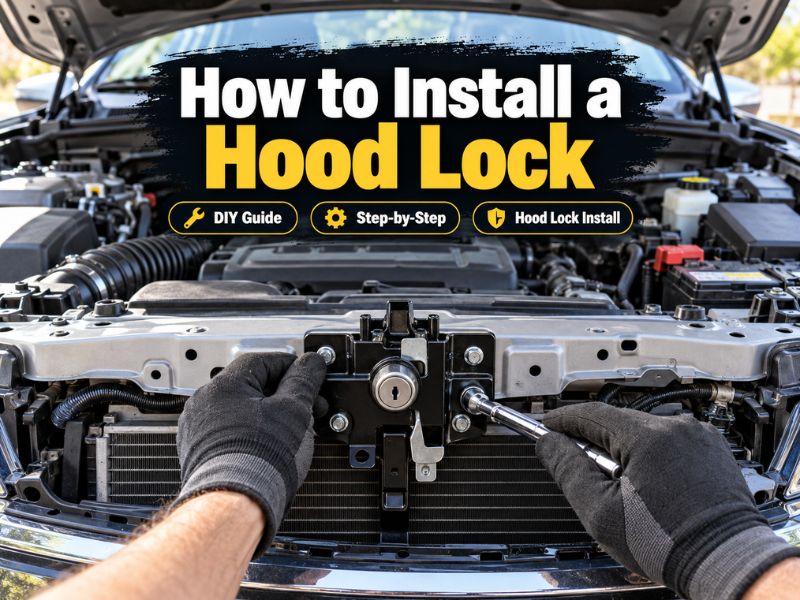
This guide explains how to identify a compatible location, prepare the vehicle, mount the lock, align its receiver, and verify the result. It also covers safe drilling practices, common fitment problems, cleaning, and the point at which a professional installer is the better choice. Work slowly and use the vehicle and lock manufacturer’s instructions whenever they differ from a general procedure.
At a glance
- The factory hood latch should remain the primary operating system; the added lock must not replace or obstruct it unless the kit specifically is a replacement latch.
- Test hood alignment, the interior release, and the secondary lock with the hood fully closed before driving.
- Never drive if the hood does not sit flush, the lock is loose, or either release mechanism feels restricted.
How to install a hood lock without compromising the factory latch
An auxiliary hood lock is a secondary restraint mounted through a strong, supported area of the vehicle. Before making any hole, determine whether the kit is a locking hood pin, a surface-mounted latch, or a replacement for the original latch. The procedure below describes a typical add-on lock; a replacement latch should be installed only according to its vehicle-specific instructions.
Tools you will need
- The complete hood-lock kit, including the lock body, striker or pin, receiver, backing plates, fasteners, and keys
- Vehicle owner’s manual, for hood-release and under-hood component locations
- Socket set, wrenches, and screwdrivers that fit the supplied fasteners
- Measuring tape, masking tape, marker, and a straightedge for locating and aligning the lock
- Work gloves and eye protection
- Electric drill and appropriately sized bits, only if the kit and vehicle require new holes
- Rust-preventive primer and touch-up paint, only for drilled bare metal
- Optional: trim-removal tool and a small flashlight for accessing the grille or radiator support
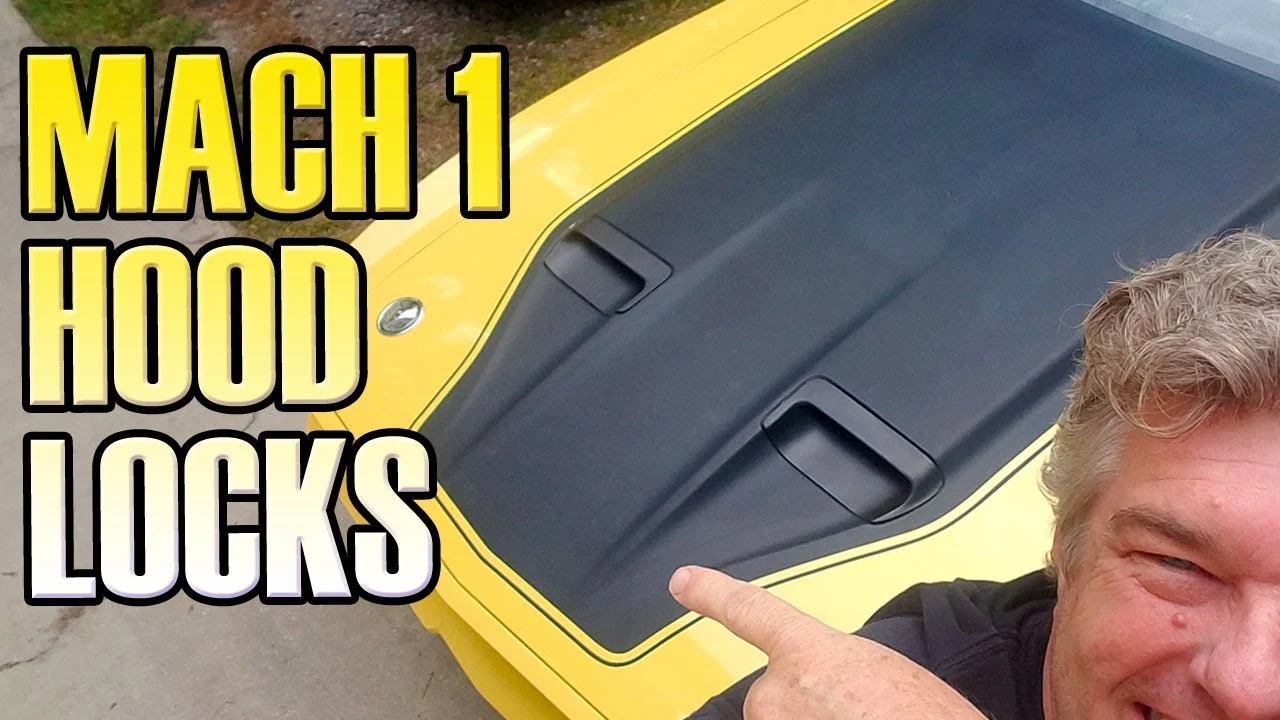
Step 1 Confirm the lock and vehicle are compatible
Read the lock instructions before removing trim or loosening hardware. Check the vehicle year, model, hood design, grille opening, available clearance, and whether the kit is intended for a bolt-on, surface-mounted, or drilled installation. A universal part may fit several vehicles, but “universal” does not guarantee that it will clear the hood reinforcement, radiator, wiring, or the original latch.
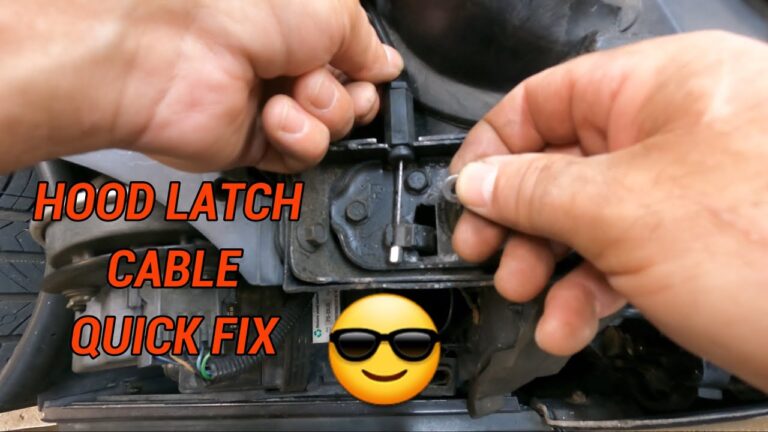
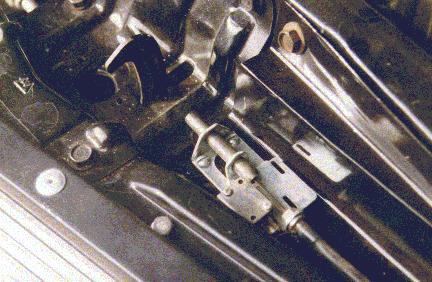
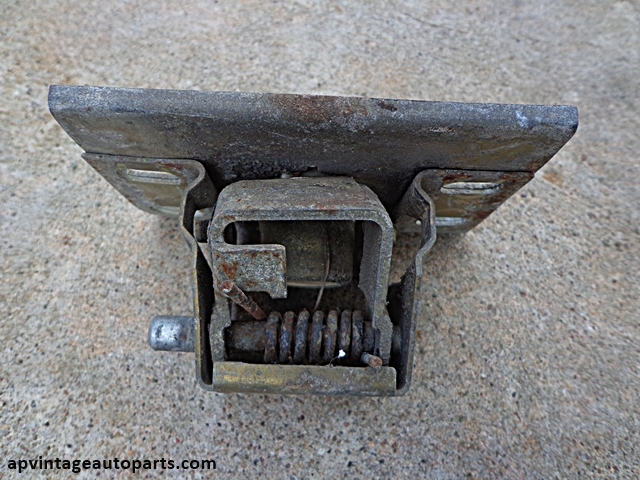
Open the hood and identify the factory latch, the interior hood-release cable, the safety catch, and any nearby wiring or hoses. The safety catch is the small secondary mechanism that keeps the hood from flying open if the main latch is not fully engaged. The added lock should not block that catch or prevent the factory release from operating.
If the kit is a replacement latch rather than an auxiliary lock, stop and locate the vehicle-specific service information. A replacement latch is a safety-critical component, and its fastener torque, release-cable routing, and adjustment are not safely interchangeable with a generic add-on procedure.
Step 2 Choose a strong mounting location
Close the hood gently without latching it and study where the lock components could meet. A good location has solid metal behind the mounting surface, enough room for the lock body and fasteners, and a straight path between the striker or pin and its receiver. Avoid thin unsupported sheet metal, plastic trim, moving hinges, the hood prop, and areas directly above the radiator fan or other moving parts.
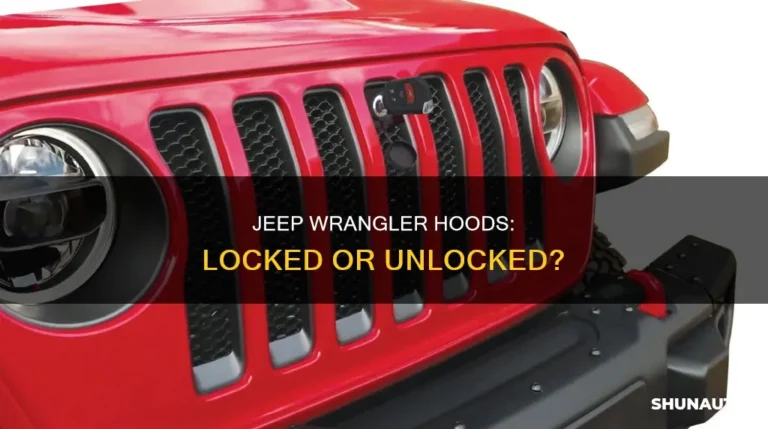
For a locking hood pin, the pin usually passes through the hood and meets a receiver or latch mounted below it. For a surface-mounted hood lock, one half is often attached to the hood and the other to the upper radiator support or another fixed structure. In either design, check the clearance with the hood fully open and nearly closed.
Place masking tape over the proposed locations and mark the centerlines. Do not rely on appearance alone: look underneath the hood and behind the fixed mounting area. You need to know where the drill bit or fastener will emerge before making a hole.
Important
Before drilling, verify that no wiring, airbag component, coolant line, fuel component, brake line, or moving mechanism is behind the marked area. If you cannot see or protect the back side, choose another location or have the installation inspected by a qualified technician.
Step 3 Prepare the hood and surrounding area
Park on a level surface, switch off the engine, remove the key, and let hot components cool. Set the parking brake. Clean dirt and grit from the hood edge and the proposed mounting areas so that tape, brackets, and fastener heads sit flat.
Support the hood with its normal prop or gas struts, but do not put your hands near the hinges while repositioning it. If trim or a grille must be removed, use the appropriate trim tool and keep clips and fasteners together. Protect painted surfaces with masking tape, especially around the lock body and drill locations.
Compare every supplied part with the kit diagram. The striker, receiver, washers, backing plates, and nuts should be identifiable before assembly. If a backing plate is included, do not discard it: it spreads the load and helps prevent the lock from pulling through thin sheet metal.
Step 4 Mark and make any required mounting holes
For a drill-free kit, position the brackets using the supplied openings and loosely install the fasteners. For a drilled kit, use the tape marks as a starting point, then recheck the measurements with the hood open and closed. The first hole should be made only after confirming that the pin or latch will align with its receiver.
A useful way to approach how to install a hood lock is to check your progress after each stage.
Use a small pilot bit if the instructions permit drilling. Keep the drill perpendicular to the mounting surface and apply light pressure. Enlarge the opening gradually to the specified size rather than forcing a large bit through at once.
Wear eye protection because metal chips can travel under the hood or into your eyes.
After drilling, remove sharp burrs from both sides of the hole. Apply a suitable rust-preventive primer or touch-up paint to exposed bare metal, and allow it to dry according to the product instructions. Do not leave untreated steel under the lock, where moisture can begin corrosion.
Step 5 Install the lock body and striker or pin loosely
Place the lock body, pin, or striker through the prepared opening and install the supplied washer, backing plate, and nut in the order shown by the kit instructions. Start all fasteners by hand. Leave them slightly loose so the parts can move during alignment; tightening the lock before the receiver is positioned can create a permanent misalignment.
Route any lock cable or release linkage away from the hood hinge, latch spring, fan, belts, and hot exhaust components. The cable should not be sharply kinked or stretched when the hood is opened. If the kit uses a key cylinder, keep the cylinder face accessible but do not position it where a normal key turn could contact painted metal.
On a hood-pin design, fit the supplied bump stop or rubber cushion if one is included. It helps control hood movement, but it should not lift the hood enough to prevent the factory latch from engaging. On a surface latch, keep the latch plate flat against its mounting surface rather than bending it to force an alignment.
Step 6 Align the receiver with the hood closed
Lower the hood slowly while watching the pin, striker, or latch approach its receiver. Do not slam the hood during this first alignment check. If the parts touch, stop and adjust the mounting position instead of forcing the hood down.
When the hood is nearly closed, the pin should enter the receiver centrally, or the two latch halves should meet squarely. The hood should sit at the same height as the adjacent fenders and grille. If one corner rises, the lock is pushing the hood upward or the factory latch is not engaging correctly.
Use the masking-tape centerlines to make small adjustments. Tighten one fastener slightly at a time and repeat the open-close check. A useful fit is one in which the added lock engages without pulling the hood sideways, lifting it, or requiring unusual pressure.
Step 7 Tighten the hardware and confirm the original release
Once the lock aligns, open the hood and tighten the fasteners evenly. Use the torque specification supplied with the kit or the vehicle service information when one is provided. If no specification is given, tighten firmly without crushing a thin panel or twisting the bracket; excessive force can deform the hood or strip the fastener.
With the hood open, operate the key lock or secondary release several times. It should move smoothly through its full range. Then close the hood until the factory latch catches and pull the interior hood-release lever.
The original latch should release normally, with no binding from the new hardware or cable routing.
After the factory latch releases, use the safety catch as intended and open the hood. If the added lock has its own release, make sure it does not prevent the hood from opening after the factory latch is released. A lock that requires excessive force, a special angle, or repeated key jiggling needs adjustment before the vehicle is driven.
Understanding how to install a hood lock also means recognizing the limits of the method.
Step 8 Lock the hood and perform a stationary safety test
Close the hood fully and check that the factory latch catches first. Apply the secondary lock according to its instructions, then inspect the lock from above and below if possible. The locking pin, tab, or latch should be fully seated rather than resting on an edge.
Try to lift the hood gently at several points without using enough force to bend it. It should remain secure, sit evenly, and show no visible gap caused by the added hardware. Check that the key can be removed in the locked position if the design requires that feature.
Check your result
Before driving, confirm all three conditions: the hood is flush with the surrounding body panels, the factory release and safety catch work normally, and the added lock is fully engaged without looseness or interference.
What makes a hood-lock installation safe and reliable
The strength of an added hood lock comes from its mounting structure and alignment, not simply from the lock cylinder. A small lock attached to unsupported plastic or thin sheet metal may look secure while providing little resistance to movement. Backing plates and solid brackets distribute the load across a larger area.
The factory latch remains important even when the added lock is substantial. The original latch, cable, and safety catch are designed to work together, so an auxiliary device should supplement them rather than create a second system that can accidentally hold the hood closed after a release problem.
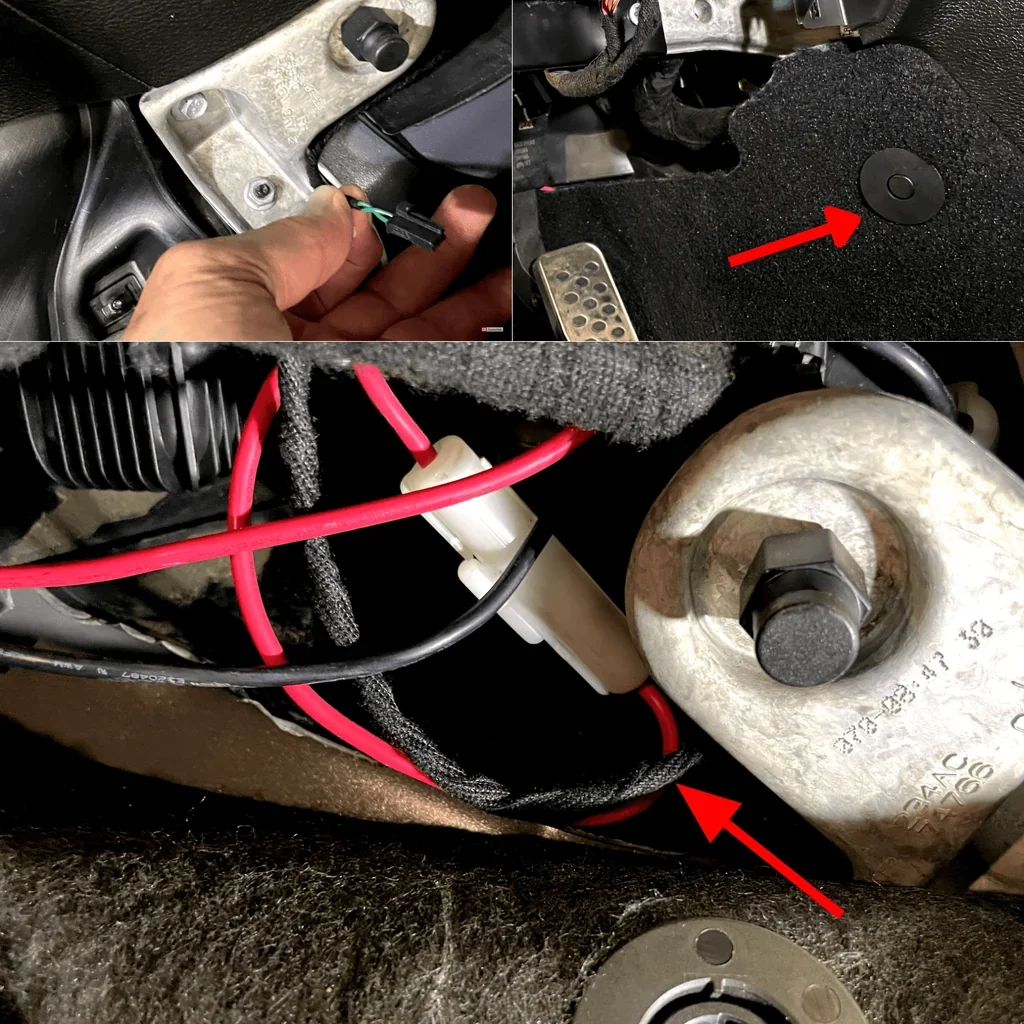
Drill-free and drilled installations
A drill-free kit is usually the better beginner choice when a vehicle-specific bracket fits correctly. It reduces the risk of drilling into hidden components and avoids exposing new metal to corrosion. Its limitation is that it may depend on existing openings or brackets that are not available on every vehicle.
A drilled installation can be strong and neat when the mounting area is properly supported. It demands more care: the hole location must be accurate, the edges must be protected against rust, and the underside must remain accessible for a backing washer or plate.
Why hood alignment matters
A hood that sits high on one side, shifts when pressed, or requires slamming is not merely unattractive. It may indicate that the factory latch is not fully engaged or that the new lock is carrying a load it was not meant to carry. Stop and correct that condition instead of compensating by tightening the lock harder.
How to check the finished installation
Checking the result is part of the installation, not an optional final glance. Perform the checks with the vehicle stationary, then repeat them after the first short drive. Look for movement, rubbing, paint damage, and changes in the hood gap.
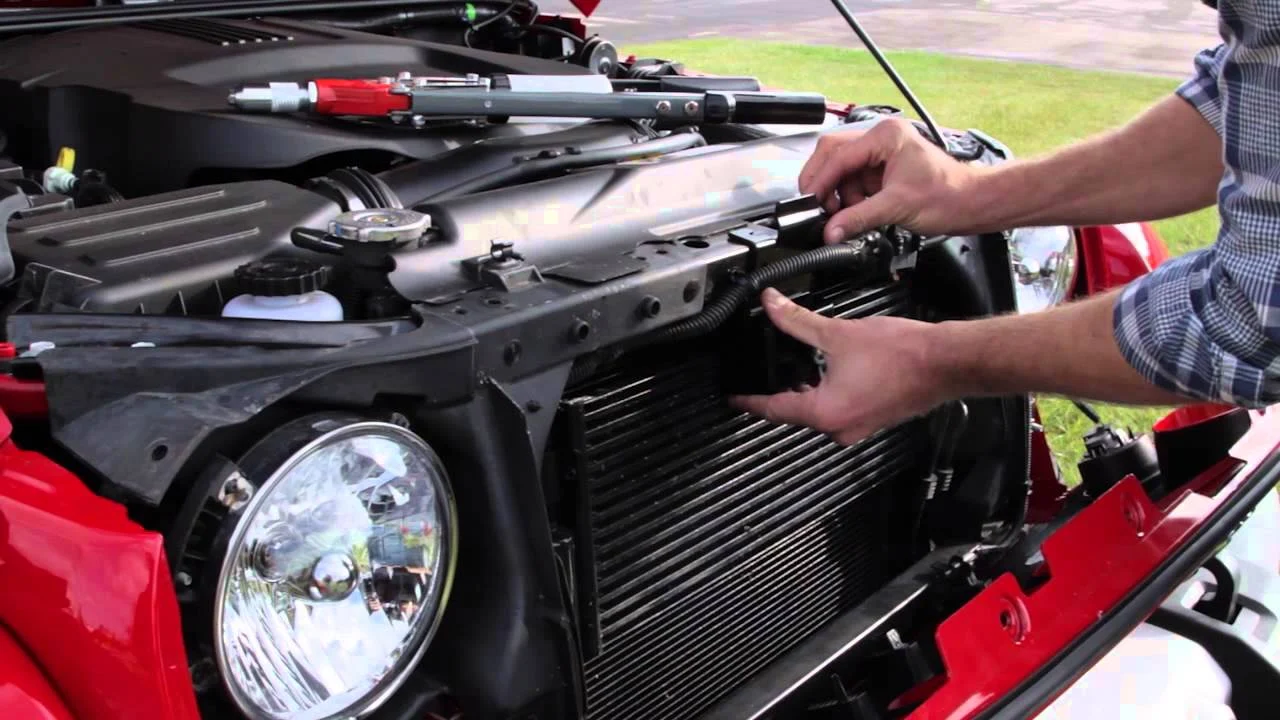
- Open and close the hood several times without slamming it.
- Confirm the factory latch catches before applying the auxiliary lock.
- Operate the interior release and verify that the hood pops up as expected.
- Use the safety catch normally; it should not be blocked by the new hardware.
- Lock and unlock the added device repeatedly with the correct key or release.
- Inspect all nuts, bolts, brackets, and backing plates for movement.
- Check that the lock does not touch the grille, radiator support, wiring, fan, belts, or hood insulation.
- Look for chipped paint or bare metal around drilled openings.
After the first drive, park safely and inspect the hardware again. Vibration can reveal a loose bracket or a receiver that was only marginally aligned. If anything has shifted, do not continue driving until the cause is found and corrected.
Troubleshoot common hood-lock problems
Most problems come from incorrect placement, insufficient clearance, or tightening the parts before alignment. The symptoms below can help identify the likely cause, but a damaged hood, latch, or mounting structure deserves professional inspection.
| Symptom | Likely issue and response |
|---|---|
| The hood will not close | The pin or latch is too high, off-center, or contacting the hood. Open it, loosen the hardware, and realign without forcing the hood. |
| The hood closes but sits high | The secondary lock may be supporting the hood before the factory latch engages. Confirm the original latch catches and lower or reposition the added hardware. |
| The key or release is difficult to operate | The lock is under side load, the cable is kinked, or the receiver is misaligned. Adjust the parts so the lock is not carrying hood pressure when released. |
| The bracket moves after tightening | A backing plate may be missing, the fastener may be wrong, or the mounting surface may be too weak. Do not substitute random hardware; inspect the kit design. |
| The interior hood release feels stiff | The added bracket or cable may be interfering with the factory release cable. Restore free movement before using the vehicle. |
| Rust appears around a drilled hole | The bare edge was not sealed or water is collecting there. Remove corrosion, protect the metal properly, and check whether the lock is allowing water behind the panel. |
Helpful tip
If alignment is close but not correct, make one small adjustment at a time and retest. Large changes make it difficult to tell which movement fixed or created the problem.
Beginner questions about installing a hood lock
Can I install a hood lock without drilling?
Sometimes. Vehicle-specific bolt-on and bracket-mounted kits may use existing holes or structural points. Confirm that the bracket fits the vehicle and is supported by metal, not just grille plastic or cosmetic trim.
Is a hood pin the same as a locking hood latch?
No. A hood pin normally uses a pin and receiver to restrain the hood, often with a separate lock or clip. A locking hood latch uses a latch mechanism that grips a striker.
Both can serve as secondary restraints, but their installation and adjustment are different.
Can I use the factory hood latch by itself after adding the lock?
Yes, if the added device is an auxiliary lock and the manufacturer permits that arrangement. The factory latch should continue to catch and release normally. Never leave an improperly aligned added lock installed just because the original latch still works.
How tight should the hood-lock bolts be?
Use the kit’s torque specification when available. Otherwise, tighten the fasteners securely while avoiding crushed sheet metal, distorted brackets, or stripped threads. A torque wrench is helpful when the instructions provide a value.
When should I have a professional install it?
Seek qualified help if drilling would be near wiring, airbags, fuel or brake components, if the hood structure is damaged, if the lock replaces the factory latch, or if you cannot verify that the hood is fully latched. A hood that can open unexpectedly is a serious driving hazard.
Finish with a secure, fully testable installation
Learning how to install a hood lock is mainly an exercise in careful fitment: choose a supported location, protect any drilled metal, keep the factory latch and release cable clear, and align the lock before tightening it. The finished device should sit securely without lifting the hood or changing the normal operation of the safety catch.
Use the complete stationary check before driving, then inspect the fasteners again after the first trip. If the hood is not flush, the lock binds, or the factory release behaves differently, stop and correct the problem rather than accepting a marginal fit. When the mounting area or latch operation is uncertain, professional inspection is the safest next action.