How to Tighten a Hood Release Cable: A Complete Step-by-Step Guide
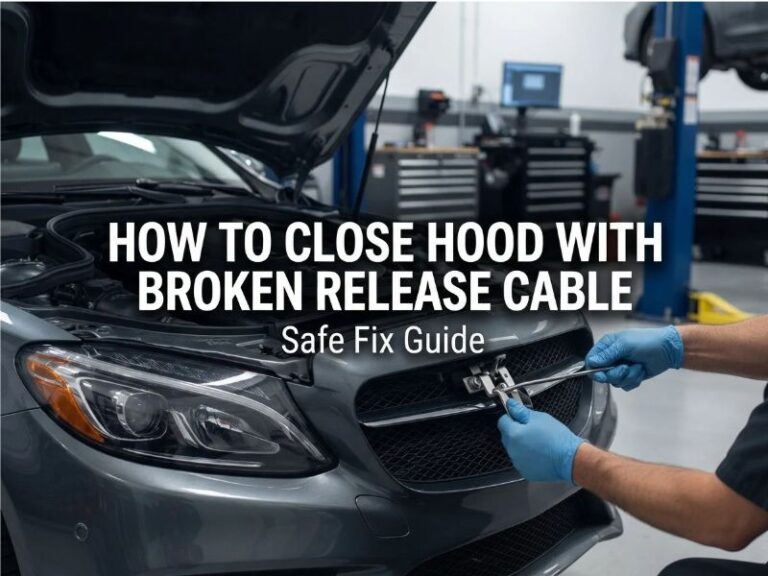
Learning how to tighten a hood release cable can help solve a common vehicle problem. Many drivers notice a loose hood handle, a delayed hood opening, or a release lever that feels weak. These issues often happen because the cable has stretched over time or the cable housing has moved from its proper position.
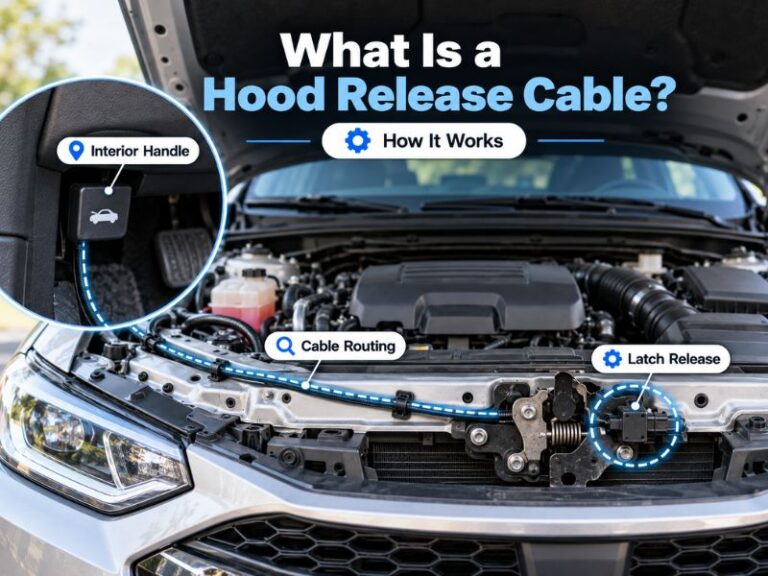
From a practical repair standpoint, the first step is to inspect the entire hood release system before making adjustments. A hood cable works with the interior handle, cable housing, and latch mechanism as one system. A small issue in any part can make the hood release feel loose.
For U.S. drivers who rely on their vehicles for daily commuting, work, and road trips, a working hood release is an important safety feature. This guide explains how to tighten a hood release cable, when adjustment works, and when replacement is the better solution.

Understanding Why a Hood Release Cable Becomes Loose
Before learning how to tighten a hood release cable, it helps to understand why the problem happens. A hood release cable uses a flexible inner wire that pulls the hood latch when you move the inside release handle. Over years of use, the cable can stretch slightly or the mounting clips can loosen.
A loose hood release cable does not always mean the cable itself is bad. Sometimes the latch becomes dirty, the cable housing shifts, or the release handle connection wears down. Finding the source saves time and prevents unnecessary parts replacement.
- ✦ Cable stretch
Repeated pulling can create extra slack in the cable, making the interior handle feel loose.
- ✦ Loose cable housing
The outer cable cover must stay secured so the inner wire can pull the latch correctly.
- ✦ Worn latch parts
A sticking hood latch can make a properly adjusted cable seem loose.
Signs Your Hood Release Cable Needs Adjustment
Common signs include a hood handle that pulls farther than normal, a hood that opens only after several attempts, or a release lever that feels soft. These symptoms usually appear slowly as the system wears.
- ✦ Weak handle resistance
A handle with little tension may indicate too much cable slack.
- ✦ Hood does not pop open
The latch may not receive enough pulling force from the cable.
Tools Needed Before You Tighten a Hood Release Cable
The process of how to tighten a hood release cable usually requires basic hand tools. The exact tools depend on the vehicle design because different manufacturers use different cable mounting systems.
Before starting, park on a flat surface and turn off the engine. Allow hot engine parts to cool before working near the hood latch area.

- ✦ Basic hand tools
A screwdriver, pliers, socket set, and flashlight are commonly useful for inspection and adjustment.
- ✦ Safety equipment
Gloves and eye protection can help protect your hands during the repair.
How to Tighten a Hood Release Cable Step by Step
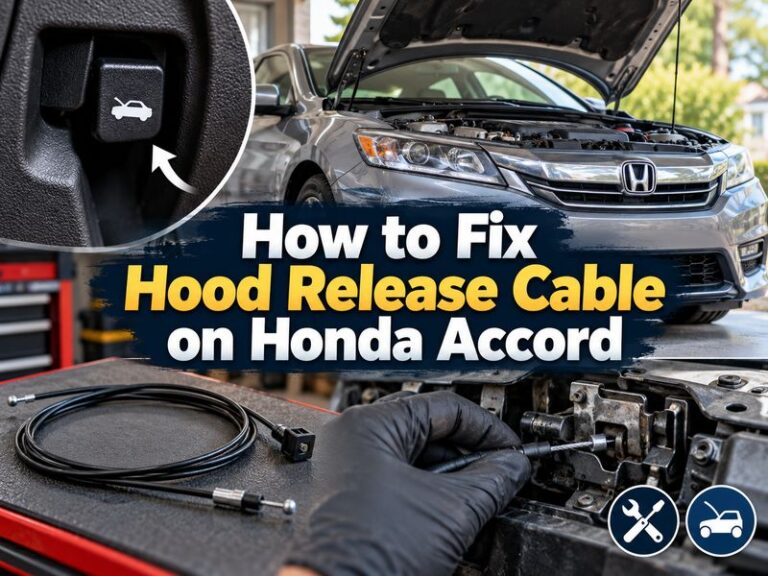
The basic method for how to tighten a hood release cable is to reduce unnecessary slack while keeping the latch movement smooth. Start by locating where the cable connects to the hood latch. Many vehicles allow adjustment near this area.
Inspect the cable mounting point and look for a loose bracket, missing clip, or excess movement. Secure the cable housing first because a loose housing can prevent the inner cable from creating enough pulling force.
After making a small adjustment, test the hood release several times. The hood should open smoothly without requiring excessive force from the interior handle.

- ✦ Inspect the cable path
Follow the cable from the inside handle to the hood latch and check for bends or loose sections.
- ✦ Adjust cable tension
Move the adjustment point carefully to remove slack without making the cable too tight.
- ✦ Test the latch
Open and close the hood several times to confirm reliable operation.
Checking the Hood Latch After Adjustment
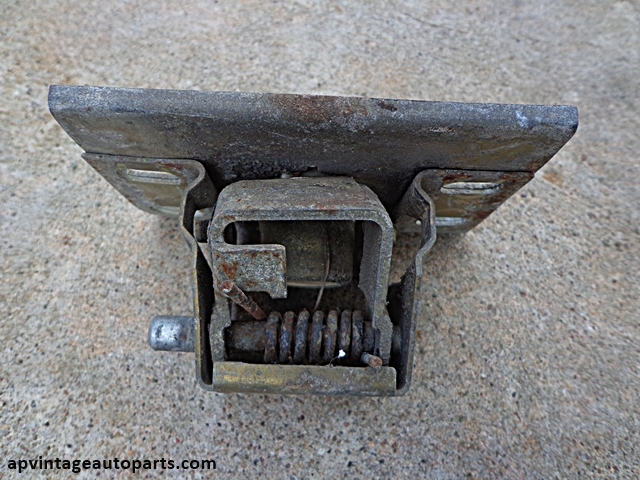
A tightened cable should improve handle feel, but the latch itself must also work correctly. Clean away dirt and apply suitable lubricant if the latch moves poorly.
If the hood still does not release, the cable may be stretched beyond adjustment limits or damaged internally.
- ✦ Inspect latch movement
Make sure the latch moves freely when the cable pulls it.
Common Mistakes When Tightening a Hood Release Cable
When learning how to tighten a hood release cable, many people try to remove all slack immediately. Over-tightening can create problems because the latch may not return correctly or the cable may experience extra stress.
A careful adjustment works better than forcing the cable. The goal is smooth movement with enough tension to operate the latch reliably.

- ✦ Skipping inspection
Adjusting without checking the latch can hide the real cause of the problem.
- ✦ Over-tightening the cable
Too much tension can damage the cable or latch components.
- ✦ Ignoring lubrication
A dry latch can create resistance that feels like a cable problem.
When a Hood Release Cable Should Be Replaced Instead
Knowing how to tighten a hood release cable is useful, but adjustment cannot fix every problem. A cable with broken strands, severe stretching, rust damage, or a damaged housing usually needs replacement.
A replacement may also be necessary when the hood release handle moves freely but the latch does not respond. Continuing to use a failing cable can leave you unable to open the hood when you need access to the engine.

- ✦ Visible cable damage
Frayed wires or damaged coverings indicate the cable may be unsafe to reuse.
- ✦ No improvement after adjustment
A cable that remains loose after adjustment may have reached the end of its service life.
Professional Repair Considerations
A mechanic can inspect the full hood release system and replace the cable if access is difficult. Some vehicles require removing trim panels or other components to reach the cable routing.