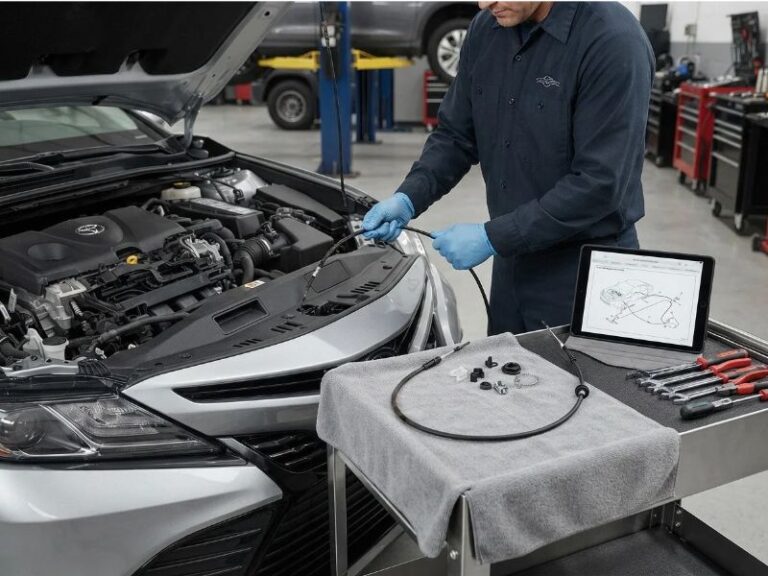
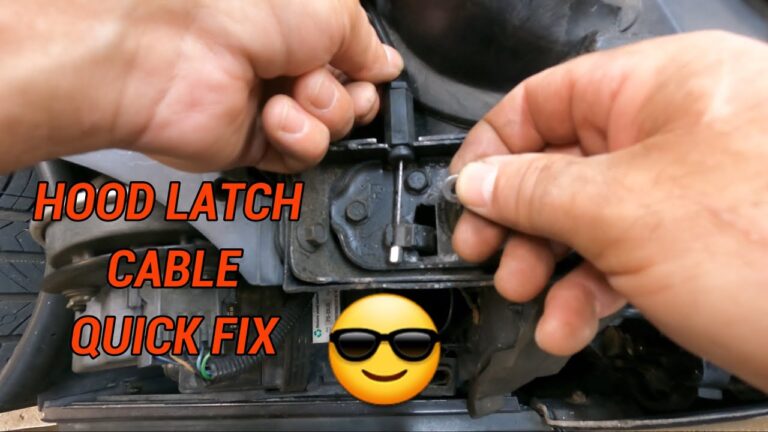
How to Close Hood With Broken Release Cable: Safe Fix Guide
If your hood release cable breaks while the hood is open, you can usually still close the hood because the release cable opens the latch—it does not normally hold the hood closed. However, before lowering the hood, make sure the hood latch has returned to its open position and can engage the hood striker correctly.
The most important part of learning how to close hood with broken release cable is checking the latch before you shut the hood. If the latch is accidentally stuck in the closed position, forcing the hood down can damage the latch, striker, hood, or grille.
There is also another practical concern: once you close the hood, you may not be able to open it again until the broken cable is repaired. If possible, repair or temporarily restore access to the release mechanism before fully closing the hood.
How to Close Hood With Broken Release Cable
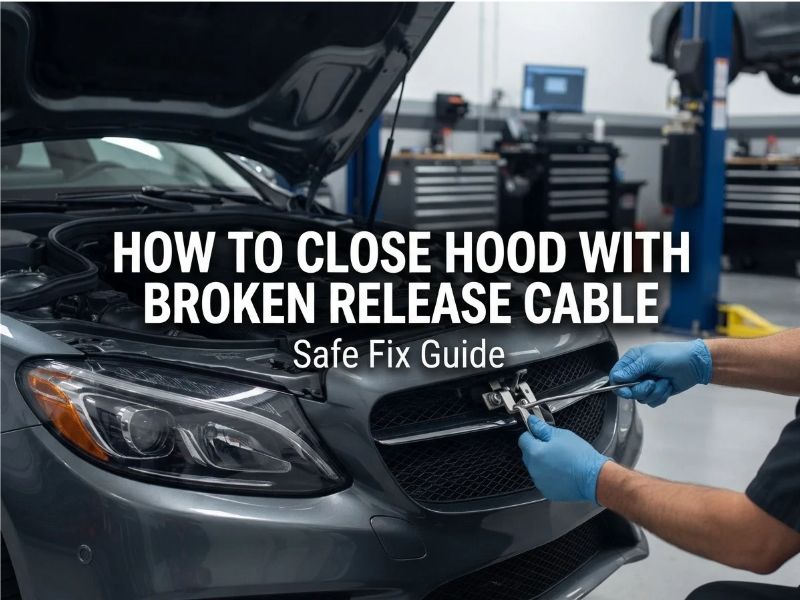
To close a hood with a broken release cable, first inspect the hood latch and make sure it is in the open or ready-to-latch position. Then lower the hood carefully and allow the striker to engage the latch normally.
A safe basic procedure is:
- Keep the hood fully supported while inspecting the latch.
- Locate the hood latch at the front center or side of the engine compartment.
- Make sure the latch mechanism is not already locked closed.
- Reset the latch manually if necessary.
- Check that the striker is aligned with the latch.
- Lower the hood slowly.
- Close it using the vehicle manufacturer’s normal hood-closing method.
- Pull gently upward on the hood afterward to confirm it is secure.
Do not repeatedly slam the hood if it refuses to latch. Something is probably preventing the latch from engaging correctly.
Does a Broken Hood Release Cable Stop the Hood From Closing?
Usually, no.
The hood release cable is used to pull the latch open when you operate the interior hood release handle. Once the cable releases tension, the latch normally returns to its resting position using its own spring.
That means a broken cable does not usually prevent the hood from closing.
However, problems can occur if:
- The cable broke while being pulled and remains under tension
- The latch is stuck in the released position
- The latch has been manually moved into the closed position while the hood is open
- The cable housing is damaged and prevents the latch from returning
- The latch itself is rusty, seized, or broken
The hood should not be forced closed until you know the latch is working correctly.
Check the Hood Latch Before Closing the Hood
With the hood open, locate the primary hood latch.
On many vehicles, it is mounted near the center of the radiator support. Some vehicles use two separate latches, especially certain European cars and larger vehicles.
Look at the opening where the hood striker enters the latch.
The striker is the metal loop, hook, or pin attached to the underside of the hood.
The latch should be positioned so the striker can enter it.
If the latch opening appears blocked by the rotating latch jaw, the mechanism may already be in its closed position.
Do not lower the hood onto a closed latch.
How to Tell if the Hood Latch Is Already Closed
A hood latch can accidentally snap into the locked position while the hood is open.
This often happens when someone pushes the latch mechanism with a screwdriver while troubleshooting a broken cable.
Signs that the latch is already closed include:
- The striker opening is blocked
- The latch jaw is rotated across the opening
- The hood cannot enter the latch normally
- The latch looks as though a striker is already trapped inside it
If you close the hood in this condition, the striker may hit solid metal rather than entering the latch.
That can bend the hood or damage the latch.
How to Reset a Hood Latch Before Closing the Hood
If the latch is stuck in the closed position, it must be reset before you lower the hood.
The exact method varies by vehicle.
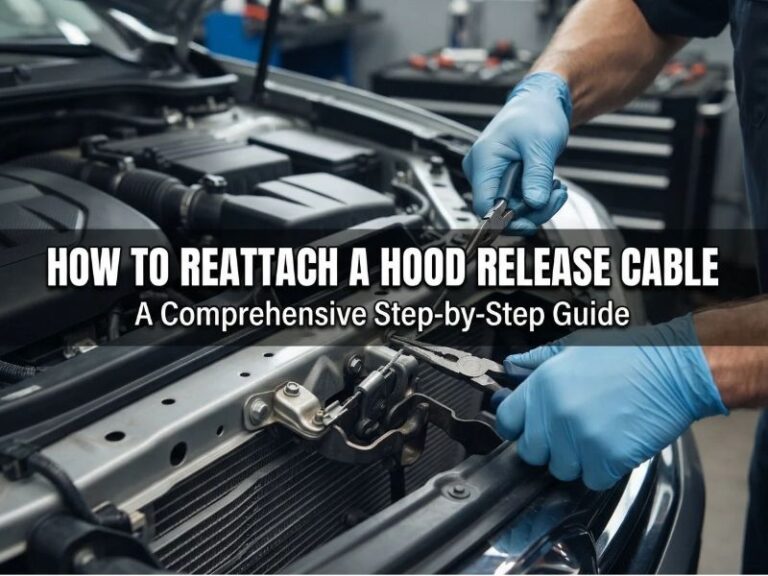
In many simple mechanical latches, you can release the latch by manually operating the same lever that the hood release cable normally pulls.
You may need a screwdriver or pair of pliers to carefully move the release lever.
Once released, the latch jaw should spring back to the open position.
Keep your fingers away from the moving latch mechanism. Hood latches contain strong springs and can pinch your fingers.
If the latch will not reset easily, do not force it. The latch may be seized or the broken cable may still be holding it in an abnormal position.
What if the Broken Cable Is Still Pulling the Latch?
Sometimes a hood release cable fails without completely separating.
For example, the outer cable housing may break while the inner cable remains connected.
This can leave constant tension on the latch.
If the latch stays partially released, the hood may:
- Fail to lock
- Catch only on the safety latch
- Pop back up after closing
- Require repeated slamming
- Appear closed even though the primary latch is not engaged
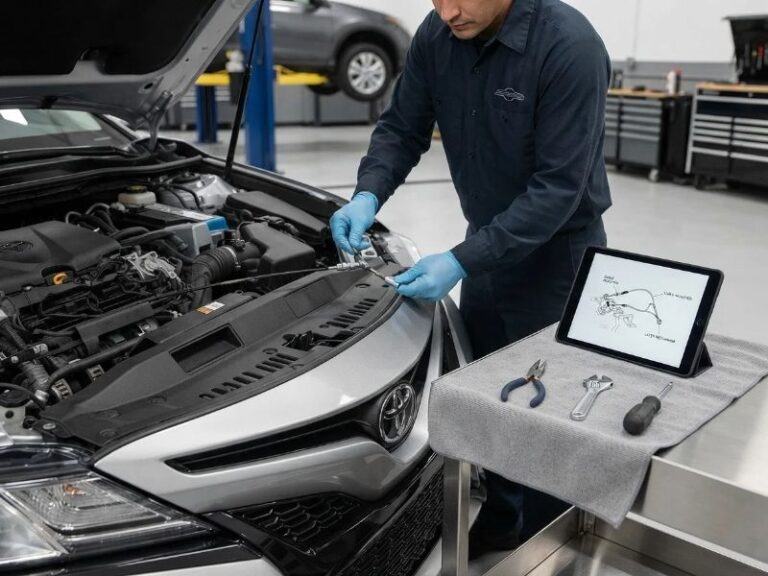
Inspect the cable near the latch if accessible.
If the cable is pulling the release lever, carefully relieve the tension or disconnect the damaged cable from the latch before closing the hood.
Do not cut or disconnect anything unless you understand how the latch works and can still access the release mechanism afterward.
Test the Hood Latch While the Hood Is Open
Before closing the hood, you can test whether the latch operates correctly.
Use a screwdriver with a shaft similar in size to the hood striker.
Carefully push the screwdriver into the latch opening to simulate the hood striker entering.
The latch should move through its locking stages and securely hold the screwdriver.
Then operate the latch release lever manually.
The latch should release and return to its open position.
Remove the screwdriver and confirm that the latch is ready to accept the actual hood striker.
Keep your hands away from the latch during this test.
Make Sure the Safety Latch Works
Most vehicles have a secondary hood safety latch in addition to the main latch.
The secondary latch is designed to prevent the hood from flying fully open if the primary latch is accidentally released while driving.
Inspect the safety catch while the hood is open.
It should:
- Move freely
- Return under spring tension
- Engage the hood correctly
- Not be bent or heavily corroded
A broken release cable does not automatically mean the safety latch is damaged, but both mechanisms should be checked before driving.
How to Lower the Hood Safely
Once you confirm that the latch is open and working properly, align the hood normally.
Lower the hood slowly at first.
Watch the striker as it approaches the latch if visibility allows.
Make sure the striker is centered and not contacting the edge of the latch.
Then close the hood using the normal procedure recommended for the vehicle.
Many hoods are designed to be lowered to a short distance above the latch and released so their weight engages the latch.
Avoid pressing hard on thin sheet metal because you can dent the hood.
Do Not Slam the Hood Repeatedly
If the hood does not latch on the first normal attempt, stop and inspect the mechanism.
Repeated slamming can damage:
- Hood sheet metal
- Striker
- Hood latch
- Radiator support
- Grille
- Headlight mounts
- Hood alignment
A hood that refuses to close usually has an alignment, latch-position, cable-tension, or mechanical problem.
Using more force rarely fixes the underlying issue.
Check That the Hood Is Fully Locked
After closing the hood, verify that the primary latch actually engaged.
Press lightly on the hood near the latch area and then pull upward gently from the front edge.
The hood should remain firmly closed.
If the hood lifts until only the secondary safety catch stops it, the primary latch did not engage.
Do not drive in that condition.
Open or release the hood again and repair the latch problem.
Should You Close the Hood Before Fixing the Cable?
If possible, repairing the broken hood release cable while the hood is already open is usually the better choice.
Once you close the hood, the broken cable may leave you without an easy way to open it again.
That can make the eventual repair more difficult and expensive.
Keeping the hood open allows easier access to:
- Hood latch
- Cable end
- Cable routing
- Release lever
- Cable mounting clips
If you have access to the replacement part and can safely perform the repair, replacing the cable before closing the hood may save considerable trouble.
What if You Must Close the Hood Before Repairing the Cable?
Sometimes you need to close the hood before the cable can be repaired.
For example, you may need to protect the engine compartment from rain or move the vehicle.
Before closing it, think about how the hood will be reopened.
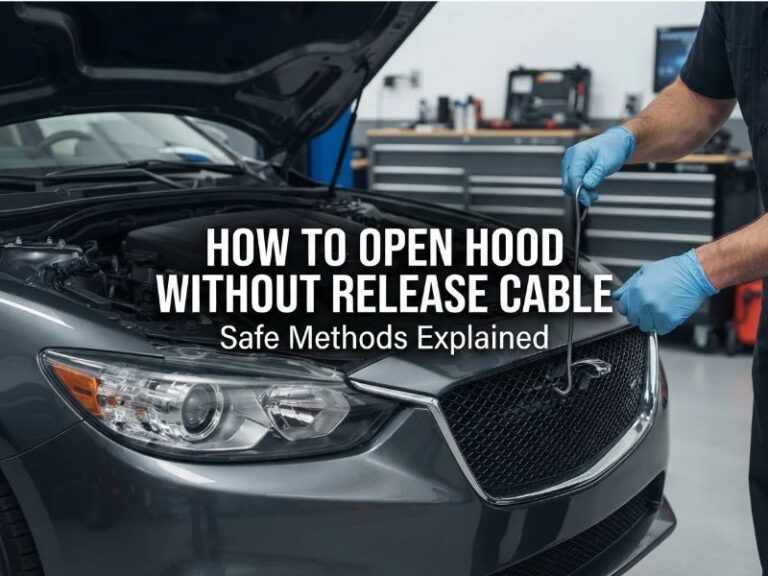
Possible access methods depend on vehicle design and may include reaching the release lever:
- Through the grille
- From underneath the vehicle
- Behind the front bumper area
- Through a wheel-well liner
These methods are not practical on every vehicle.
If you cannot identify a safe way to reopen the hood, consider repairing the cable first.
Can You Leave the Broken Cable Disconnected?
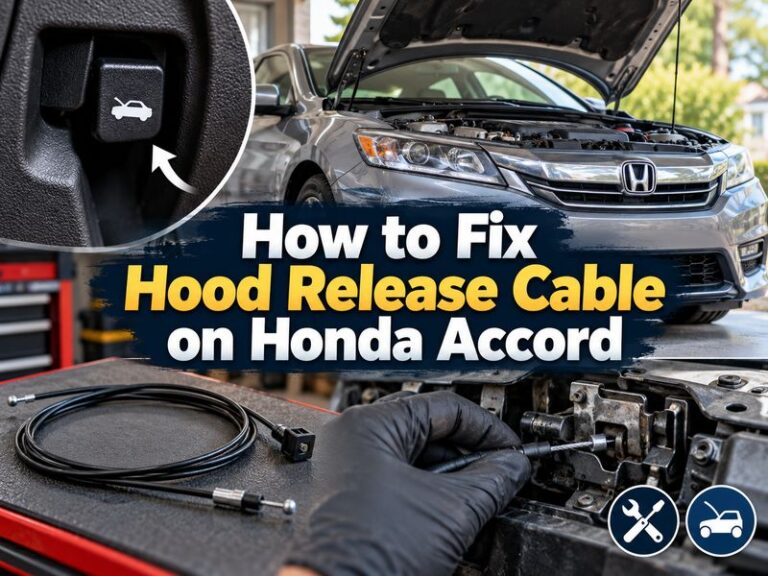
If the cable is damaged and preventing the latch from returning normally, disconnecting the failed cable at the latch may sometimes allow the latch to operate mechanically again.
However, once the cable is disconnected, the normal interior hood release will no longer work.
You will need another reliable way to release the latch until the cable is replaced.
A disconnected cable should be considered a temporary condition, not a permanent repair.
Can You Tie a Temporary Pull Wire to the Hood Latch?
Some DIY repairs involve attaching a temporary wire or cord to the latch release lever so the hood can be reopened after it is closed.
This can sometimes work on simple mechanical latch systems, but it must be done carefully.
A temporary pull wire must not interfere with:
- Radiator fan
- Belts
- Pulleys
- Exhaust components
- Hood locking mechanism
- Electrical wiring
- Steering components
It also must not accidentally pull the hood release while driving.
For these reasons, replacing the actual cable is safer than relying on a temporary pull mechanism.
Why Won’t the Hood Stay Closed After the Cable Breaks?
If the hood will not remain closed, the cable failure may be holding the latch release lever partially open.
Other possible causes include:
- Seized latch
- Broken latch spring
- Misaligned striker
- Bent latch
- Excessive cable tension
- Damaged cable housing
- Incorrect latch adjustment
The hood should not be considered secure until the primary latch positively locks around the striker.
What if the Hood Closes but Pops Back Up?
If the hood catches and then immediately pops upward, the main latch may not be fully engaging.
The secondary safety latch may be the only thing keeping the hood from opening.
Possible causes include:
- Latch stuck partially open
- Cable still pulling the latch
- Misaligned hood striker
- Damaged latch spring
- Dirt or corrosion
- Hood stops adjusted too high
Do not drive until the primary latch is working correctly.
Should You Lubricate the Hood Latch?
A dirty or dry latch can make the release cable harder to operate and may contribute to cable failure.
If the latch is mechanically sound, clean away dirt and old contaminated grease.
Then apply a small amount of appropriate automotive latch lubricant to the moving pivot points.
Operate the latch several times to distribute the lubricant.
Avoid soaking electrical components if the latch contains a hood-position sensor.
Lubrication can improve a sticking latch, but it cannot repair a broken spring, bent mechanism, or snapped cable.
Why Hood Release Cables Break
Hood release cables usually fail because of age, corrosion, excessive tension, or a sticking latch.
Common causes include:
- Rust inside the cable housing
- Frayed inner cable
- Damaged cable sheath
- Seized hood latch
- Excessive force on the release handle
- Sharp bends in the cable
- Broken cable mounting clips
- Normal wear over many years
If the old cable broke because the latch was difficult to operate, service the latch before installing a new cable. Otherwise, the replacement cable may eventually fail for the same reason.
Is It Safe to Drive With a Broken Hood Release Cable?
A broken hood release cable does not normally make the hood open by itself.
The cable releases the latch; it does not hold the hood shut.
If the hood is fully locked by the primary latch and the secondary safety catch works properly, the broken cable itself may not prevent driving.
However, you will lose normal access to the engine compartment.
That can become a problem if you need to:
- Check engine oil
- Inspect coolant
- Access the battery
- Refill washer fluid
- Diagnose overheating
- Perform roadside repairs
Repair the cable as soon as practical.
Most importantly, do not drive if you are uncertain whether the primary hood latch is fully engaged.
When Should You Replace the Hood Release Cable?
Replace the cable if it is:
- Broken
- Frayed
- Severely stretched
- Rusted inside the housing
- Kinked
- Binding
- Damaged at either end
- Pulling unevenly
A cable that simply came disconnected may sometimes be reattached if the cable and retaining hardware are still in good condition.
But a physically damaged cable should generally be replaced rather than patched.
FAQs About how to close hood with broken release cable
Can I close my hood if the hood release cable is broken?
Yes. In most vehicles, you can still close the hood because the release cable only opens the latch.
Before closing it, confirm that the latch is in its open position and can lock around the hood striker.
Will the hood lock without the release cable?
Usually, yes.
The hood latch normally locks mechanically when the striker enters it. The release cable is used to unlock the latch afterward.
A damaged cable can interfere with locking if it keeps tension on the release lever.
Why won’t my hood latch after the cable broke?
The damaged cable may be holding the latch partially released, or the latch itself may be stuck.
Check whether the latch is open, whether the release lever returns freely, and whether the striker is aligned correctly.
Can I manually reset a hood latch?
Many mechanical hood latches can be manually reset by moving the release lever and allowing the latch jaw to return to its open position.
The exact method varies by vehicle.
Keep your fingers away from the latch because the spring-loaded mechanism can snap shut.
Should I fix the cable before closing the hood?
Whenever practical, yes.
Replacing or reconnecting the cable while the hood is already open is usually much easier than trying to open the hood again after it has been closed with a broken release cable.
Can I drive after closing the hood with a broken cable?
You may be able to drive if the hood is fully secured by the primary latch and the secondary safety catch is functioning.
Do not drive if the hood is only resting on the safety catch or if you are unsure whether the main latch engaged.
What happens if I close the hood while the latch is already locked?
The hood striker may strike the closed latch instead of entering it.
This can damage the striker, latch, hood, or surrounding bodywork.
Always reset a closed latch before lowering the hood.
Conclusion
The safest way to handle how to close hood with broken release cable is to first confirm that the hood latch is in its normal open position and is not being held partially released by the damaged cable. Test the latch, check the striker alignment, and make sure the primary latch can lock securely before lowering the hood.
If possible, repair the hood release cable while the hood is still open. Once the hood is closed, reopening it can be much harder. If you must close it first, verify that the hood is fully latched before driving and arrange to replace the damaged cable as soon as practical.