How to Fix Hood Release Cable on Honda Accord: Step-by-Step Guide
If the hood release handle on your Honda Accord feels loose, pulls without opening the hood, or suddenly stops working, the problem may be the cable rather than the hood latch itself. A hood release cable can stretch, disconnect from the handle, come out of its retaining bracket, or eventually break.
Learning how to fix hood release cable on Honda Accord starts with identifying exactly where the failure occurred. If the cable merely came loose, you may only need to reconnect it. If the inner cable is frayed, rusted, stretched, or snapped, replacing the complete hood opener cable is usually the better repair.
Honda Accord designs vary by model year and generation, so trim removal and cable routing are not identical on every car. However, the cable generally runs from the driver’s-side hood release handle, through the firewall area, along the left side of the vehicle, and forward to the hood latch.
This guide explains how to diagnose the problem, open the hood if necessary, reconnect or replace the cable, and test the repair before closing the hood.
How to Fix Hood Release Cable on Honda Accord
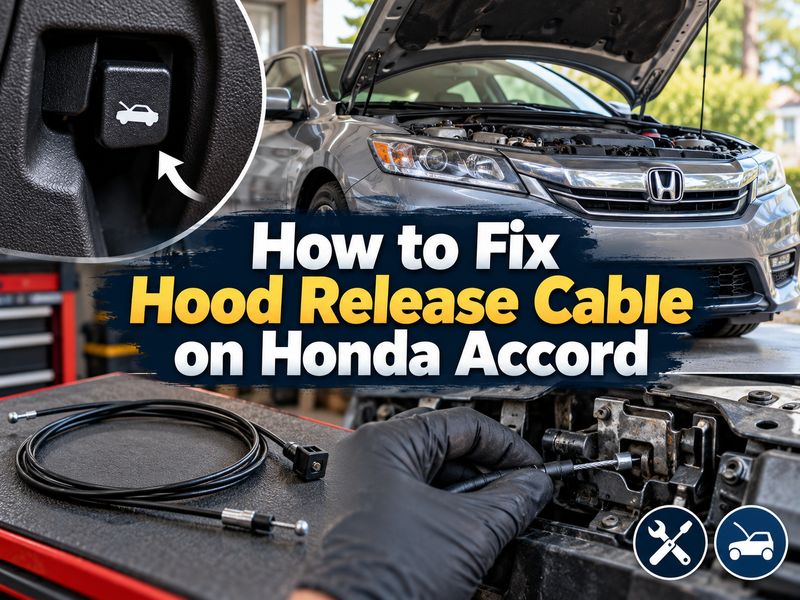
To fix hood release cable on Honda Accord, inspect the driver’s-side release handle first. Make sure the cable end and outer housing are still attached. If they are secure, inspect the cable at the hood latch. Reconnect a loose cable, but replace the complete cable if it is broken, badly stretched, corroded, or frayed.
A typical Honda Accord cable replacement involves:
- Opening the hood.
- Removing the driver’s-side kick panel or related trim.
- Disconnecting the cable from the interior hood release handle.
- Disconnecting it from the hood latch.
- Removing cable clips and the firewall/body grommet.
- Routing the replacement cable along the original path.
- Reconnecting both ends.
- Testing the latch several times before closing the hood.
Some Accord generations require additional access through the driver’s-side inner fender, grille area, fender trim, or radiator-support area.
How the Honda Accord Hood Release System Works
The Honda Accord uses a mechanical hood release system.
When you pull the lever near the driver’s footwell, the inner steel cable slides inside a protective outer housing. This movement pulls a lever on the hood latch.
The primary latch releases and allows the hood to rise slightly. You then operate the secondary safety latch at the front of the hood before lifting it fully.
The system depends on two things happening correctly:
- The inner cable must move freely.
- The outer cable housing must remain securely anchored.
If the housing slips out of a bracket, pulling the handle may simply move the whole cable assembly instead of pulling the latch lever.
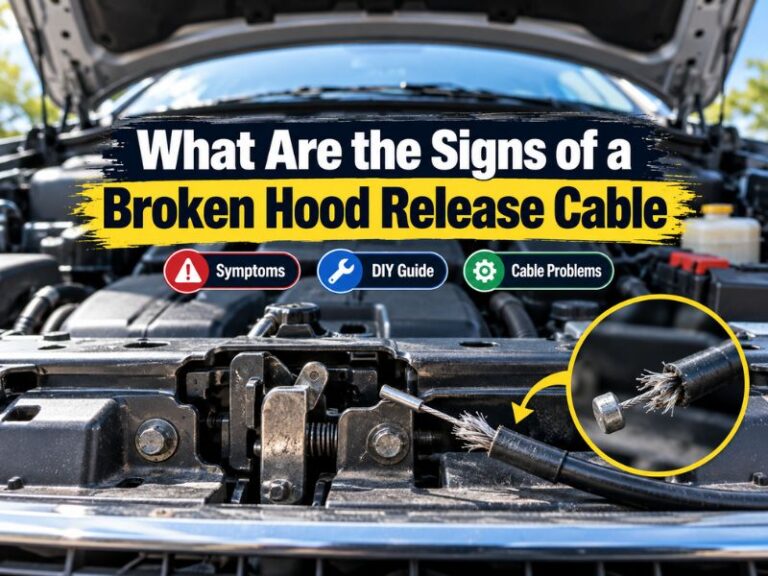
Signs the Honda Accord Hood Release Cable Is Bad
Different symptoms can point toward different failures.
| Symptom | Likely Cause |
| Hood release handle suddenly feels loose | Cable disconnected or broken |
| Handle moves much farther than before | Stretched cable or loose housing |
| Handle has resistance but hood stays closed | Sticky latch, stretched cable, or partial cable failure |
| Cable is visible behind a broken handle | Handle or attachment point may have failed |
| Hood opens only after several pulls | Cable slack or latch resistance |
| Release becomes harder over time | Binding cable or corroded latch |
Do not automatically replace the cable just because the hood does not open. A dirty or misaligned latch can create similar symptoms.
Check the Interior Hood Release Handle First
On most Honda Accords, the hood release handle is located low on the driver’s side near the kick panel.
Pull the handle gently and notice whether you feel resistance.
If the Handle Is Completely Loose
A completely loose handle commonly means:
- The cable end came out of the handle.
- The plastic handle broke.
- The cable housing slipped out.
- The inner cable snapped.
Remove the driver’s-side kick panel or lower trim as necessary so you can inspect the connection.
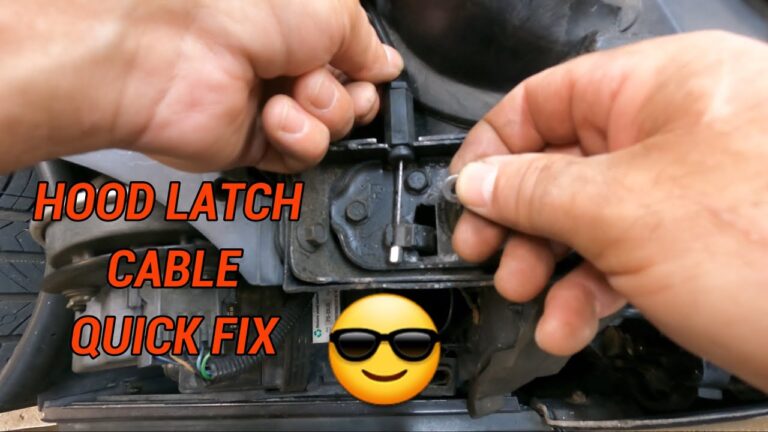
If the Cable Came Off the Handle
The cable may have a small barrel-shaped or hooked fitting that fits into the release handle.
Reconnect the cable end to its proper slot and make sure the outer cable housing locks securely into its bracket.
Test the handle while the trim is still removed.
If the cable moves smoothly and the hood releases normally, replacement may not be necessary.
How to Open a Honda Accord Hood if the Cable Is Broken
You usually need the hood open before replacing the entire cable.
The easiest method depends on where the cable failed.
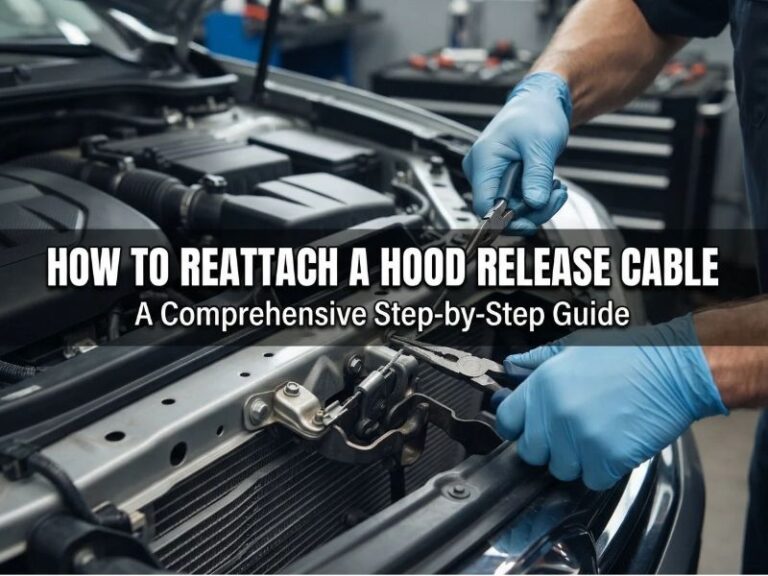
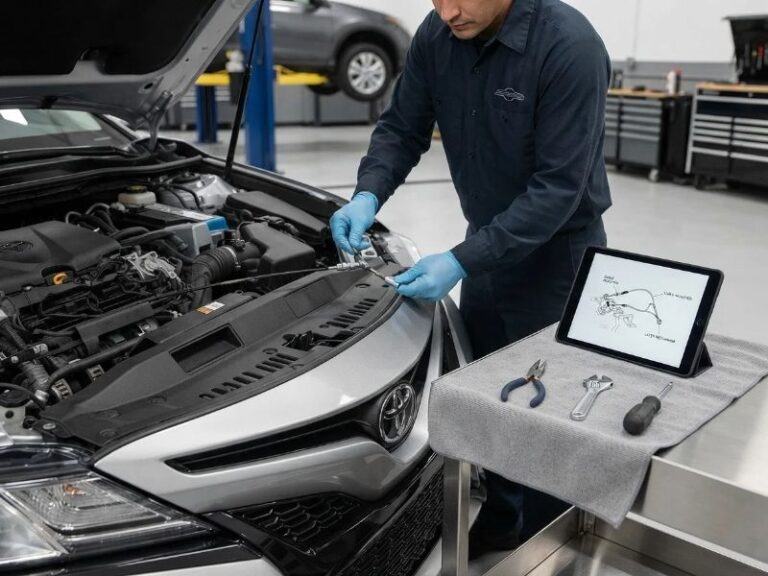
Pull the Exposed Cable With Pliers
If the interior handle broke or the cable disconnected near the driver’s footwell, remove enough trim to expose the inner cable.
Grip the metal cable with locking pliers and pull steadily.
If the cable is still connected to the hood latch, the hood should release.
Do not jerk the cable aggressively. A partially damaged cable can fray or break completely.
Have Someone Press Down on the Hood
If the cable still has some tension, have another person gently press downward on the hood directly above the latch while you pull the release handle.
This can temporarily reduce pressure on a sticking latch.
If this works, inspect the latch and cable before closing the hood again.
Access the Latch From the Front or Below
A completely broken cable near the latch can be more difficult.
Depending on the Accord model year, accessing the hood latch may require working through or around:
- The grille area
- Lower splash shields
- The driver’s-side inner fender
- Radiator-support components
Avoid forcing tools through the grille when you cannot see the latch clearly. Damage to the grille, radiator, condenser, wiring, or sensors can turn a relatively inexpensive cable repair into a much larger job.
Tools You May Need
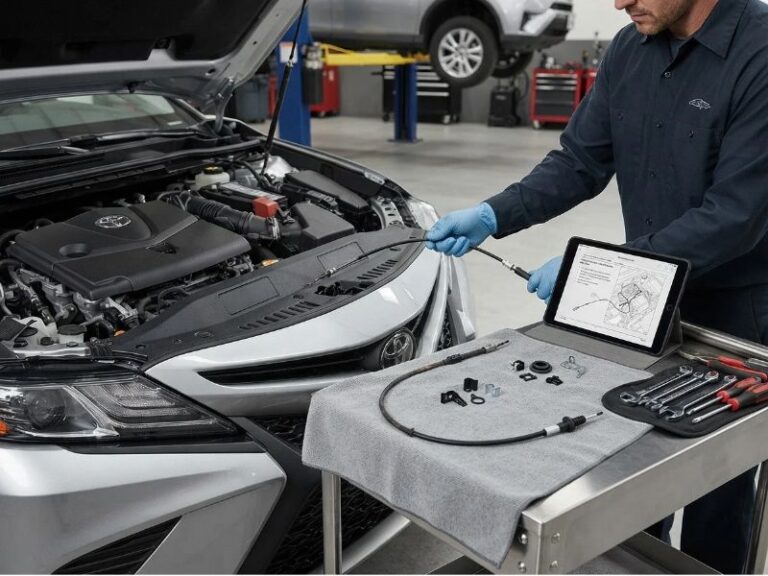
Common tools for Honda Accord hood cable repair include:
- Trim removal tool
- Phillips and flat-head screwdrivers
- Socket and ratchet set
- Pliers
- Locking pliers
- Flashlight
- Clip remover
- Replacement hood opener cable
- Replacement trim clips if needed
- Automotive latch lubricant
The exact socket sizes and trim fasteners depend on the model year.
How to Replace a Honda Accord Hood Release Cable
Once the hood is open and you have confirmed that the cable is damaged, replacement is usually the most reliable repair.
1. Turn the Engine Off and Let It Cool
Do not work around the radiator, cooling fans, or engine compartment while the engine is hot.
Some electric cooling fans can operate automatically under certain conditions, so keep your hands and tools clear of the fan area.
2. Remove the Driver’s-Side Kick Panel
Move to the interior of the car.
Remove the driver’s-side kick panel or lower trim surrounding the hood release handle.
Honda often uses a combination of clips, trim retainers, and fasteners. Use a trim tool rather than aggressively prying with a screwdriver.
Older and newer Accord generations use different trim arrangements, so remove only the pieces necessary to reach the handle and cable.
3. Disconnect the Cable From the Hood Release Handle
Locate the cable attached to the back of the release handle.
Depending on the design, you may need to remove the handle from its mounting point first.
Rotate the handle or cable fitting enough to release the cable end.
Then remove the outer cable housing from its retaining bracket.
Be careful not to kink the cable if you are inspecting it for possible reuse.
4. Disconnect the Cable From the Hood Latch
Move to the engine compartment.
Locate the hood latch at the front of the vehicle and find where the cable attaches to the latch lever.
Release the outer housing from its bracket.
Move the latch lever slightly if necessary and unhook the cable end.
Taking a photo before disassembly can make installation easier.
5. Remove the Cable Retaining Clips
The cable is held to the vehicle by several clips or retainers.
Follow the cable from the hood latch toward the driver’s side and release each clip.
Honda service procedures for several Accord generations specifically call for replacing damaged or weakened clips rather than reusing them.
Do not leave the new cable hanging loosely in the engine compartment.
6. Remove the Cable Grommet
The hood cable passes through a body opening using a rubber grommet.
Carefully remove the grommet and free the cable from the body.
Try not to damage the opening or nearby wiring.
The replacement grommet must seal properly during installation to help keep water, dirt, noise, and engine-compartment odors out of the cabin.
7. Remove the Old Cable
Once both ends, clips, and grommet are free, carefully remove the cable.
Pay close attention to the original routing.
Do not simply pull the cable out without observing where it runs. Correct routing matters because the cable must avoid sharp edges, heat, moving components, and excessive bends.
Installing the New Honda Accord Hood Release Cable
Installation is generally the reverse of removal, but several details are especially important.
Follow the Original Routing
Route the new cable exactly where the old cable ran whenever possible.
On several Accord generations, the cable travels along the driver’s or left side of the car and is secured by factory clips.
Avoid routing the cable near:
- Exhaust components
- Belts
- Pulleys
- Cooling fans
- Sharp sheet metal
- Steering components
- Hot engine surfaces
Do not create tight bends.
A kinked cable can become difficult to pull and may fail prematurely.
Seat the Grommet Completely
Push the rubber grommet firmly into its body opening.
Check around the entire edge to make sure it is properly seated.
Secure Every Cable Clip
Reconnect all factory clips.
Replace clips that are broken, cracked, or no longer grip securely.
Keeping the cable in its original position prevents vibration and protects it from rubbing against surrounding components.
Connect the Cable to the Hood Latch
Insert the cable end into the latch release lever.
Then lock the outer housing into the latch bracket.
The housing must remain stationary when the interior handle is pulled.
Connect the Cable to the Interior Handle
Reconnect the opposite end to the driver’s-side hood release handle.
Make sure the fitting is fully seated and the cable housing is secured in its holder.
Operate the handle several times while watching the cable.
It should move smoothly without excessive slack.
Test the Honda Accord Hood Latch Before Closing the Hood
Do not skip this step.
Closing the hood immediately after replacing the cable can leave the hood stuck again if something was installed incorrectly.
With the hood still open, use a screwdriver to carefully move the primary hood latch into the closed position.
Keep your fingers away from the latch.
Pull the interior release handle.
The latch should spring back into the released position.
Repeat this test several times.
Confirm that:
- The release handle has normal resistance.
- The cable moves smoothly.
- The latch releases completely.
- The latch returns normally.
- The cable housing stays in its brackets.
Only close the hood after the mechanism works consistently.
Check the Hood Latch Before Finishing the Repair
A bad latch can damage a new cable.
Move the latch manually and check whether it feels stiff.
A properly functioning latch should move smoothly and return under spring pressure.
Look for:
- Rust
- Heavy dirt
- Bent metal
- Damaged springs
- Excessive friction
- Loose mounting hardware
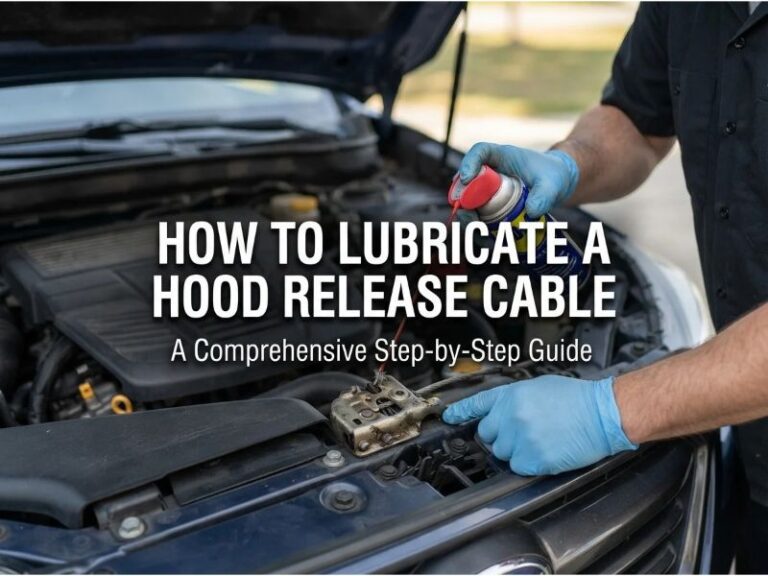
Clean the latch if necessary and apply a suitable automotive latch lubricant to the moving contact points.
Do not cover the entire latch in excessive lubricant because it can collect dirt.
Honda Accord Model-Year Differences
The basic hood cable design is similar across many Accord generations, but access varies.
For example, factory-style procedures for different generations may involve removing some combination of:
- Driver’s-side kick panel
- Left or driver’s-side inner fender
- Front grille or grille cover
- Fender trim
- Splash shield
- Radiator-support components
Some older Accords require more front-end disassembly than newer models.
For this reason, the safest approach is to use the correct replacement cable for your exact year, body style, and engine configuration.
Do not assume a cable from another Accord generation will fit simply because it looks similar.
What if the Cable Is Not Broken?
Sometimes the problem can be repaired without installing a new cable.
Cable Housing Came Out of the Bracket
Push the housing back into its retaining bracket and secure it properly.
A loose housing can cause the handle to move without pulling the latch far enough.
Cable Came Off the Handle
Reconnect it if the cable end and handle are undamaged.
Replace the handle if the slot or attachment point has broken.
Hood Latch Is Sticking
Clean and lubricate the latch.
If the latch is badly corroded, bent, or damaged, replacing the latch may be necessary.
Cable Has Too Much Slack
Make sure both ends of the housing are correctly seated.
If everything is connected correctly but the inner cable has become permanently stretched, replacement is usually the best option.
Common Mistakes to Avoid
Closing the Hood Before Testing
This is one of the easiest ways to turn a simple repair into another stuck-hood problem.
Always test the latch manually first.
Reusing a Frayed Cable
A cable with broken strands may still work temporarily, but it is already failing.
Replace it.
Leaving Cable Clips Loose
An unsecured cable can rub against nearby parts or change position enough to affect latch operation.
Kinking the New Cable
A sharp bend increases internal friction and can make the handle difficult to pull.
Ignoring a Stiff Latch
If the old cable failed because the latch required excessive force, installing a new cable without addressing the latch can cause the same problem again.
When Should You Replace the Cable Instead of Repairing It?
Replace the hood release cable if you see:
- Broken steel strands
- Heavy corrosion
- A completely snapped inner cable
- A crushed outer housing
- Melted cable housing
- Permanent kinks
- Excessive stretching
- Damaged end fittings
A hood release cable is a mechanical component that must work reliably. Improvised splices are generally not a good long-term repair.
When Professional Repair Makes More Sense
Consider having a technician handle the repair if the hood is stuck closed and you cannot safely reach the latch.
Professional help may also make sense if:
- Major grille or bumper components must be removed.
- The latch is severely damaged.
- The cable broke in an inaccessible area.
- The hood is misaligned.
- The new cable will not operate the latch properly.
- You are unsure whether the primary and secondary latches are securing the hood correctly.
Because the hood is a safety-critical body component, it should always close and latch securely before the vehicle is driven.
FAQs About How to Fix Hood Release Cable on Honda Accord
Can You Fix a Honda Accord Hood Cable Without Replacing It?
Yes, if the cable simply disconnected from the handle, latch, or retaining bracket.
A snapped, stretched, badly rusted, or frayed cable should normally be replaced.
Where Is the Honda Accord Hood Release Cable Located?
The cable begins at the hood release handle near the driver’s footwell and runs forward toward the hood latch at the front of the vehicle.
The exact routing varies by Accord generation.
Why Is My Honda Accord Hood Release Handle Loose?
A loose handle often means the cable disconnected from the handle, the cable housing came out of its bracket, the handle broke, or the inner cable snapped.
Inspect the connection behind the driver’s-side kick panel.
Can I Pull the Honda Accord Hood Cable With Pliers?
Yes, if an intact section of the inner cable is exposed.
Grip it carefully with locking pliers and pull steadily to operate the latch.
This can help open the hood, but it does not permanently repair a damaged cable.
Why Does My Honda Accord Hood Release Work Only Sometimes?
Intermittent operation can result from a stretched cable, loose housing, dirty latch, misaligned latch, or internal cable corrosion.
Inspect the entire system before the cable fails completely.
Can a Sticking Hood Latch Break the Cable?
Yes. A latch that requires excessive force can place additional strain on the cable and release handle.
Clean, lubricate, adjust, or replace the latch as necessary.
Should I Lubricate a New Hood Release Cable?
The replacement cable is normally installed as supplied. Avoid filling the cable housing with random lubricant unless the cable manufacturer or vehicle service information specifically recommends it.
The hood latch itself can be lubricated with a suitable automotive latch lubricant.
Can I Drive a Honda Accord With a Broken Hood Release Cable?
The car may still drive if the hood is fully closed and both latches are secure, but the cable should be repaired promptly.
A working hood release may be needed unexpectedly to access the battery, inspect fluids, or diagnose overheating.
Conclusion
Knowing how to fix hood release cable on Honda Accord starts with determining whether the cable has simply disconnected or has actually failed. A loose connection at the driver’s-side release handle or hood latch may only need to be reattached, while a frayed, stretched, corroded, or broken cable is normally best replaced.
Route the replacement cable exactly like the original, secure every clip and the body grommet, and make sure both ends of the outer housing are firmly anchored. Before closing the hood, manually test the latch several times with the hood open.
If the latch remains difficult to operate or the hood cannot be opened safely, professional repair is preferable to forcing access and damaging the grille, radiator-area components, or hood.