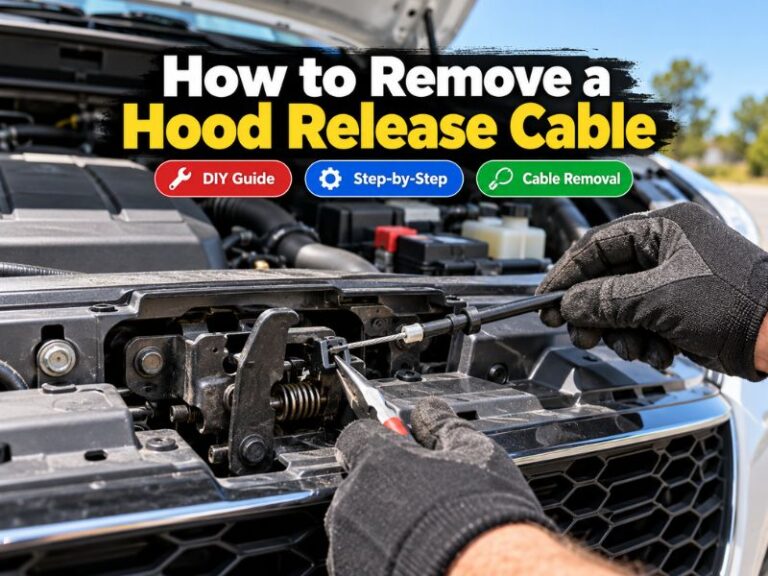
How to Fix Hood Latch Sensor on Volvo XC60: Complete Troubleshooting Guide
Learning how to fix hood latch sensor on Volvo XC60 problems starts with understanding how the system works. The sensor tells the vehicle computer whether the hood is closed. When it fails, drivers may see a hood open warning, alarm issues, or problems with security features.
From routine Volvo maintenance experience, many hood latch sensor problems are caused by simple issues like dirt buildup or a loose connector. A careful inspection can often save time and money before replacing parts. This guide explains practical steps for Volvo XC60 owners in the USA who want to diagnose the issue safely.
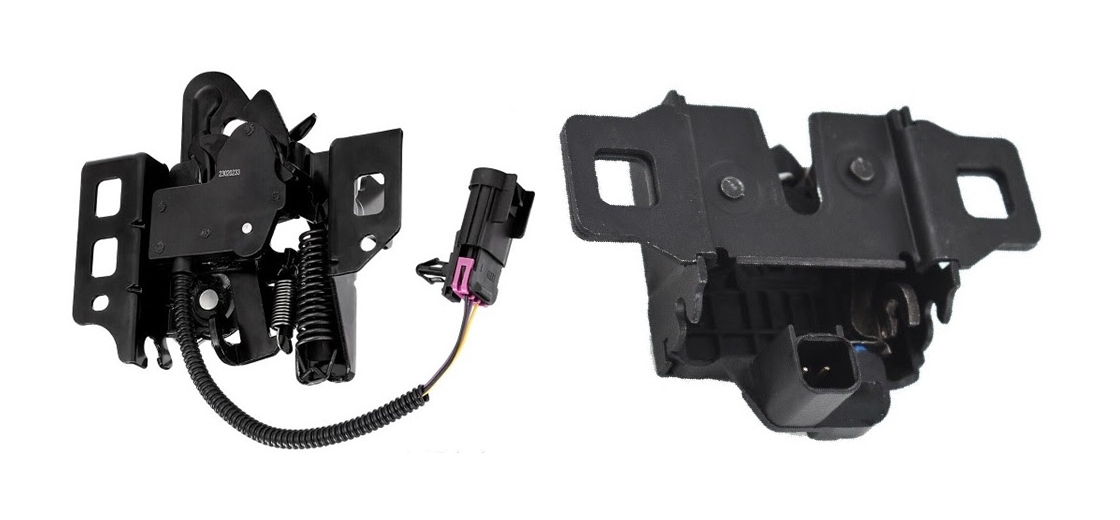
Understanding the Volvo XC60 Hood Latch Sensor System
The hood latch sensor is a small switch built into or attached to the hood latch mechanism. It detects when the hood reaches the locked position. The Volvo XC60 uses this information for warning messages, alarms, and vehicle security functions.
Before learning how to fix hood latch sensor on Volvo XC60, it helps to know that the sensor is not always the only problem. A dirty latch, damaged cable, poor alignment, or electrical fault can create the same symptoms.
- ✦ Hood open warning
The dashboard may show a hood open message even when the hood appears fully closed.
- ✦ Alarm problems
A faulty sensor can confuse the security system and cause unexpected alarm behavior.
- ✦ Electrical connection faults
Loose plugs or damaged wires can stop the sensor from sending the correct signal.
Common Causes of Hood Latch Sensor Failure
The most common causes include dirt, rust, moisture, and normal wear. The latch area sits near the front of the vehicle, so it can collect road debris over time.
A Volvo XC60 driven through snow, rain, or dusty roads may need more frequent latch cleaning. Regular inspection helps prevent small problems from becoming larger repairs.
- ✦ Dirty latch mechanism
Grease, dust, and debris can prevent the latch sensor from moving correctly.
- ✦ Worn sensor switch
The internal switch can fail after years of repeated hood openings.
Check the Hood Latch Before Replacing the Sensor
Many owners searching how to fix hood latch sensor on Volvo XC60 replace parts too quickly. Start with a visual inspection because the issue may come from the latch itself.
Park the vehicle safely, turn off the ignition, and open the hood. Look for signs of dirt, broken parts, loose connectors, or anything stopping the latch from closing fully.

- ✦ Inspect the latch position
Make sure the hood closes completely and the latch grips firmly.
- ✦ Look for visible damage
Check for cracks, corrosion, broken clips, or damaged wiring near the latch.
Testing the Hood Closure
Close the hood gently and confirm it locks in place. A hood that sits slightly high can prevent the sensor from detecting the closed position.
If the warning disappears when you press down on the hood, the latch may need adjustment or cleaning rather than a new sensor.
- ✦ Check hood alignment
Misalignment can stop the latch from reaching the correct sensor position.
Clean the Volvo XC60 Hood Latch Sensor Area
Cleaning is one of the easiest steps when learning how to fix hood latch sensor on Volvo XC60. Dirt can block movement and prevent the sensor from reading the hood position correctly.
Use a suitable automotive cleaner and a soft cloth. Avoid forcing the latch or spraying large amounts of liquid into electrical connectors.

- ✦ Remove debris
Wipe away dirt, leaves, and buildup around the latch opening.
- ✦ Lubricate moving parts
Apply a small amount of proper latch lubricant after cleaning.
Cleaning Safety Tips
Keep the ignition off while working around the latch area. This reduces the chance of electrical problems during inspection.
After cleaning, open and close the hood several times to help the latch move freely.
- ✦ Avoid harsh chemicals
Strong cleaners may damage plastic parts or electrical components.
Inspect the Hood Latch Sensor Wiring and Connector
If cleaning does not solve the issue, inspect the wiring. A loose connector or damaged wire can interrupt the signal between the hood sensor and the vehicle computer.
Carefully check the plug near the latch area. Look for corrosion, broken insulation, or wires that have pulled away from the connector.

- ✦ Check connector security
Make sure the electrical plug sits firmly in place.
- ✦ Inspect wire condition
Replace or repair damaged wiring before installing new parts.
When Electrical Testing Helps
A multimeter can help confirm whether the sensor sends the correct signal. If you are not comfortable testing electrical systems, a professional technician can perform this step.
Proper testing prevents replacing a working sensor when the real issue is wiring or another component.
- ✦ Professional diagnosis
A repair shop can scan vehicle systems and confirm sensor-related faults.
Replace the Hood Latch Assembly If the Sensor Has Failed
On many Volvo XC60 models, the hood latch sensor is part of the latch assembly. This means replacing the entire latch may be required instead of replacing only a small switch.
When researching how to fix hood latch sensor on Volvo XC60, confirm your exact model year and part number. Volvo XC60 designs can vary between generations.

- ✦ Confirm the correct replacement part
Match the new latch assembly with your XC60 year and trim level.
- ✦ Test after installation
Confirm the hood warning disappears and the security system works correctly.
When to Visit a Professional Technician
Professional help is useful when the warning remains after cleaning, wiring checks, and latch inspection. A technician can diagnose deeper electrical faults.
Safety matters because the hood latch keeps the hood secure while driving.
- ✦ Persistent warning
A constant hood warning may indicate a deeper vehicle communication issue.