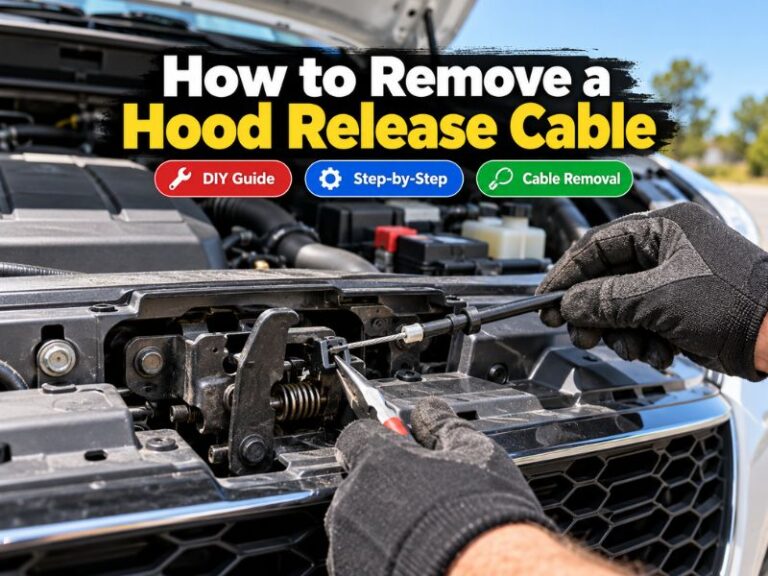
How to Reattach a Hood Release Cable: Step-by-Step Guide
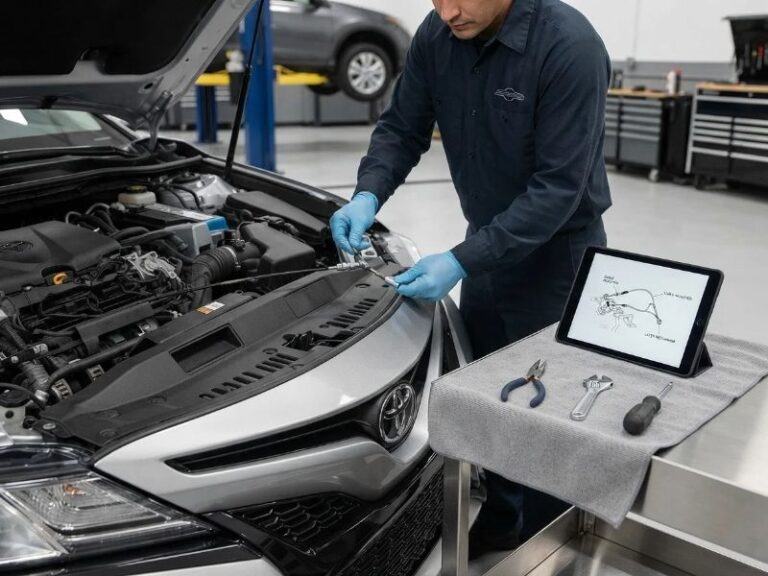
A hood release cable can come loose from the interior handle, slip out of its mounting bracket, or disconnect from the hood latch. When that happens, pulling the release handle may do nothing even though the cable itself is still in good condition.
Learning how to reattach a hood release cable can save you from replacing parts unnecessarily. In many cases, the repair simply involves reconnecting the cable end to the release handle or latch and making sure the outer cable housing is firmly seated in its retaining bracket.
The exact attachment design varies between vehicles, but the basic system is similar on most cars and trucks.
This guide explains how to identify where the cable disconnected, reconnect it correctly, and test the hood latch before closing the hood.
How to Reattach a Hood Release Cable
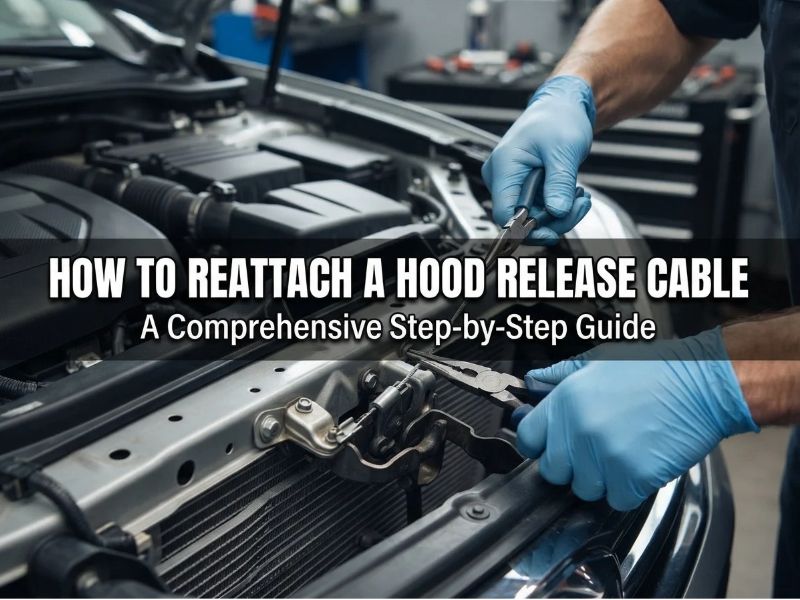
To reattach a hood release cable, first determine whether it disconnected at the interior release handle or at the hood latch. Hook the cable end back into the correct lever, secure the outer cable housing in its bracket, and test the latch several times before closing the hood.
A basic reattachment usually involves:
- Gaining access to the disconnected cable.
- Inspecting the cable for damage.
- Hooking the cable end back into the release lever.
- Securing the cable housing.
- Checking cable movement.
- Testing the hood latch with the hood open.
- Closing and reopening the hood only after the mechanism works correctly.
If the cable end, housing, bracket, or handle is broken, simply reconnecting the cable may not provide a reliable repair.
How the Hood Release Cable Is Attached
Most hood release systems use a flexible steel cable running from the driver’s compartment to the hood latch.
The system generally includes:
- An interior hood release handle
- A metal inner cable
- A protective outer cable housing
- Retaining clips or brackets
- A hood latch release lever
- A secondary safety latch
At each end, the inner cable typically has a small barrel, hook, or molded fitting.
The outer housing must also be anchored firmly. This is important because the inner cable can only pull the latch properly when the housing stays stationary.
If either the cable end or housing comes loose, the hood release may stop working.
First Determine Where the Cable Came Loose
Before removing parts, pull the interior hood release handle gently and pay attention to how it feels.
The Handle Feels Completely Loose
A loose handle often means the cable has disconnected from the handle or the cable has broken.
Remove the lower trim panel or release-handle cover and inspect the connection.
The Handle Has Some Resistance but the Hood Does Not Open
This may mean:
- The cable disconnected at the latch.
- The cable housing came out of its bracket.
- The cable has stretched.
- The latch is sticking.
- The cable is partially damaged.
The Cable Is Visible Behind the Handle
If you can see an intact metal cable behind a broken or disconnected handle, the cable may only need to be reattached.
The Cable Is Loose Near the Hood Latch
If the hood is already open and the cable is hanging near the latch, inspect the latch lever and cable bracket. The cable end may have slipped out while the housing remained attached.
How to Reattach the Cable to the Interior Hood Release Handle
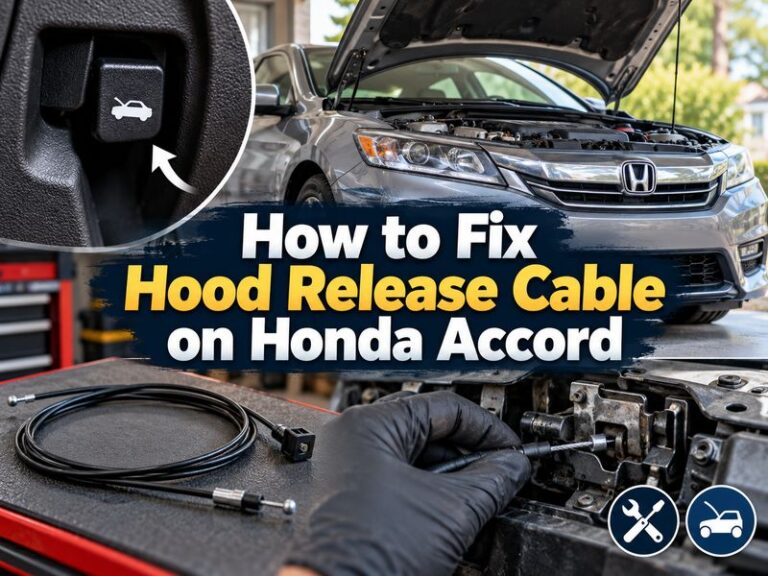
The interior handle is usually located under the dashboard near the driver’s kick panel.
1. Remove the Hood Release Handle Cover or Trim
Depending on the vehicle, you may need to remove:
- A kick panel
- A lower dashboard panel
- One or more screws
- Plastic trim clips
Use a trim removal tool when possible to reduce the chance of breaking plastic clips.
2. Inspect the Handle
Look at the backside of the release handle.
Most hood release handles have a slot or hole that holds the cable end.
Check whether:
- The cable end slipped out.
- The plastic handle is cracked.
- The cable housing came loose.
- The mounting bracket is broken.
If the handle itself is damaged, replacing the handle may be necessary.
3. Pull Enough Cable Forward to Work With It
Gently pull the cable toward you.
Do not use excessive force.
If the cable moves freely and is not frayed, you can usually reconnect it.
4. Hook the Cable End Into the Handle
Rotate or position the handle so the slot lines up with the cable end.
Insert the barrel or hook-shaped end into the appropriate opening.
Then guide the inner cable into the groove or channel in the handle.
The cable should sit naturally without being bent sharply.
5. Secure the Cable Housing
This step is easy to overlook.
The outer housing normally snaps or locks into a bracket near the release handle.
Make sure the housing is fully seated.
If the outer housing moves whenever you pull the handle, the latch may not receive enough cable movement to open.
6. Test the Handle Before Reinstalling Trim
Pull the release handle several times while watching the cable.
The cable should move smoothly and return when the handle is released.
Do not reinstall the trim until you know the connection works.
How to Reattach the Cable to the Hood Latch
If the cable came loose at the front of the vehicle, the hood should ideally already be open before starting this repair.
1. Locate the Hood Latch
The primary hood latch is normally mounted near the center of the radiator support, although some vehicles use a different location or more than one latch.
Look for the cable entering the latch assembly.
2. Identify the Release Lever
The cable normally connects to a small lever on the latch.
Pulling this lever releases the primary latch.
Observe how the lever moves before reconnecting anything.
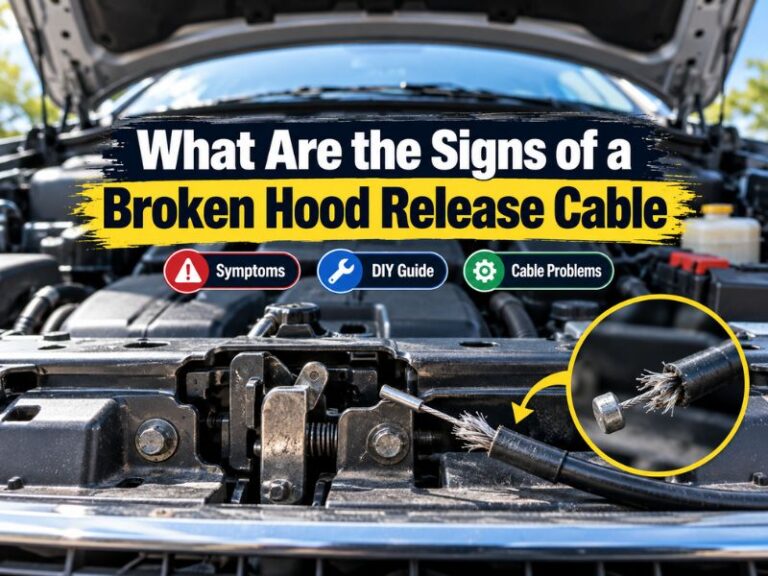
3. Inspect the Cable End
Check the metal end for:
- Fraying
- Cracks
- Rust
- Missing fittings
- Bending
If the end is badly damaged, replacement is safer than attempting to reuse it.
4. Seat the Cable Housing in Its Bracket
The outer cable housing usually fits into a metal or plastic bracket near the latch.
Push the housing firmly into its holder until it is fully seated.
Some designs use:
- Plastic locking tabs
- Spring clips
- U-shaped retaining clips
- Snap-in fittings
Make sure the retainer is secure.
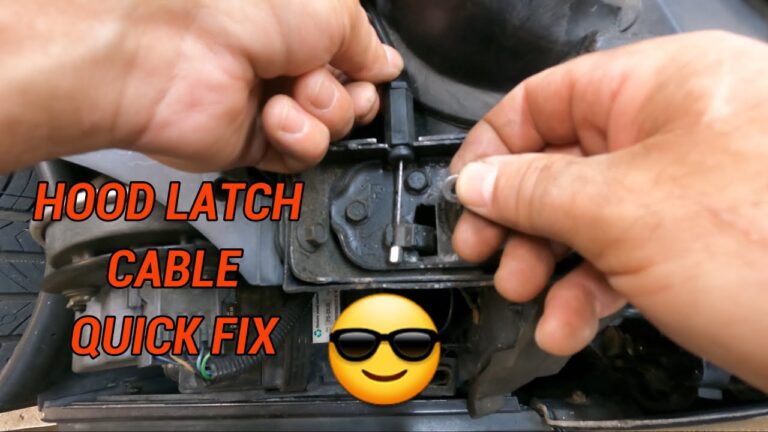
5. Hook the Inner Cable Into the Latch Lever
Move the latch lever slightly by hand if necessary.
Insert the cable’s barrel or hook into the corresponding slot or hole.
Then guide the cable into the lever’s channel.
Once installed, the cable should remain securely captured when the lever returns to its normal position.
6. Check Cable Tension
The cable should have enough tension to move the latch when the interior handle is pulled, but it should not hold the latch partially released.
Too much slack can prevent the latch from opening.
Too much tension can interfere with normal latch operation.
How to Reattach a Cable Housing That Pulled Out of Its Bracket
Sometimes the inner cable is still connected at both ends, but the outer housing has popped out of a retaining bracket.
This can make the release handle feel loose or require excessive movement.
Push the housing back into its original bracket until it locks into place.
Check for a missing retaining clip.
If the clip is broken or missing, replace it rather than relying on tape or another temporary method.
A secure housing is essential because the release system depends on the inner cable moving independently inside a stationary outer housing.
How to Test the Hood Release Cable Before Closing the Hood
Testing before closing the hood is one of the most important steps.
If the cable was attached incorrectly and you close the hood immediately, you could lock yourself out of the engine compartment.
Test the Latch Manually
With the hood open, use a screwdriver to carefully move the hood latch into its closed position.
Do not place your fingers inside the latch mechanism.
Once the latch is closed, pull the interior hood release handle.
The latch should release immediately.
Repeat the test several times.
Make sure the latch returns smoothly each time.
Check the Secondary Safety Latch
The secondary latch should also move freely.
This safety mechanism keeps the hood from flying open if the primary latch is accidentally released while driving.
Perform a Final Hood Test
After confirming that the mechanism works manually:
- Lower the hood carefully.
- Make sure it latches securely.
- Pull the interior release handle.
- Confirm the hood pops up slightly.
- Operate the secondary latch.
- Open the hood again.
If everything works normally, reinstall any trim panels you removed.
What if the Cable Keeps Coming Off?
A cable that repeatedly disconnects usually indicates another problem.
Broken Retaining Clip
A small plastic or metal clip may be missing or damaged.
Without the retainer, the housing can move or the cable end can slip out.
Damaged Release Handle
A cracked handle may no longer hold the cable barrel securely.
Replacing the handle is generally better than repeatedly reconnecting the cable.
Bent Hood Latch Lever
A damaged release lever may allow the cable end to slip out.
Inspect the lever for distortion.
Incorrect Cable Routing
A cable routed at the wrong angle can pull sideways on the connection.
Follow the original routing path and use all factory retaining clips.
Sticking Hood Latch
A stiff latch increases cable tension.
If the latch requires excessive force, the cable connection can eventually pull loose again.
Clean and lubricate the latch if needed.
Can You Reattach a Hood Release Cable Without Removing the Handle?
Sometimes.
If the cable end is easily visible and accessible behind the release handle, you may be able to reconnect it without removing much trim.
However, removing the handle or nearby trim often gives you better access and makes it easier to confirm that the housing is properly seated.
Trying to force the cable into position without seeing the connection clearly can damage the handle or bend the cable end.
Can You Reattach the Cable Without Opening the Hood?
If the cable disconnected inside the cabin, you may be able to pull the exposed cable with pliers to release the hood.
If the cable disconnected at the latch, opening the hood can be more difficult.
Depending on the vehicle, the latch may be accessible:
- From underneath the vehicle
- Through the grille
- Behind a radiator cover
- Through another service opening
Do not pry aggressively on the hood or grille. Modern vehicles may have sensors, wiring, active grille shutters, or fragile plastic components in the area.
If the latch cannot be accessed safely, professional assistance may prevent expensive damage.
When Reattaching the Cable Is Not Enough
Reconnection only works if the cable and related components remain usable.
Replace the cable if you find:
- Broken cable strands
- Heavy rust
- A stretched inner cable
- A crushed outer housing
- A melted housing
- A missing cable-end fitting
- Severe kinks
A damaged cable may work temporarily after being reattached but fail again unexpectedly.
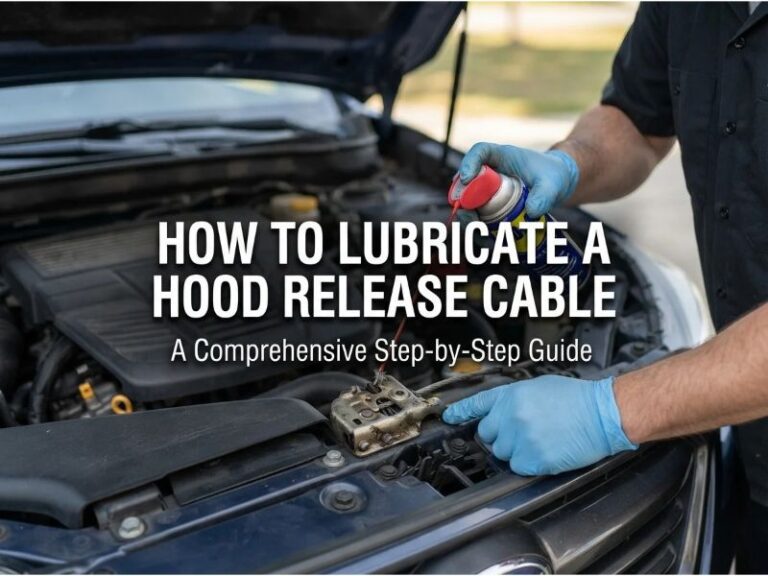
Should You Lubricate the Hood Latch?
A dry or dirty latch can make the release system harder to operate.
Clean dirt and debris from the mechanism, then apply a lubricant suitable for automotive latch mechanisms.
Move the latch through its full range several times to distribute the lubricant.
Avoid applying excessive lubricant because it can attract dirt.
If the latch remains stiff after cleaning and lubrication, inspect it for corrosion or physical damage.
Common Mistakes When Reattaching a Hood Release Cable
Connecting the Inner Cable but Ignoring the Housing
The cable housing must be securely anchored.
A loose housing can make a correctly connected inner cable ineffective.
Closing the Hood Before Testing
Never assume the repair worked.
Test the latch manually while the hood is still open.
Forcing a Damaged Cable Back Into Place
A frayed or bent cable can fail again even if it reconnects.
Replace visibly damaged components.
Using Improvised Fasteners
Zip ties or tape may temporarily hold a housing in place but are not ideal substitutes for the correct retaining clip.
Use the proper clip or bracket whenever possible.
Ignoring a Hard-to-Pull Handle
If the handle requires unusual force, investigate the latch and cable routing.
A hood release system should operate smoothly.
When Should You Replace the Hood Release Cable Instead?
Replacement is usually the better choice if the cable repeatedly comes loose or shows clear physical damage.
You should also consider replacement when:
- The cable has stretched.
- The inner wire is fraying.
- Rust is visible.
- The cable binds inside the housing.
- The housing is cracked or crushed.
- The original attachment fitting is damaged.
A replacement cable generally provides a more dependable long-term repair than trying to repair damaged cable ends.
Safety Tips
Use care when working around a hood latch.
Keep your fingers out of the latch mechanism when testing it.
Turn the engine off before working near the radiator or cooling fan.
Some electric cooling fans may operate automatically under certain conditions, even when the engine is not running.
If you need to work underneath the vehicle to reach the hood latch, support the vehicle properly with appropriate jack stands. Never work under a vehicle supported only by a floor jack.
FAQs About How to Reattach a Hood Release Cable
Can a Hood Release Cable Simply Pop Off?
Yes. The cable can come loose if a retaining clip breaks, the housing moves out of its bracket, or the cable end slips out of the release handle or latch lever.
If the cable is undamaged, it may only need to be reattached.
How Do I Know Where the Hood Cable Disconnected?
Start at the interior release handle.
If the cable is connected there, follow the cable toward the front of the vehicle.
With the hood open, inspect the latch end and its retaining bracket.
Why Is My Hood Release Handle Loose After Reattaching the Cable?
A loose handle often means the outer cable housing is not firmly seated in its bracket.
It can also indicate excessive cable slack, a broken handle, or an incorrect connection.
Can I Use Pliers to Pull the Hood Cable?
Yes, if the interior handle is disconnected and an intact section of the inner cable is exposed.
Grip the cable carefully with locking pliers and pull steadily.
Avoid crushing or fraying the cable.
Does the Hood Release Cable Need Adjustment?
Some vehicles allow limited cable or latch adjustment, while others use a fixed-length cable with no normal adjustment.
If the cable has excessive slack because it has stretched, replacement may be necessary.
Why Does My Hood Cable Keep Disconnecting?
Repeated disconnection often points to a damaged retaining clip, broken handle, bent latch lever, incorrect routing, or excessive resistance in the latch.
Correct the underlying cause rather than simply reconnecting the cable again.
Should I Replace the Hood Latch Too?
Not necessarily.
If the latch moves freely, closes securely, releases normally, and has no significant damage, it can usually remain in service.
A badly rusted, bent, or sticking latch may need repair or replacement.
Can I Drive After Reattaching the Hood Release Cable?
Yes, provided the hood closes securely and both the primary latch and secondary safety latch work correctly.
Before driving, pull upward gently on the closed hood to confirm it is properly latched.
Conclusion
Knowing how to reattach a hood release cable usually involves reconnecting the inner cable to the interior handle or hood latch and making sure the outer housing is firmly locked into its mounting bracket.
Inspect the cable carefully before reusing it. If it is frayed, stretched, rusted, kinked, or missing an attachment fitting, replacement is more reliable than reconnection.
Most importantly, test the latch several times while the hood is still open. Once the handle, cable, primary latch, and secondary safety latch all operate smoothly, you can close the hood and verify the repair under normal operation.