How to Open Hood With Broken Release Cable: Safe Methods
A broken hood release cable can turn a simple job such as checking the battery or adding coolant into a frustrating problem. The good news is that the hood can often still be opened because the cable only operates a mechanical lever on the hood latch.
The best way to learn how to open hood with broken release cable is to first determine where the cable failed. If the interior handle broke but the cable is still intact, you may be able to pull the exposed cable with pliers.
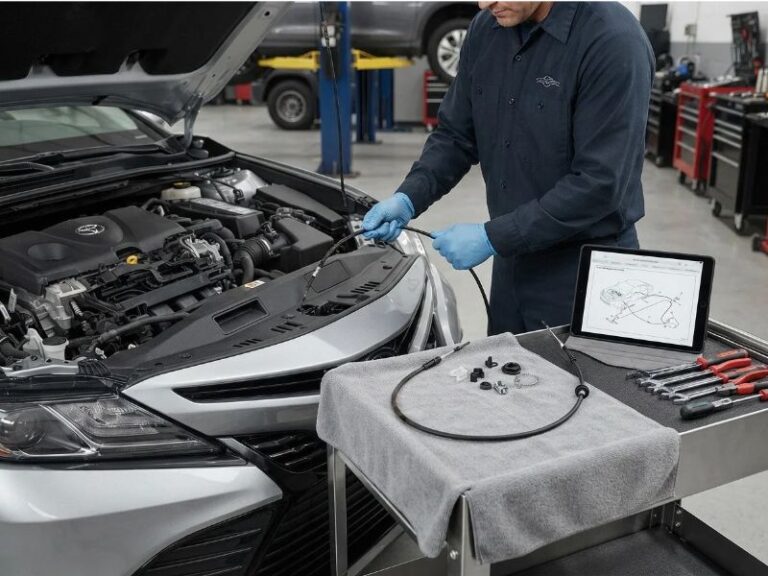
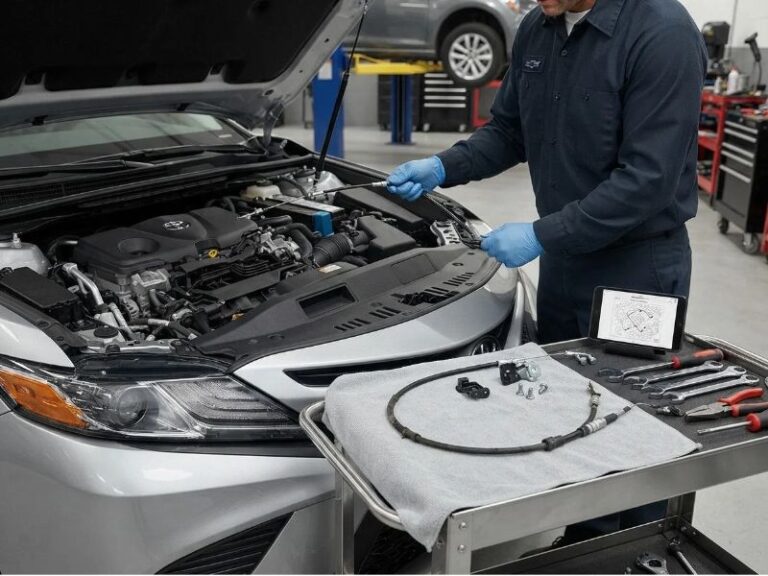
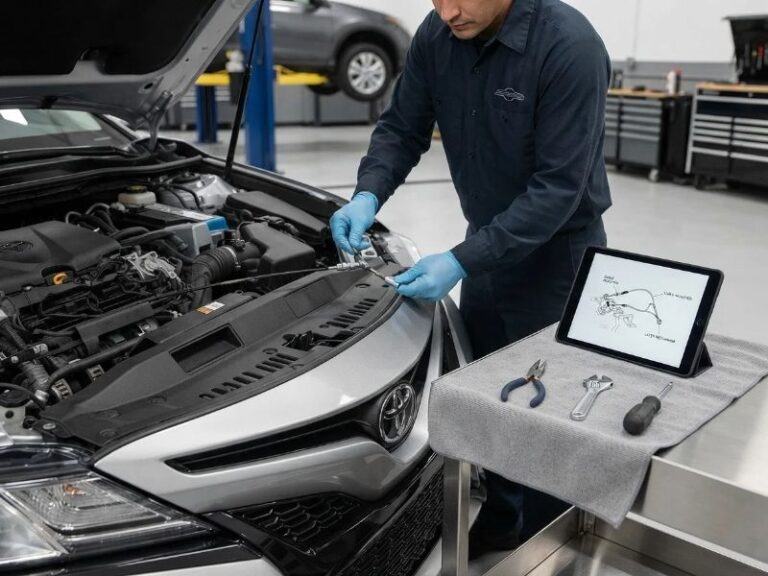
If the cable broke farther forward, you may need to reach the hood latch through the grille or from underneath the vehicle and manually move the release lever.
The correct method varies by vehicle, so avoid forcing the hood or blindly pushing tools through the grille. This guide explains the safest approaches, how to identify the failure point, and what to do after you get the hood open.
How to Open Hood With Broken Release Cable
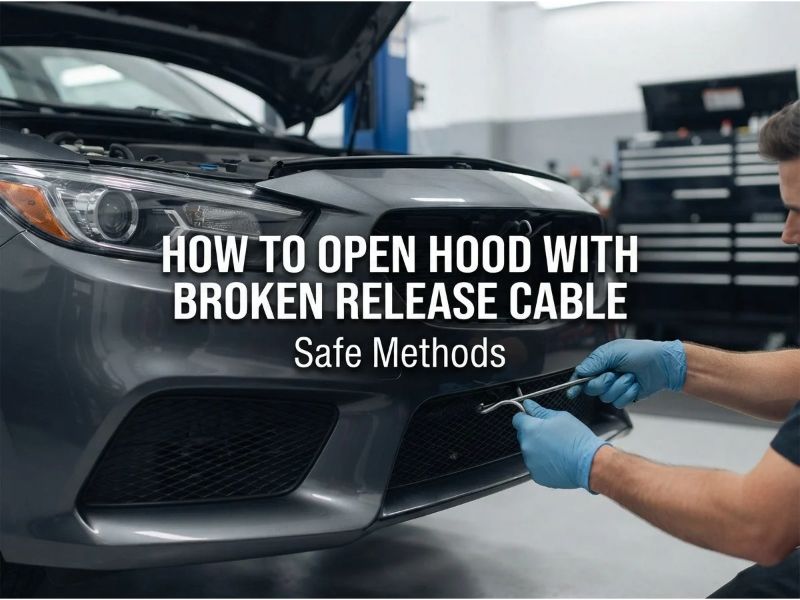
To open a hood with a broken release cable, first check whether the cable is still accessible behind the interior hood release handle. If it is, grip the inner cable with pliers and pull it in the same direction the handle normally would.
If the cable is broken farther forward, the hood latch may need to be manually released through the grille or from underneath the front of the vehicle.
The main methods are:
- Pull the exposed cable from inside the vehicle.
- Have someone press down on the hood while you pull the remaining cable.
- Reach the hood latch through the front grille.
- Access the latch from underneath the vehicle.
- Remove accessible trim or grille pieces if the vehicle design allows it.
Start with the least invasive method before removing parts or trying to reach the latch directly.
First, Determine What Actually Broke
A hood that will not open does not always mean the release cable has completely snapped.
The problem may be:
- A broken interior release handle
- A disconnected cable end
- A stretched cable
- A loose cable housing
- A seized hood latch
- A broken cable inside its housing
Identifying the failure can save considerable time.
Check the Hood Release Handle
Pull the interior hood release handle and pay attention to how it feels.
If the handle feels completely loose and offers almost no resistance, the cable may have:
- Disconnected from the handle
- Broken close to the handle
- Broken somewhere along its length
If the handle still has normal resistance but the hood does not release, the cable may still be connected. The problem could instead be excessive cable slack or a sticking latch.
Look Behind the Release Handle
Depending on the vehicle, you may be able to remove a small trim panel around the hood release handle.
Look for the end of the cable.
If the plastic handle broke but the metal cable remains intact, opening the hood may be relatively easy.
Method 1: Pull the Hood Release Cable With Pliers
This is usually the simplest method when the interior handle or its mounting point has failed.
Step 1: Expose the Cable
Remove enough trim around the release handle to see the hood cable.
Avoid pulling aggressively on plastic panels. Many interior panels are held in place with clips that can break if twisted incorrectly.
Step 2: Find the Inner Cable
A hood release cable normally consists of:
- An inner steel cable that moves
- An outer cable housing that stays stationary
You need to pull the inner cable.
Step 3: Grip the Cable
Use regular pliers or locking pliers to grip the exposed cable.
Do not crush or sharply bend the cable if you plan to reuse it temporarily.
Step 4: Pull the Cable
Pull firmly in the same direction the original release handle would normally move the cable.
You may hear the hood latch click and see the hood rise slightly.
Step 5: Release the Safety Latch
Go to the front of the vehicle.
Reach underneath the partially opened hood and operate the secondary safety latch before lifting the hood completely.
If pulling the cable does nothing, the cable may be broken farther forward.
Method 2: Press Down on the Hood While Pulling the Cable
Sometimes the cable is not completely broken. Instead, the hood latch is under too much pressure for the remaining cable movement to release it.
Having another person help can make a big difference.
Ask the helper to gently press downward on the hood directly above the latch.
While the hood is being pressed down, pull the release handle or exposed cable.
Then have the helper slowly release the pressure.
This can relieve tension between the hood striker and latch.
Do not push aggressively or bounce your body weight against the hood. Many modern hoods are made from relatively thin steel or aluminum and can dent easily.
Method 3: Reach the Hood Latch Through the Grille
If the cable has broken somewhere between the interior handle and hood latch, you may need to operate the latch manually.
Whether this is possible depends entirely on the vehicle.
Some cars and trucks provide a relatively clear path to the latch through openings in the grille. Others place plastic panels, radiator supports, active grille shutters, or other components in the way.
Locate the Hood Latch
Use a flashlight to look through the grille toward the center of the hood.
The primary latch is usually located near the upper center of the radiator support, although some vehicles use a different position or multiple latch points.
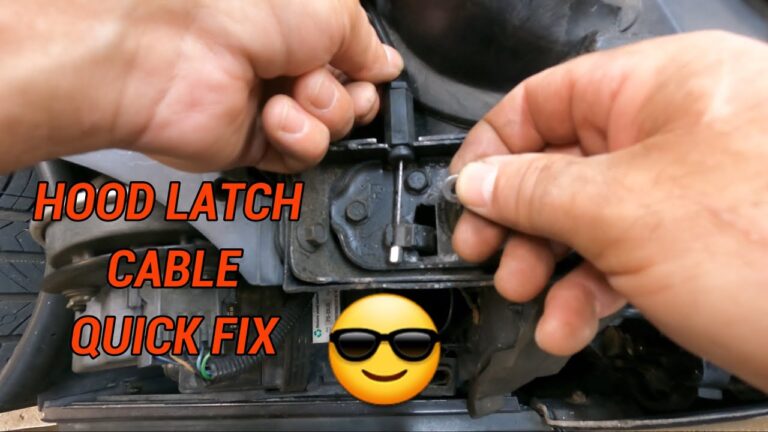
Look for the lever where the hood cable attaches.
Identify the Release Lever
The cable normally pulls a small lever sideways when the interior handle is operated.
Your goal is to move that same lever manually.
A long screwdriver or similar hand tool may sometimes reach it.
Move the Release Lever
Carefully push or pull the latch lever in the direction the cable would normally move it.
If you have identified the correct part, the primary latch should release.
Do not aggressively pry on random portions of the latch.
The hood latch is made from several interconnected pieces, and forcing the wrong part may bend the mechanism.
Be Careful Around the Radiator and A/C Condenser
Working through the grille requires extra caution.
Directly behind the grille may be:
- Radiator
- Air-conditioning condenser
- Wiring harnesses
- Sensors
- Cooling fans
- Active grille shutters
Do not insert a screwdriver deeply without knowing where the tip is going.
A punctured condenser or radiator can turn a hood cable problem into a much more expensive repair.
Method 4: Access the Hood Latch From Underneath
On some vehicles, reaching upward from underneath the front bumper provides better access to the hood latch than going through the grille.
This method depends heavily on engine bay design.
Make the Vehicle Safe
If you need to get underneath the vehicle, work on a flat, stable surface.
If the vehicle must be raised, support it correctly with suitable jack stands at approved lifting points.
Never work underneath a vehicle supported only by a hydraulic jack.
Set the parking brake and keep the vehicle from moving.
Check for an Underbody Panel
Many modern vehicles have a plastic splash shield or engine undertray beneath the engine.
You may need to remove part of this panel before you can reach upward.
Keep track of screws, bolts, and plastic fasteners.
Reach Toward the Latch
Use a flashlight to locate the underside of the hood latch.
You may be able to see the cable attachment or release lever.
Move the lever in the same direction the cable normally pulls it.
Access can be difficult because the radiator, fans, bumper structure, and other parts may block your hand or tools.
Method 5: Remove Accessible Grille or Trim Components
Some vehicles allow portions of the grille or surrounding trim to be removed while the hood is closed.
Removing a small grille insert may provide enough room to access the latch directly.
However, many grille fasteners are located under the hood, making removal impossible until the hood is already open.
Do not break the grille just to reach the latch unless replacement is already planned.
Check for easily accessible screws, bolts, or clips first.
What If the Cable Is Stretched Instead of Broken?
A stretched hood release cable may still move the latch but not far enough to release it.
Symptoms can include:
- The handle requires several pulls.
- The hood opens only when someone presses down on it.
- The release handle travels unusually far.
- The latch moves but does not fully release.
If you can reach the cable near the interior handle, pulling the cable farther with pliers may provide enough extra movement to open the hood.
Once the hood is open, inspect the cable and its mounting brackets.
Sometimes the problem is not actually cable stretch. The outer cable housing may have popped out of a retaining bracket, reducing effective cable movement.
What If the Hood Latch Is Seized?
A seized or heavily corroded latch can make it seem like the hood cable has failed.
If the interior handle still feels unusually tight, stop pulling hard.
Excessive force can:
- Break the interior handle
- Stretch the cable
- Snap the cable
- Damage the latch connection
Try having someone gently press downward on the hood while you operate the release.
If the hood opens, inspect and service the latch before closing it again.
What to Do After You Get the Hood Open
Opening the hood is only the first part of the repair.
Do not simply close it again.
Inspect the Hood Release Cable
Follow as much of the cable as possible.
Look for:
- Frayed strands
- Rust
- Kinks
- Cracked housing
- Missing retainers
- Loose mounting brackets
- Broken cable ends
A badly damaged cable should normally be replaced.
Inspect the Interior Handle
Sometimes only the handle has failed.
If the cable is intact and moves smoothly, replacing the handle may be enough.
Inspect the Hood Latch
Manually operate the latch and make sure it moves smoothly.
Check for:
- Rust
- Dirt
- Dried grease
- Bent components
- Excessive wear
A difficult latch can overload a new cable.
Clean and Lubricate the Latch
Clean contamination from the moving portions of the latch.
Apply an appropriate automotive latch lubricant or light grease to the pivot points and sliding surfaces.
Move the latch several times so the lubricant works into the mechanism.
Should You Replace a Broken Hood Release Cable?
Yes, a genuinely broken or badly damaged hood release cable should normally be replaced.
Trying to permanently splice the inner cable is generally less reliable than installing the correct replacement assembly.
A replacement cable provides the correct:
- Length
- Cable ends
- Housing
- Firewall seal
- Mounting points
Because the hood release system may need to work during roadside repairs or emergencies, reliability matters.
Test the Latch Before Closing the Hood
This is one of the most important steps.
After repairing the cable, do not immediately slam the hood closed.
Use a suitable screwdriver or similar tool to simulate the hood striker entering the latch.
Push the latch into its closed position and operate the interior release.
Confirm that the latch releases every time.
Keep your fingers away from the moving latch mechanism.
Test the system several times.
Only close the hood once you are confident that:
- The release handle operates correctly.
- The cable has enough travel.
- The latch releases smoothly.
- The latch returns to its normal position.
- The cable housing stays securely mounted.
Common Mistakes When Opening a Hood With a Broken Cable
Pulling Too Hard on the Interior Handle
If the handle is difficult to move, pulling harder may turn a small latch problem into a broken cable.
Prying Up the Hood
Do not try to force the hood upward with a pry bar or screwdriver while the primary latch is still engaged.
You can bend the hood, damage the latch, or distort the radiator support.
Blindly Pushing Tools Through the Grille
Know where the tool is going.
The radiator and A/C condenser can be damaged easily.
Closing the Hood Before the Repair Is Confirmed
If the latch or replacement cable is still not working correctly, closing the hood can leave you back where you started.
Ignoring the Original Cause
If a seized latch caused the cable to break, simply replacing the cable may lead to another failure.
Repair the underlying problem as well.
When Should a Mechanic Open the Hood?
Professional help may be the safest option when the latch cannot be reached without damaging the vehicle.
Consider having a mechanic handle the job when:
- The grille provides no latch access.
- The latch cannot be reached from underneath.
- The vehicle has multiple hood latches.
- Active grille shutters or sensors block access.
- You cannot identify the correct latch lever.
- You would need to damage bodywork to reach it.
- The latch itself appears broken.
A technician familiar with the specific model may know an access point that avoids unnecessary damage.
FAQs About How to Open Hood With Broken Release Cable
Can You Open a Hood if the Release Cable Is Completely Broken?
Yes, in many vehicles.
If the cable is completely broken, you generally need to reach the hood latch directly through the grille or from underneath and manually move the release lever.
Access varies significantly by vehicle.
Can I Pull the Hood Cable With Pliers?
Yes.
If the inner cable is still intact and accessible near the interior release handle, gripping it with pliers and pulling can operate the hood latch.
This is often the easiest solution when only the plastic release handle has broken.
Which Direction Do You Pull a Hood Release Cable?
Pull the inner cable in the same direction the original hood release handle normally pulls it.
The exact direction varies by vehicle.
Watching the handle mechanism or cable routing can help you determine the correct direction.
Can You Open a Hood From Under the Car?
Sometimes.
Certain vehicles provide enough space to reach the latch from underneath, especially after removing an engine splash shield.
Other vehicles have too many components blocking access.
Why Won’t My Hood Open Even Though the Cable Moves?
The latch may be sticking, the cable may be stretched, the cable housing may be loose, or excessive pressure may be acting on the hood striker.
Try gently pressing down on the hood while another person operates the release.
Can a Hood Release Cable Be Repaired Instead of Replaced?
A disconnected cable can sometimes simply be reattached.
A cable with a loose housing may only need to be secured.
However, a cable that is broken, frayed, badly corroded, or seized should usually be replaced rather than permanently repaired.
Should I Lubricate the Hood Latch After Opening It?
Yes, if the latch is dry or sticking.
Clean the mechanism and apply an appropriate automotive latch lubricant to moving surfaces and pivot points.
Keeping the latch operating smoothly reduces stress on the release cable.
Is It Safe to Drive With a Broken Hood Release Cable?
If the hood is completely closed and both the primary and secondary latches are functioning correctly, a broken release cable does not normally cause the hood to open.
However, the cable should still be repaired because you may need access to the engine compartment unexpectedly.
Do not drive if the hood itself cannot latch securely.
Conclusion
Knowing how to open hood with broken release cable mainly comes down to identifying where the failure occurred. If the interior handle broke but the cable remains intact, pulling the exposed inner cable with pliers may release the hood. If the cable has broken farther forward, you may need to manually operate the hood latch through the grille or from underneath the vehicle.
Use the least invasive access method first, protect nearby cooling and A/C components, and never force the hood upward while it is latched. After opening the hood, repair the failed cable or latch and test the release mechanism several times before closing the hood again.