How to Adjust a Hood Latch: Instructions, Tips, and Useful Advice
A hood that sits too high, rattles over bumps, or refuses to close cleanly usually has an alignment problem rather than a completely failed latch. The latch may be mounted slightly out of position, the hood striker may have shifted, or the rubber bump stops may be holding the hood above the correct height. Because the hood can block your view if it opens while driving, this is a small repair that deserves a careful final check.
Learning how to adjust a hood latch does not require advanced mechanical skills, but it does require patience. The goal is not simply to make the hood shut; it is to position the latch and striker so the hood closes without force, engages both the primary latch and the secondary safety catch, and releases normally from inside the vehicle.
This guide explains how to identify the adjustable part, mark its original location, make small changes, and test the result safely. It also covers common differences between adjusting the latch, adjusting the hood striker, and correcting the rubber stops that control hood height. If the latch is bent, cracked, badly rusted, or not retaining the hood after adjustment, stop using the vehicle until the defective parts are repaired.
At a glance
- Make small, marked adjustments rather than loosening every hood-related fastener at once.
- The hood must engage both the main latch and the secondary safety catch before driving.
- A smooth release and an even hood gap are useful clues, but a firm manual safety check is essential.
How to adjust a hood latch safely and accurately
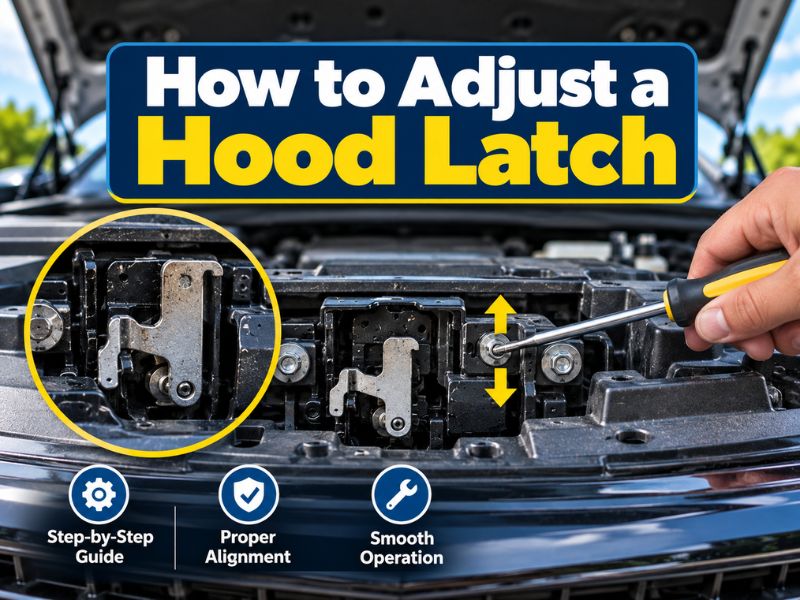
Most hood latches are adjusted by changing the position of either the hood striker or the latch assembly. The striker is the pin or loop attached to the hood that enters the latch when the hood closes. Some vehicles use an adjustable latch mounted to the radiator support, while others allow adjustment at the striker, hood hinges, or rubber bump stops.
Before loosening anything, inspect the mechanism and check the service information for your vehicle if it is available. Fastener locations, bolt styles, and the correct hood gap differ by model. Never assume that a latch with loose bolts can simply be moved by feel; marking its starting position makes the adjustment reversible.
Tools you will need
- Socket set or wrench that fits the latch or striker fasteners
- Paint marker or masking tape to mark the original position
- Flashlight for inspecting the latch and secondary catch
- Clean rag and a small amount of suitable latch lubricant
- Optional: a second person to guide the hood while you make alignment changes
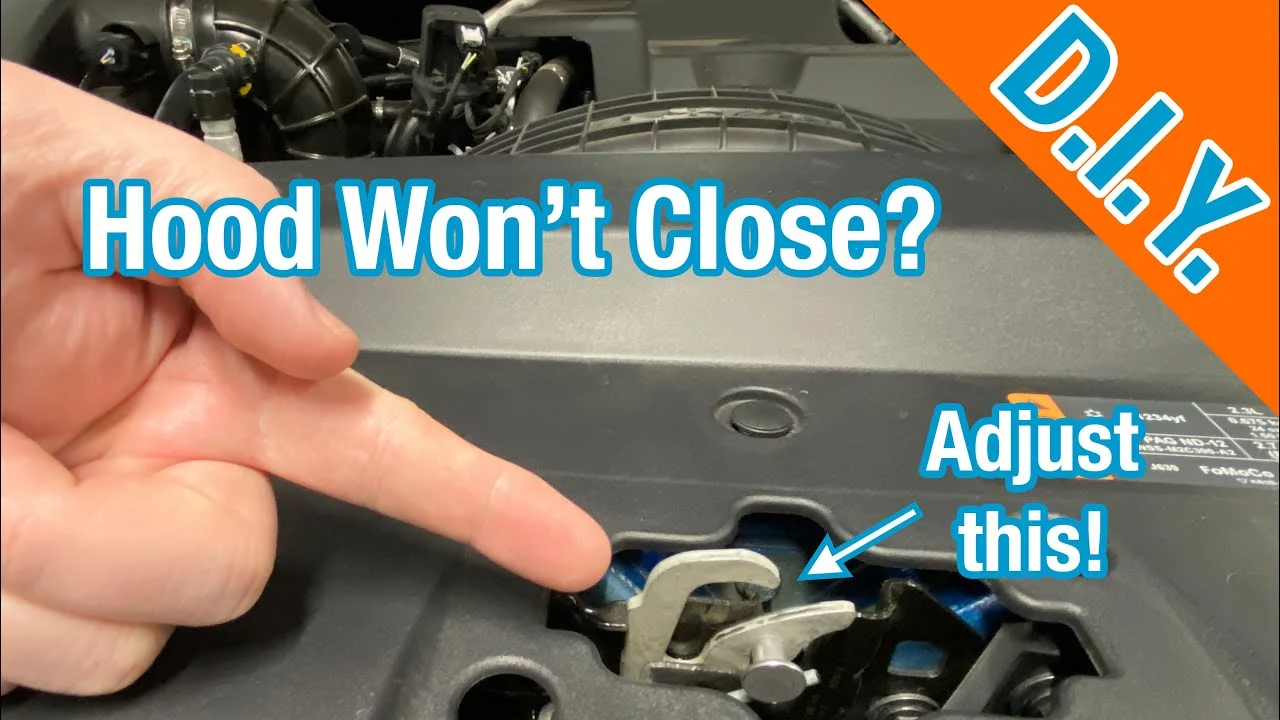
Step 1 Identify the latch, striker, and safety catch
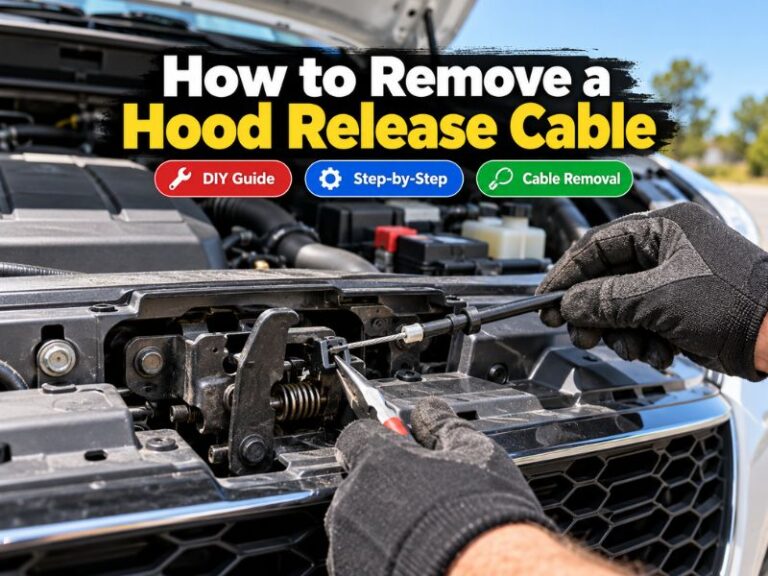
Park on level ground, switch off the engine, set the parking brake, and allow hot components to cool. Open the hood and locate the latch near the front center of the engine compartment or near the front edge of the hood, depending on the vehicle design.
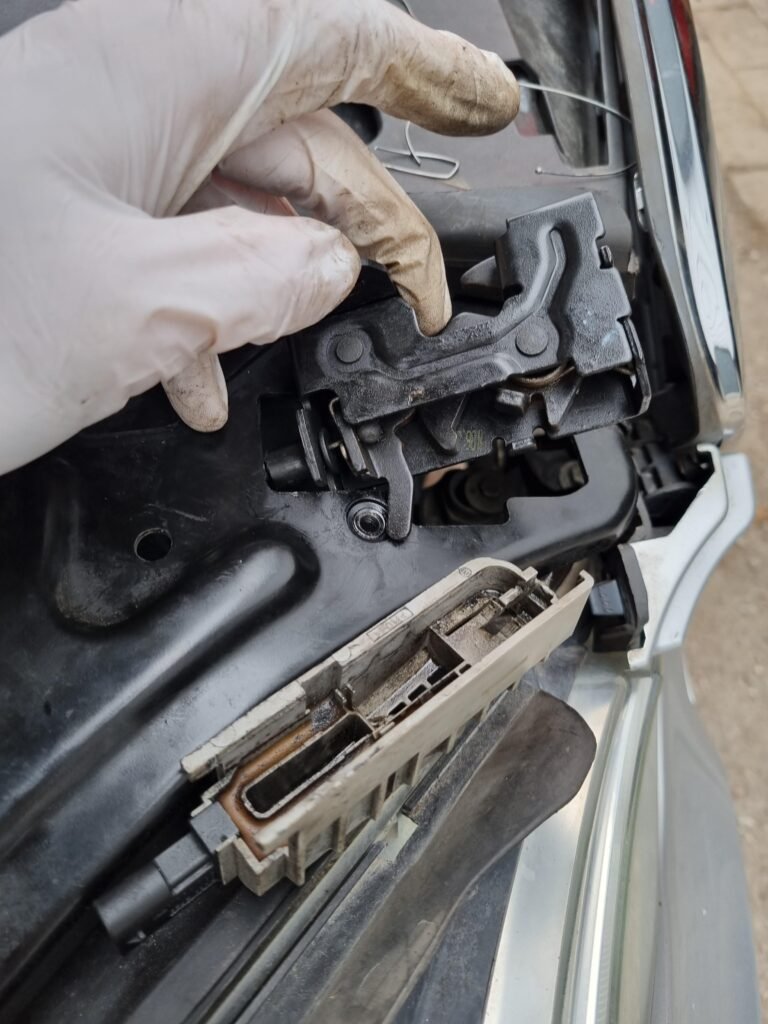
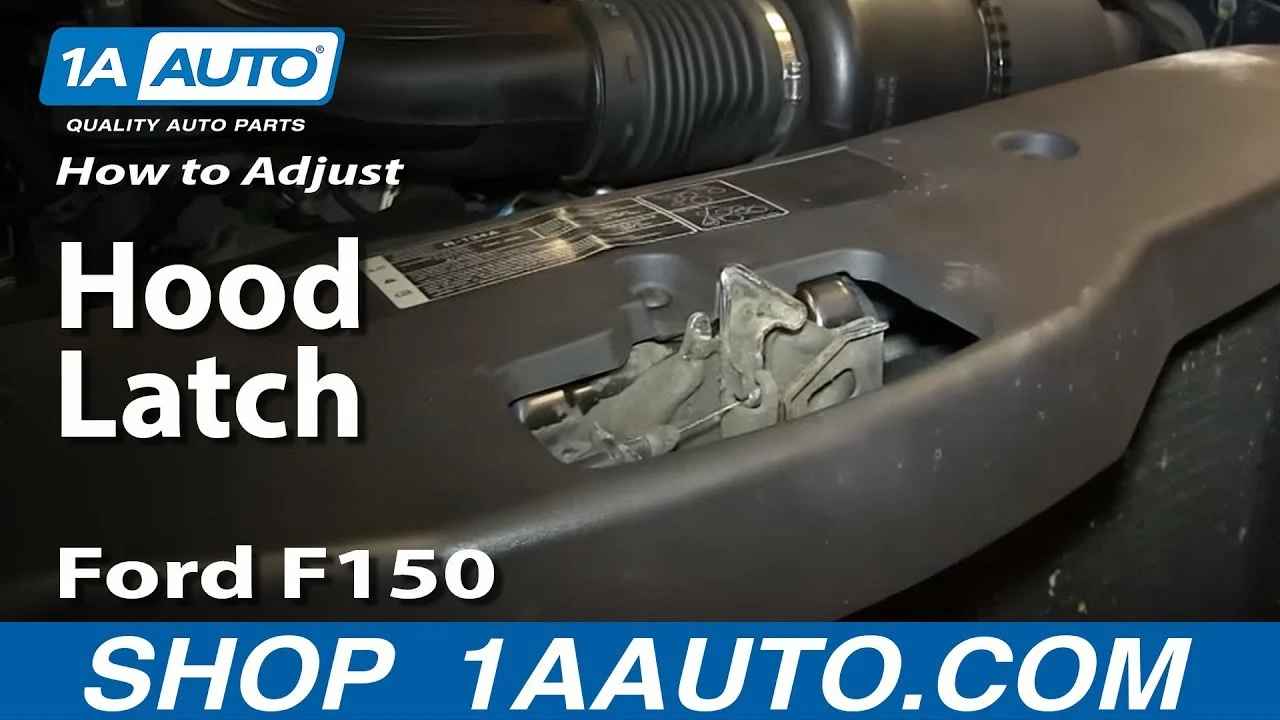
Look for the matching striker on the hood. It may be a threaded pin with a large nut, a U-shaped loop, or a metal bar that enters the latch. Also find the secondary safety catch, usually a spring-loaded hook or lever that keeps the hood from flying fully open if the primary latch is not engaged.
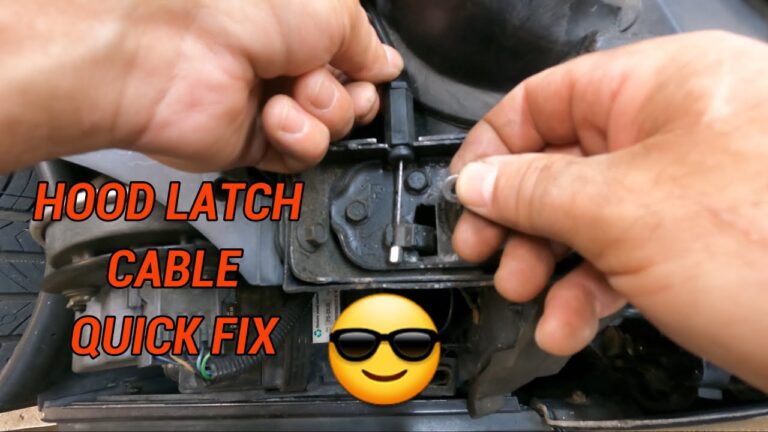
Pull the interior hood-release handle while watching the latch, if possible. The release cable should move the latch lever and return when released. If the cable is frayed, detached, excessively loose, or unable to move the latch, adjustment alone may not solve the problem.
Observe the symptoms before touching the fasteners. A hood that is high on one side may point to a striker, hinge, or bump-stop issue. A hood that closes but will not release may have a cable or latch problem.
A hood that bounces and rattles may need latch alignment, bump-stop adjustment, or lubrication.
Step 2 Inspect for damage and clean the mechanism
Use a flashlight to examine the latch, striker, mounting area, and nearby sheet metal. Look for bent metal, cracked welds, missing bolts, heavy corrosion, or evidence that the hood has been forced closed after an impact. Check that the striker is not visibly loose and that the latch jaws or rotating parts are not seized.
Wipe away dirt and old, hardened grease with a rag. Do not pack the mechanism with thick grease before adjusting it; excess lubricant can trap grit and make the latch movement harder to evaluate. If the latch is badly damaged or the mounting panel is distorted, stop here and have the vehicle inspected.
Move the latch lever by hand only when the hood is fully open and your fingers are clear of the closing path. Do not place your fingers inside a spring-loaded latch while someone else operates the hood release.
Important
Do not drive with a hood that fails to stay fully latched. If the latch will not hold the striker, the secondary catch is missing or damaged, or the hood rises when pulled upward after closing, arrange a repair before operating the vehicle.
Step 3 Mark the original position before loosening fasteners
Use a paint marker to draw a reference line across the edge of the striker and its mounting surface. If you are adjusting the latch assembly instead, mark around its base or place strips of masking tape along the edges. Mark the vertical position as well as the side-to-side position when the hardware allows movement in both directions.
Take a quick photo of the original position. This gives you a reliable fallback if an adjustment makes the hood worse. Do not rely on memory, because a small change at the striker can alter the hood height, side-to-side alignment, and latch engagement at the same time.
Keep the hood supported normally while making marks. Do not remove hinge bolts or loosen multiple sets of hardware unless your vehicle’s service information specifically calls for it; hinge adjustment can change the hood’s entire position and may require more involved alignment.
Step 4 Choose the correct adjustment point
Start with the component that matches the symptom. If the hood is centered but sits too high or too low at the front, the striker or rubber bump stops are often the relevant points. If the latch does not line up with the striker from side to side, the latch assembly or striker may need lateral adjustment.
On many vehicles, the striker is held by a locknut or two fasteners. Loosening it slightly may allow the striker to move vertically or sideways. On others, the latch is attached to the radiator support with bolts that allow limited movement.
Some hood bump stops are threaded and can be turned by hand or with pliers after removing a retaining nut.
Do not adjust the latch release cable to compensate for poor hood alignment unless the service information identifies a cable adjustment procedure. Cable tension controls release travel; it does not normally position the latch relative to the striker.
Step 5 Loosen the hardware only enough to move the part
Fit the correct socket or wrench fully onto the fastener. Loosen the latch or striker bolts just enough that the part can be moved with deliberate hand pressure. If the part shifts freely or the fasteners feel stripped, retighten what you can and arrange a repair rather than continuing.
Keep at least one fastener engaged and do not remove the striker or latch completely unless replacement is the task. A loose striker can fall out of position, and a disconnected latch can leave the hood difficult to secure. If the part must be removed, follow model-specific service instructions.
A useful way to approach how to adjust a hood latch is to check your progress after each stage.
Protect painted surfaces with a rag while using tools near the fender or grille. Avoid prying against thin sheet metal. The goal is a controlled adjustment, not forceful bending of the hood or its mounting panel.
Step 6 Make one small alignment change
Move the adjustable part a small amount in the direction needed. If the striker is too far forward or rearward, shift it only slightly along its available travel. If the latch is off-center, move it toward the striker’s path.
Keep the part level unless the original design clearly uses a different angle.
Hold the part in its new position and snug the fasteners enough to prevent it from moving. Do not fully tighten them yet if you still need to make a fine correction. Close the hood gently from a low height rather than dropping it repeatedly; a hard slam can disguise an alignment problem and damage the latch or paint.
The hood should approach evenly, and the striker should enter the center of the latch without scraping sharply against one side. If it contacts the edge, reopen the hood and make a smaller correction. Do not push down on one corner to force a misaligned striker into place.
Step 7 Adjust the front height with the rubber bump stops
Once the latch engages, inspect the hood’s front height relative to the surrounding fenders and grille. Rubber bump stops, also called hood rests, support the hood when it is closed and control some of its vertical position. If one is extended farther than the other, the hood may sit unevenly even when the latch is centered.
Turn an adjustable bump stop in small increments, following its design. Clockwise does not have a universal meaning because thread direction and stop design vary, so watch the hood height instead of assuming which way it should move. Keep enough contact that the hood does not rattle, but do not raise the stops so far that they prevent the latch from reaching its fully engaged position.
Check the gap along both front corners and compare the hood to the fenders. A perfectly uniform gap is not always possible on an older or previously repaired vehicle, but the hood should not be visibly twisted, bind against a fender, or sit high because the bump stops are carrying it above the latch.
Step 8 Close and reopen the hood to check latch operation
With the fasteners snug, lower the hood carefully until the primary latch engages. Use only moderate downward pressure if needed. Then lift gently on the front edge without pulling the interior release.
The hood should remain held by the primary latch.
Next, pull the hood-release handle from inside the vehicle. The hood should pop up slightly or release from the primary latch, while the secondary catch keeps it from opening fully. Reach through the front opening and operate the secondary catch as designed; the hood should then open smoothly without sticking.
If the release handle feels unusually hard, the latch does not return, or the hood stays locked after the interior release is pulled, reopen the hood and inspect the mechanism. Do not keep slamming the hood while the release system is malfunctioning.
Step 9 Tighten the fasteners and lubricate the moving points
When the hood closes cleanly, the gaps look acceptable, and both latch stages work, hold the latch or striker in position while tightening its fasteners. Use the torque specification from the vehicle service manual when available. Do not guess at a torque value for a specific vehicle, especially if the fastener threads into thin sheet metal.
After tightening, operate the latch several times with the hood open. Apply a small amount of lubricant intended for automotive latches to the pivoting contact points, then wipe away excess. Keep lubricant off the hood’s painted exterior, rubber weatherstripping, and the release cable unless the product instructions say it is suitable.
Close the hood once more and look at the reference marks. A small movement may be normal as the hardware seats, but a large shift means the fasteners may not be clamping correctly or the mounting threads may be damaged.
Step 10 Perform the final stationary and road-readiness checks
Stand in front of the vehicle and confirm that the hood is fully flush or aligned as the vehicle design requires. Check the left and right gaps, then press lightly upward at several points along the front edge. The hood should not lift independently of the latch.
Pull the interior release and verify that the hood opens to the secondary catch, not all the way. Release the secondary catch and confirm that the hood opens normally. Close it again and listen for a clear latch engagement rather than a soft thud followed by a loose, bouncing hood.
If everything works while stationary, start the engine and listen for rattling at idle. If the hood remains secure and no warning or obstruction is present, a cautious short drive on ordinary roads can reveal vibration-related movement. Stop and recheck immediately if the hood shifts, rattles loudly, or rises at the front edge.
What the adjustment is actually correcting
A hood latch is a mechanical restraint, not merely a guide for the hood. The primary latch holds the striker during normal driving, while the secondary catch provides backup if the first stage is accidentally released or not fully engaged. Both parts must be clean, intact, and correctly aligned.
Understanding how to adjust a hood latch also means recognizing the limits of the method.
The hood striker controls where the hood meets the latch. Moving it can change front height and side-to-side position, so a correction that solves one symptom can create another. The latch assembly controls the receiving position, but its movement is usually limited by the mounting holes.
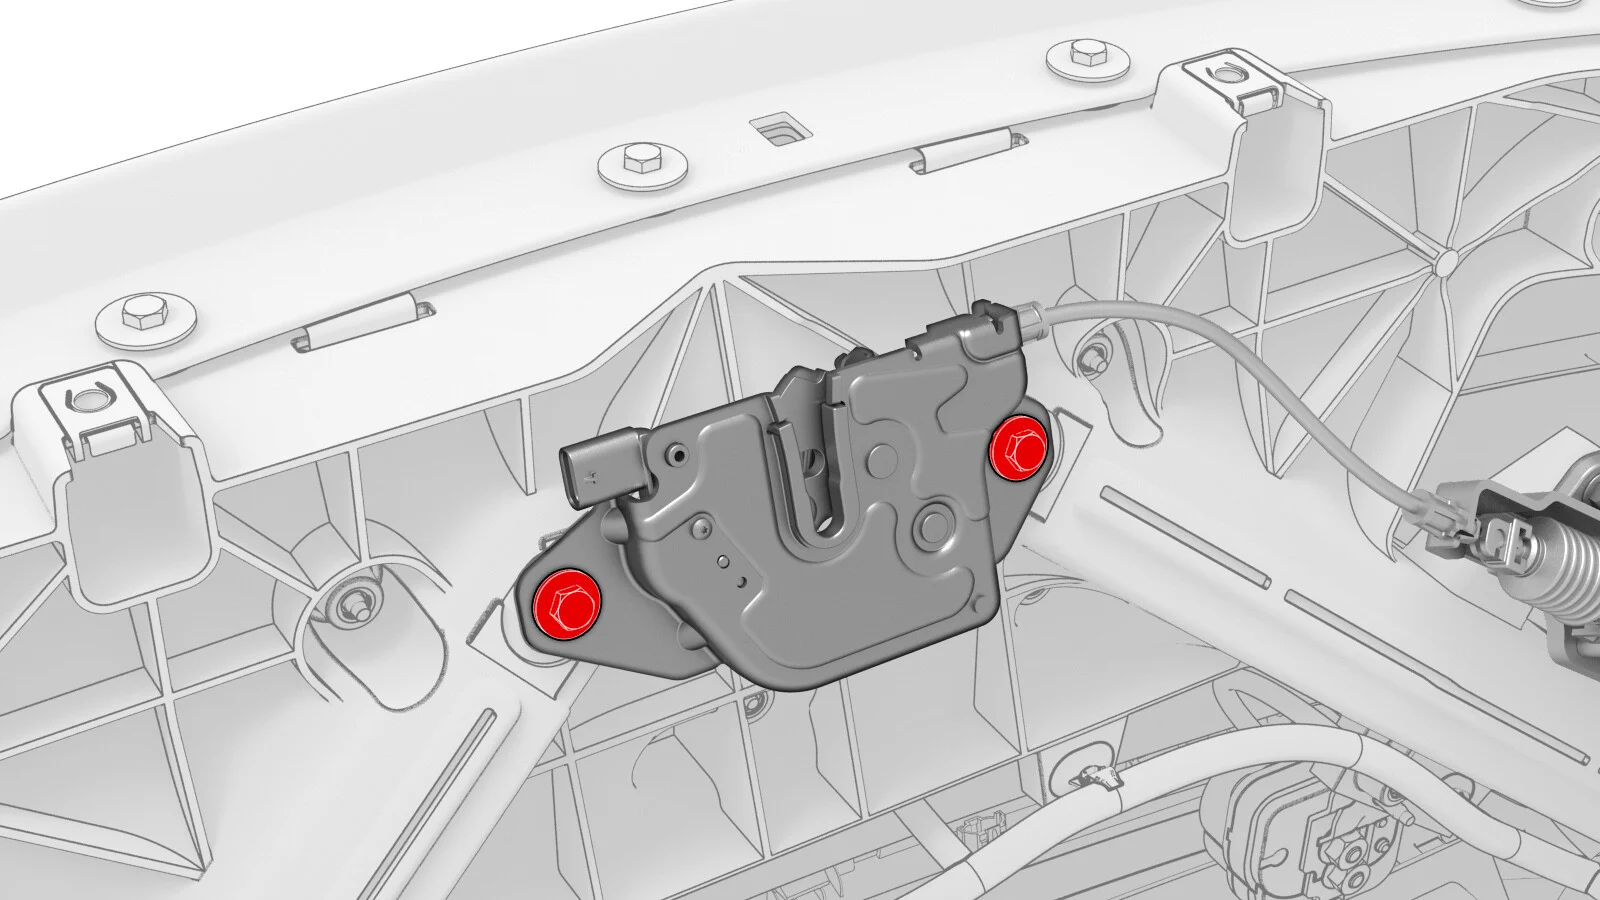
Latch position versus striker position
Adjust the striker when the hood itself appears properly positioned but the striker enters the latch off-center or the front height is slightly wrong. Adjust the latch when the latch opening is clearly displaced relative to the striker and the latch mounting bolts provide the intended adjustment range.
When both parts appear damaged or badly displaced, do not try to correct the problem by forcing one component far beyond its original position. A collision may have changed the radiator support or hood structure, and the correct repair may require body alignment or replacement parts.
The role of the hood hinges and bump stops
Hinges affect the rear and overall position of the hood. If the rear corners are uneven, the hood rubs the fenders, or the panel is shifted diagonally, a latch adjustment may only hide the underlying hinge or body problem.
Bump stops affect the closed height at the front. They are useful for fine-tuning a properly aligned hood, but they should not be extended so far that they hold the hood above the latch. If the hood requires significant pressure to reach the latch, return the stops toward their original positions and reassess the striker alignment.
How to confirm the hood is secure
Verification matters more than appearance. A hood can look flush while the latch is only partly engaged, especially when dirt, a weak spring, or a misaligned striker prevents the mechanism from reaching its final position.
Use the following checks after the adjustment and whenever the hood has been opened for maintenance:
- With the hood closed, lift gently at the front edge without using the interior release. It should remain secured.
- Pull the interior release and confirm that the primary latch releases but the secondary catch still holds the hood.
- Open the hood using the secondary catch, then close it without excessive force.
- Check that the release handle returns normally and does not remain slack or stuck.
- Inspect the striker and latch for fresh scraping that indicates off-center contact.
- Listen for rattling while the engine idles and during a cautious drive.
Check your result
A successful adjustment leaves the hood centered, lets it close with moderate pressure, keeps it secured when lifted by hand, and allows both release stages to operate normally.
Troubleshooting a hood that still does not close correctly
If the result is not right, avoid making several adjustments at once. Return to the paint marks when possible, inspect the mechanism again, and change only the component that matches the remaining symptom.
| Symptom | Likely area to inspect |
|---|---|
| Hood sits high at the front | Striker position, rubber bump stops, latch engagement |
| Hood is shifted left or right | Striker or latch side-to-side alignment, hinges, body damage |
| Hood rattles after closing | Loose fasteners, worn latch, bump stops, insufficient lubrication |
| Interior release feels loose | Release cable, cable attachment, latch return spring |
| Hood will not stay latched | Incorrect alignment, damaged latch, damaged striker, broken mount |
When the hood remains too high
First confirm that the latch is fully engaging the striker. If it is, inspect the bump stops. One or both may be adjusted too far outward, or a replacement stop may be the wrong height.
Do not solve a high hood by moving the striker downward until the latch barely catches. The primary latch needs full engagement, and the secondary catch must remain available as a backup.
When the hood needs to be slammed
A hood that requires repeated slamming may have a striker that is too high, too far forward, or off-center. It may also have a latch contaminated with hardened grease or a bent component. Clean and inspect the mechanism before making a larger adjustment.
Weatherstripping can also create resistance, particularly after replacement. Make sure the seal is seated correctly and is not folded into the latch path. Do not remove the seal simply to make the hood close; it protects the engine compartment from water and debris.
When the hood releases but does not pop up
Some vehicles use spring tension, a rubber bumper, or the hood seal to lift the hood slightly after the primary latch releases. If the release works but the hood does not rise, the latch may be dry or the spring may be weak. You can lift the hood gently after releasing it, but do not assume this is acceptable if the latch remains difficult to operate.
If the cable moves but the latch lever does not, inspect the cable attachment. A disconnected or stretched cable requires repair or replacement rather than striker adjustment.
When to stop and seek professional repair
Stop adjusting and have the vehicle inspected if the latch, striker, hinge, or mounting panel is bent; if fasteners will not tighten; if the hood was involved in a collision; or if the hood opens or rises during a test drive. A latch that intermittently holds is not safe to troubleshoot through repeated road testing.
Professional help is also appropriate when the vehicle uses a complex active hood system, pedestrian-protection actuator, electronic release, or model-specific latch procedure. Do not disconnect or trigger an unfamiliar pyrotechnic or powered component while experimenting with alignment.
Hood latch adjustment FAQs
Can I adjust a hood latch without removing it?
Usually, yes. Many vehicles allow limited movement of the striker or latch after loosening its mounting bolts. The fasteners should remain engaged, and the component should be moved only within its designed adjustment range.
Should I adjust the latch or the hood striker?
Adjust the striker when the hood is generally positioned correctly but the striker does not enter the latch cleanly or the front height is slightly wrong. Adjust the latch when its receiving opening is visibly out of line and its mounting bolts provide an adjustment range. Always inspect the hinges and bump stops before making a large change.
How do I know the hood is fully latched?
After closing, the hood should sit in its normal position and remain closed when you lift gently at the front without using the release. Pulling the interior release should release the primary latch while the secondary catch continues to hold the hood.
Can WD-40 fix a sticking hood latch?
A penetrating spray may help free a dirty or lightly corroded mechanism, but it is not a substitute for cleaning, proper lubricant, or a damaged-part repair. Use a lubricant suitable for automotive latch mechanisms and remove excess product after application.
Why does my hood look aligned but still rattle?
Possible causes include loose latch or striker fasteners, worn latch parts, incorrectly adjusted bump stops, a loose hood liner, or damaged weatherstripping. Check that the hood is fully latched and inspect for movement before assuming the panel alignment is correct.
Confirm the repair before driving
Learning how to adjust a hood latch is mainly an exercise in controlled alignment: inspect the mechanism, mark the original position, make one small change, and test both latch stages before moving on. The hood should close without a hard slam, sit consistently with the surrounding body panels, and remain secure when lifted gently by hand.
If the latch or striker is damaged, the fasteners will not hold, or the hood cannot be proven secure, do not drive the vehicle. Restore the marked position if practical and arrange a qualified inspection. A careful final check is more important than achieving a perfect-looking hood gap.