How to Replace a Hood Latch Correctly and Confirm It Works Now
A hood that will not stay closed is more than an irritating repair. The latch is part of the vehicle’s safety system, and a failure can allow the hood to lift into the driver’s view while the vehicle is moving. A hood that is difficult to open can also leave you stranded when you need to check the oil, battery, or coolant.
In many vehicles, replacing the latch is a manageable driveway repair. The basic process is to support the hood, disconnect the release cable, remove the old latch, install the compatible replacement, and adjust its position so the hood closes securely without excessive force.
This guide explains how to replace a hood latch and how to check the result before driving. You will learn what to confirm before buying a part, how to preserve the original alignment, how to deal with a stubborn cable or fastener, and which signs mean the vehicle should stay parked until a qualified technician inspects it.
At a glance
- Use the vehicle’s exact year, make, model, and trim to match the replacement latch.
- Mark the original latch position before removal so initial alignment is easier.
- Test both the primary latch and the secondary safety catch before driving.
How to replace a hood latch safely and verify the repair
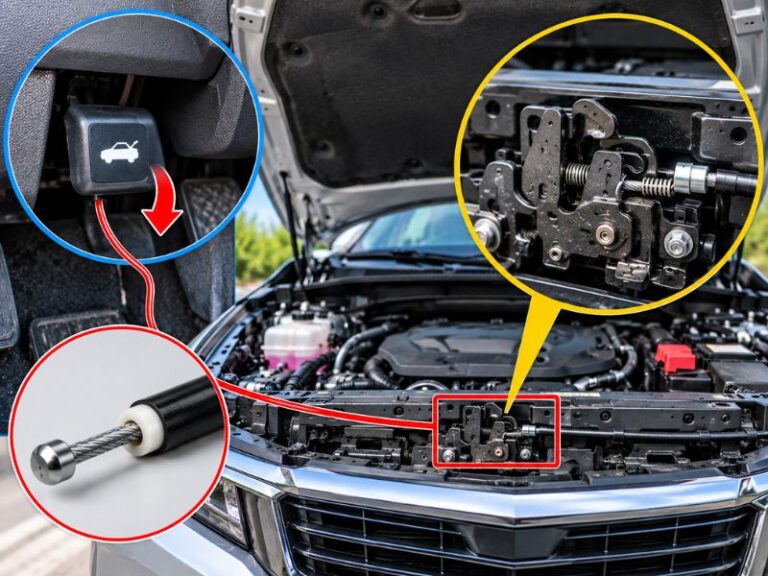
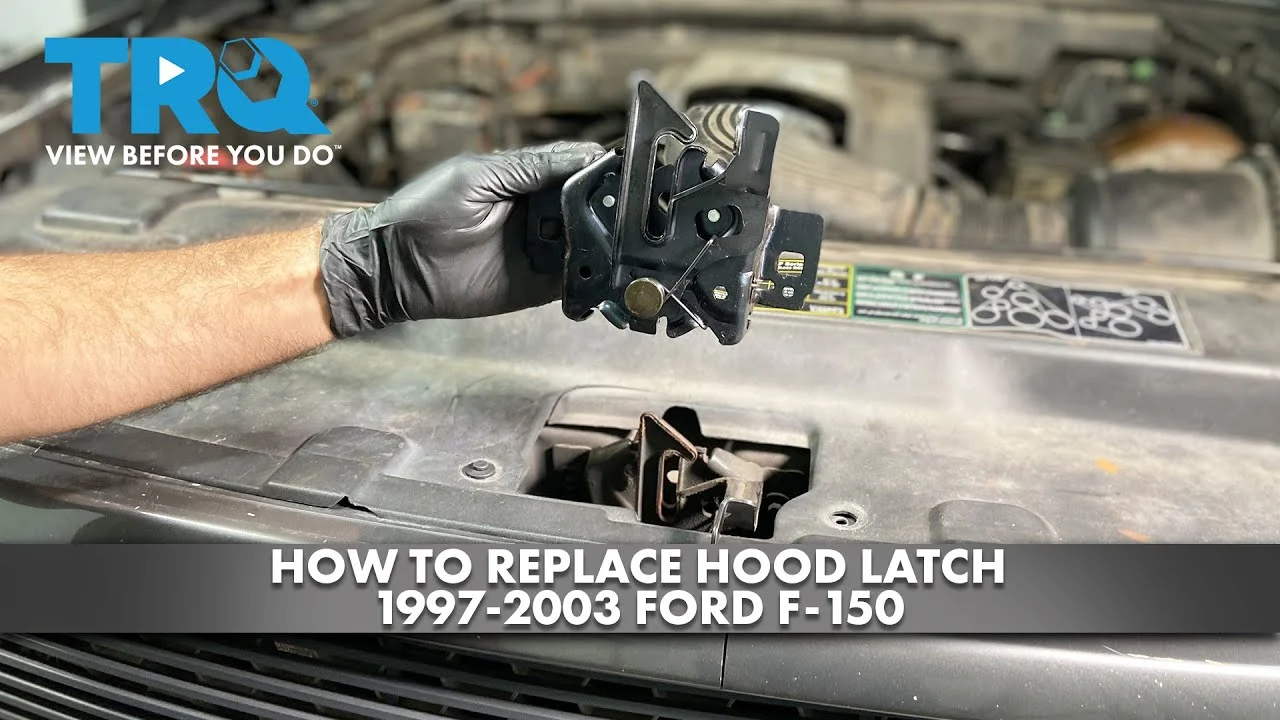
The latch is usually mounted near the front center of the engine compartment, although some vehicles use a latch at each side or a central latch connected to a crossbar. The steps below describe the common single-latch arrangement. Always compare the replacement part and fastener locations with the vehicle’s service information before removing anything.
Tools you will need
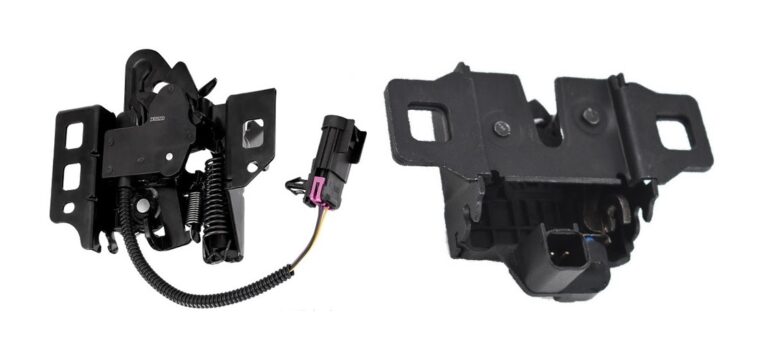
- Replacement hood latch matched to the vehicle’s year, make, model, engine, and trim
- Socket set or combination wrenches that fit the latch fasteners
- Screwdriver or trim tool for releasing cable clips, if needed
- Paint marker, masking tape, or a scribe for marking the original latch position
- Work light and shop rag for seeing and protecting the surrounding area
- Vehicle service information for the specified tightening torque, when available
Step 1 Confirm the failure and obtain the correct latch
Before ordering a part, determine whether the latch itself is defective. Open the hood and inspect the mechanism for broken springs, bent metal, severe rust, or a release lever that moves without operating the latch. Have an assistant pull the interior hood-release handle while you watch the latch, but keep fingers clear of the moving parts.
A damaged hood release cable, a stretched cable, a broken cable-end retainer, or a misaligned hood can produce symptoms that resemble a bad latch. If the latch operates normally when moved by hand but the interior handle does not move it, replacing the latch alone may not solve the problem.
Match the replacement using the full vehicle identification information, not just a photograph. Similar-looking latches can have different mounting holes, cable connections, release directions, or secondary-catch positions. If the replacement does not match the original in those important areas, stop and exchange it before disassembly.
Step 2 Park securely and make the hood safe to work around
Park on a level surface, select Park or first gear as appropriate, set the parking brake, and switch off the engine. Let hot components cool before reaching near the latch or radiator support. If you must work near the battery, follow the vehicle manufacturer’s instructions for disconnecting it; some vehicles have electrical hood-release components or alarm-related systems that require special procedures.
Raise the hood fully and confirm that the hood prop rod is seated in its designated hole, or that the gas struts are holding the hood reliably. Do not trust a weak gas strut. If the hood cannot remain open securely, use a properly positioned support that cannot slip, and keep it away from belts, fans, wiring, and hot components.
Important
Never work beneath a hood that can fall. Do not place your hands between the hood and the body while testing the latch, and never drive with a hood that has not passed the closed-and-locked check.
Step 3 Inspect the release cable and record the original position
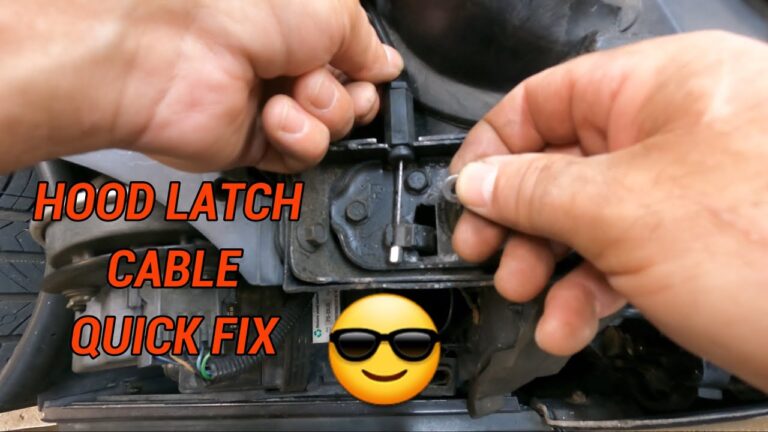
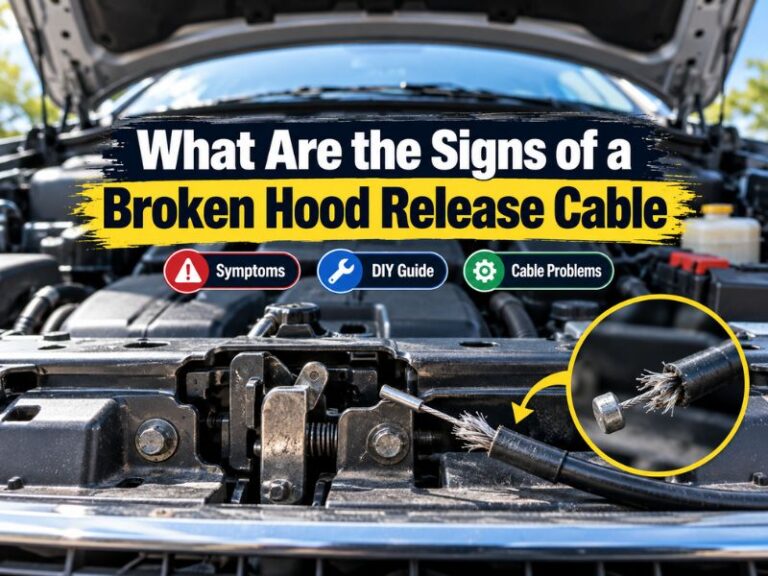
Trace the hood release cable to the latch. The cable normally ends in a small barrel, ball, or hooked fitting held in a lever, while an outer sheath sits in a bracket or retainer. Take a clear photograph before disconnecting it.
This gives you a reference for the cable routing and the position of any clips or brackets.
Use a paint marker or short strips of masking tape to mark around the latch mounting plate and the surrounding radiator support. The marks do not establish final adjustment, but they preserve the original starting position. Also note whether the latch sits centered under the hood striker, the metal loop attached to the hood.
Look for fraying, kinks, corrosion, or a loose outer sheath. A new latch will not work correctly if the cable cannot pull its release lever through the required range. If the cable is damaged, plan to replace or repair that problem as well rather than forcing the new latch to compensate.
Step 4 Release the cable and remove the old latch
Follow the latch manufacturer’s layout and your vehicle’s service information to release the cable. Usually, you move the latch lever slightly by hand to create slack, then unhook the cable end and release the outer sheath from its bracket. A screwdriver or trim tool may help with a plastic retainer, but do not pry against thin painted sheet metal.
Keep the cable from falling behind the radiator support. Tape it temporarily to a nearby fixed point if its routing allows. Remove the latch mounting bolts while supporting the latch with your other hand.
If a bolt is tight, use the correctly sized tool and steady pressure; rounding a fastener can turn a simple repair into a much larger one.
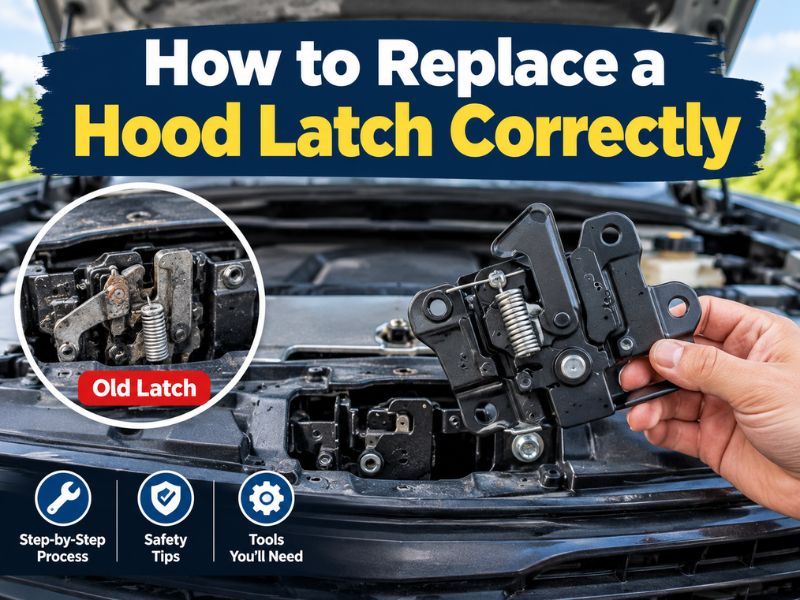
Compare the removed latch with the replacement before discarding it. Confirm that the mounting holes, release lever, secondary catch, cable attachment, and overall orientation agree. Transfer only hardware or brackets that the replacement instructions specifically require.
Do not reuse a damaged bolt, missing spacer, or cracked cable retainer.
Step 5 Install the replacement in its marked position
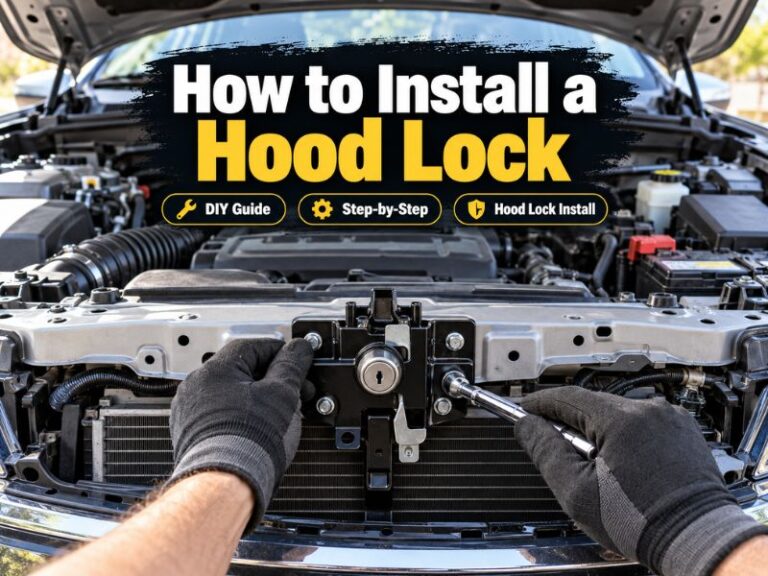
Set the new latch against the support and start every mounting bolt by hand. Leave the fasteners slightly loose at first so the latch can move for alignment. Reattach the cable in the same route as before, making sure the outer sheath is fully seated in its bracket and the inner cable end is completely captured by the release lever.
Do not stretch the cable or route it over a sharp edge. With the hood still open, pull the interior release handle or operate the latch lever by hand and watch the cable. The lever should return under spring tension, and the cable sheath should remain stationary while the inner cable moves.
Tighten the mounting fasteners enough to hold the latch while still allowing careful adjustment. If the manufacturer provides a torque specification, use it after final alignment. Avoid guessing with excessive force, because overtightening can distort a latch or damage the threads in the support.
Step 6 Align the latch with the hood striker
Lower the hood slowly until the striker approaches the latch, but do not let it slam shut during the first alignment check. From the front and from each side, observe whether the striker is centered in the latch opening. The hood should sit level with the adjacent fenders rather than high, low, or shifted to one side.
If the striker misses the opening, raise the hood and loosen the latch slightly. Move it in small amounts toward the striker, then retighten enough to hold it. Some vehicles allow adjustment at the striker itself, but do not change both the latch and striker at the same time unless the service instructions call for it; changing one reference point makes the result easier to evaluate.
Check the rubber hood bumpers as well. They control part of the hood height and can make a correctly positioned latch appear wrong if one bumper is adjusted too far in or out. Do not use the latch to pull a visibly misaligned hood into place.
A bent hood, damaged support, or shifted hinge requires additional diagnosis.
Step 7 Close and test the primary latch
With the hood centered, lower it from a small height and allow the latch to catch without pressing down on the panel. The exact height varies by vehicle, so follow the owner’s or service manual guidance. Do not force the hood closed if it requires a hard slam or if the striker lands against the latch instead of entering it.
A useful way to approach how to replace a hood latch is to check your progress after each stage.
Once closed, try to lift the front edge gently using both hands near the center. The hood should remain held by the primary latch, with little or no free movement beyond normal flexibility. Do not test by pulling hard enough to bend the hood.
Pull the interior release handle. The hood should pop up enough for the secondary safety catch to hold it. Reach under the front edge only at the designated access point and release the secondary catch as described in the owner’s manual.
If the hood does not pop up, the cable is too loose, the latch is not returning, or the hood is binding.
Step 8 Check the secondary safety catch and final operation
Close the hood again, then confirm that the secondary catch prevents the hood from opening when the primary latch is intentionally released. This catch is a backup restraint; it is not a substitute for a properly engaged primary latch. Test it gently and keep your face and fingers away from the hood’s path.
Open the hood and operate the release several times. The interior handle should have a consistent feel, the latch should move freely, and the spring should return the mechanism to its locked position. Watch for a cable that remains slack, a lever that sticks, or a latch that fails to reset after opening.
When the latch works correctly, tighten the mounting fasteners to the vehicle’s specified torque and recheck the cable retainer. Remove the alignment marks only after the hood sits correctly and all tests pass. Wipe away fingerprints or excess lubricant from painted surfaces, but do not spray lubricant onto a cable or latch if the manufacturer prohibits it.
What the hood latch and safety catch are supposed to do
A hood latch has two important holding positions. The primary latch fully locks the hood during normal driving. The secondary safety catch is a backup that should keep the hood from opening fully if the primary position is not engaged.
The hood striker is the metal loop or pin that enters the latch when the hood closes. The latch, striker, hinges, rubber bumpers, and release cable work together. If any one of them is bent, loose, corroded, or incorrectly adjusted, the hood may sit unevenly or fail to lock.
Learning how to replace a hood latch is useful, but the repair is not complete when the new part is bolted on. Alignment and functional testing matter just as much as installation because a latch can look secure while the striker is only partly engaged.
When cleaning or adjustment may be enough
Replacement is not always necessary. Dirt, hardened grease, surface rust, or a shifted latch can prevent smooth operation. With the hood open, inspect the mechanism and clean loose debris using a suitable brush or cloth.
Use only a lubricant approved for the latch by the vehicle or lubricant manufacturer, and keep it away from painted surfaces when possible.
Do not rely on lubricant to fix a broken spring, cracked housing, badly bent lever, or worn engagement surface. A latch that releases when the hood is pulled upward, even after cleaning and adjustment, should be replaced or professionally inspected.
Troubleshoot an unsuccessful hood latch replacement
Most problems after installation come from incorrect cable seating, poor alignment, or a part that does not match the vehicle. Stop testing if the hood will not remain securely latched. The vehicle should not be driven until the cause is corrected.
| Symptom | Likely area to inspect | Useful check |
|---|---|---|
| Hood will not latch | Latch position, striker alignment, or latch return spring | Open the hood and confirm the latch is reset before lowering it again. |
| Hood latches but will not release | Release cable, cable sheath, or lever connection | Watch whether the inner cable moves while the outer sheath stays seated. |
| Hood sits high or uneven | Latch position, hood bumpers, hinges, or bent sheet metal | Compare the hood gaps and striker position from both sides. |
| Interior handle feels loose | Disconnected cable or loose cable retainer | Inspect both ends of the cable before adjusting the latch. |
When the hood will not catch
Raise the hood and manually reset the latch to its open position if it remained closed after testing. Check that the striker enters the center of the opening and that no wiring, trim, or cable sheath is blocking the mechanism. A latch installed too far forward or backward can prevent the primary pawl from reaching the striker.
Check whether the hood must be pushed down unusually hard. Excessive force often indicates that the latch and striker are not aligned or that a hood bumper is too high. Do not keep slamming the hood, because repeated impacts can bend the hood or damage the new latch.
When the release handle does not work
Inspect the cable at the latch first. The outer sheath must be locked into its bracket; otherwise, pulling the interior handle may move the whole cable instead of the inner wire. Also confirm that the cable end is seated in the release lever and that the lever returns after it is pulled.
If the cable is frayed or stretched, replacing the latch will not restore dependable operation. A cable that has come loose at the interior handle may require access behind the dashboard or trim, which is a reasonable point to seek professional help if you cannot identify the retainer without forcing it.
When the replacement does not match
Do not modify a latch by drilling new holes, bending the safety catch, or removing a spring to make it fit. Those changes can compromise the mechanism even if the hood appears to close. Recheck the vehicle identification details and compare the original and replacement parts at the mounting plate and cable connection.
Some vehicles use different latches for different body styles, hoods, or production configurations. A parts listing that says “fits” may still require confirmation against the vehicle’s exact configuration and the manufacturer’s installation information.
Final inspection before driving
After the hood latch replacement, perform a final inspection in good light. The hood should be flush with the surrounding body panels, the release cable should be secured away from moving or hot components, and no tools or rags should remain in the engine compartment.
- Confirm the primary latch catches fully when the hood is lowered normally.
- Confirm the hood cannot be lifted by a gentle, even hand check.
- Confirm the interior release opens the primary latch consistently.
- Confirm the secondary safety catch holds the hood after the release is pulled.
- Confirm the hood closes again without unusual force or a hard slam.
- Confirm the latch fasteners and cable retainer are secure.
- Confirm the hood remains level and does not rub the fenders or grille.
Check your result
A successful repair has three observable results: the release opens the latch, the primary latch holds the hood closed, and the secondary catch stops the hood when the primary latch is released.
For the first short drive, stay on a low-speed route and pay attention to unusual movement or noise. Do not continue if the hood vibrates, the release handle changes feel, or the hood gap changes. Reinspect the latch with the vehicle parked.
Hood latch replacement FAQs
Can I replace a hood latch without removing the hood?
Usually, yes. Most latches are accessible with the hood open, and removing the hood is unnecessary. If the latch is hidden behind a grille or the vehicle has a complex active hood system, follow the service instructions instead of forcing access.
How do I know whether the cable or latch is bad?
Watch the latch while someone operates the interior release. If the cable moves but the latch lever does not, the connection or latch may be faulty. If the interior handle moves loosely and the cable does not move, inspect the cable and its attachments before replacing the latch.
Should I grease a new hood latch?
Only use a lubricant approved for that mechanism and vehicle. Some latches are supplied prelubricated, and the wrong product can collect grit or affect plastic and rubber components. Cleaning and a small amount of suitable lubricant may help a sticking latch, but it will not repair broken metal or a damaged spring.
Why does my hood sit higher after the latch replacement?
The latch may be positioned too high, the striker may be misaligned, or a rubber hood bumper may be adjusted too far out. Inspect the hood gaps and make small alignment changes. If the hood or support is bent, professional body or mechanical inspection is safer than forcing the latch into position.
Can I drive if the secondary safety catch works?
No. The secondary catch is a backup, not the normal locking position. The primary latch must engage securely, and the hood must pass the gentle lift check before the vehicle is driven.
Finish the repair with a secure hood check
Knowing how to replace a hood latch is only part of the job. The dependable result comes from matching the correct part, preserving the cable routing, aligning the latch with the striker, and confirming both locking positions.
If the hood closes smoothly, stays secure under a gentle check, releases from the interior handle, and is caught by the secondary safety mechanism, the repair has passed the essential inspection. If any of those checks fail, keep the vehicle parked and correct the alignment or cable problem—or have a qualified technician inspect it before driving.