How to Remove a Hood Release Cable: Step-by-Step Guide
learning how to remove a hood release cable can help you handle a common vehicle repair task. Many drivers in the U.S. deal with loose hood handles, broken cables, or hoods that will not open. A damaged cable can stop you from reaching the engine bay when you need routine maintenance.
From my experience working through automotive repair guides, the key is to avoid forcing the cable or latch. A calm inspection of the cable path, mounting clips, and hood latch connection usually makes the removal process much easier. Always check your vehicle service manual because cable designs vary by make and model.

Understanding How a Hood Release Cable Works
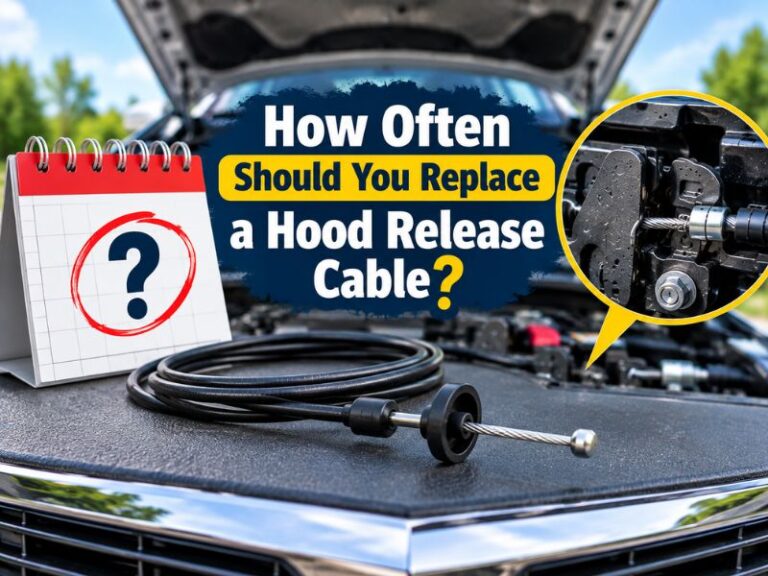
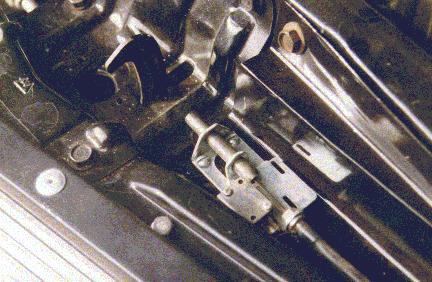
Before learning how to remove a hood release cable, it helps to understand its job. The cable connects the hood release handle inside the cabin to the hood latch near the front of the vehicle.
When you pull the interior handle, the cable moves and releases the latch mechanism. Over time, the cable can stretch, rust, snap, or become stuck because of wear, dirt, or corrosion.
- ✦ Interior release handle
The handle inside the vehicle starts the cable movement when you pull it.
- ✦ Cable housing
The protective outer cover guides the cable and keeps it aligned.
- ✦ Hood latch connection
The end of the cable connects to the latch and moves the release lever.
Common Signs of a Bad Hood Release Cable
A hood release cable may need removal when the handle feels loose or the hood does not open. Other signs include a stretched cable, unusual resistance, or a cable that has separated from the latch.
- ✦ Loose interior handle
A handle that pulls without opening the hood may indicate a disconnected or broken cable.
Tools Needed Before Removing a Hood Release Cable
Having the right tools makes the process safer and faster. Most vehicles only need basic hand tools, but some models require extra steps because of tight access areas.
Prepare your tools before starting. This reduces the chance of damaging plastic clips or other parts while working.

- ✦ Basic hand tools
Use screwdrivers, pliers, sockets, and wrenches that match your vehicle hardware.
- ✦ Flashlight
A bright light helps you see the cable route and latch connection points.
- ✦ Protective gloves
Gloves help protect your hands from sharp metal edges and dirt.
Step-by-Step Guide on How to Remove a Hood Release Cable
The process for how to remove a hood release cable changes slightly between vehicles. However, most systems follow the same basic steps. Start by making sure the vehicle is parked safely and the engine is cool.
Take photos before removing clips or brackets. These pictures can help you remember the correct cable path during installation of the new part.

- ✦ Disconnect the interior handle
Remove the trim or screws around the release handle and disconnect the cable end.
- ✦ Release cable mounting points
Remove clips, brackets, or retainers that hold the cable along its route.
- ✦ Remove the latch connection
Access the hood latch and detach the cable end from the release lever.
Removing the Cable From the Interior Side
Begin inside the cabin near the hood release handle. Remove any panels that block access, then locate where the cable attaches to the handle. Disconnect it carefully to avoid breaking plastic mounts.
- ✦ Check cable routing
Follow the cable path so you know where each clip and guide belongs.
Removing the Cable From the Hood Latch
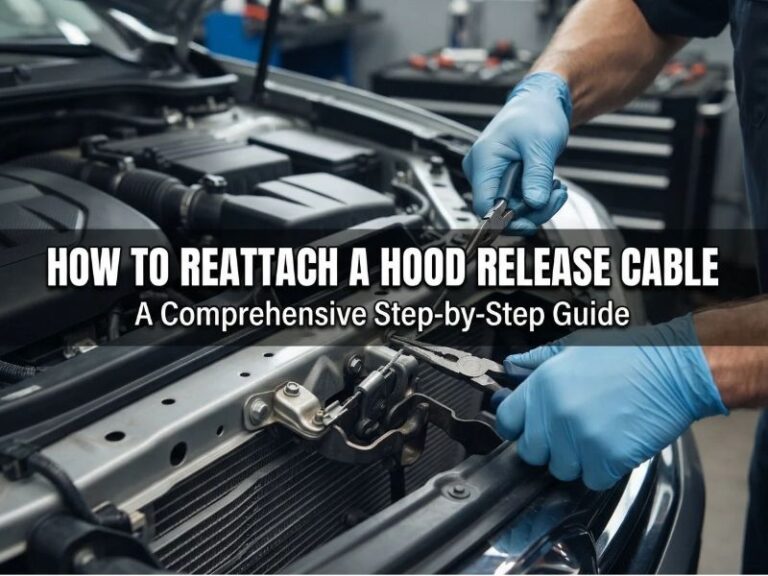
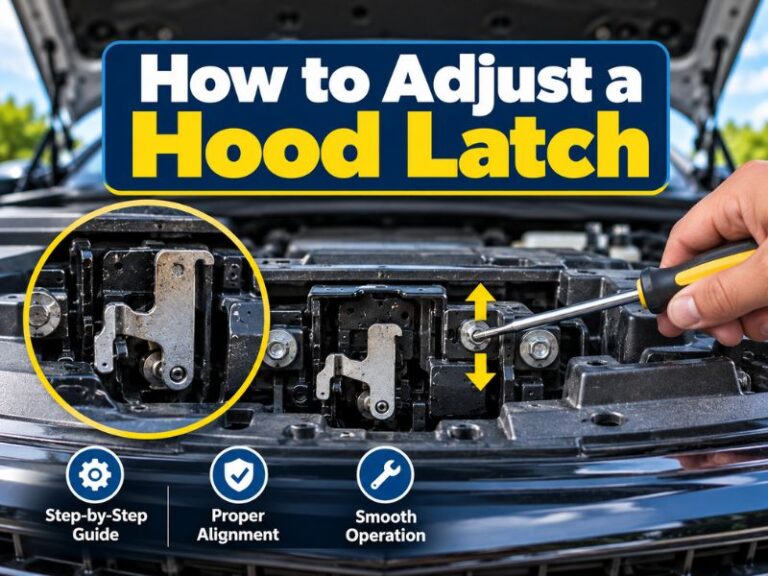
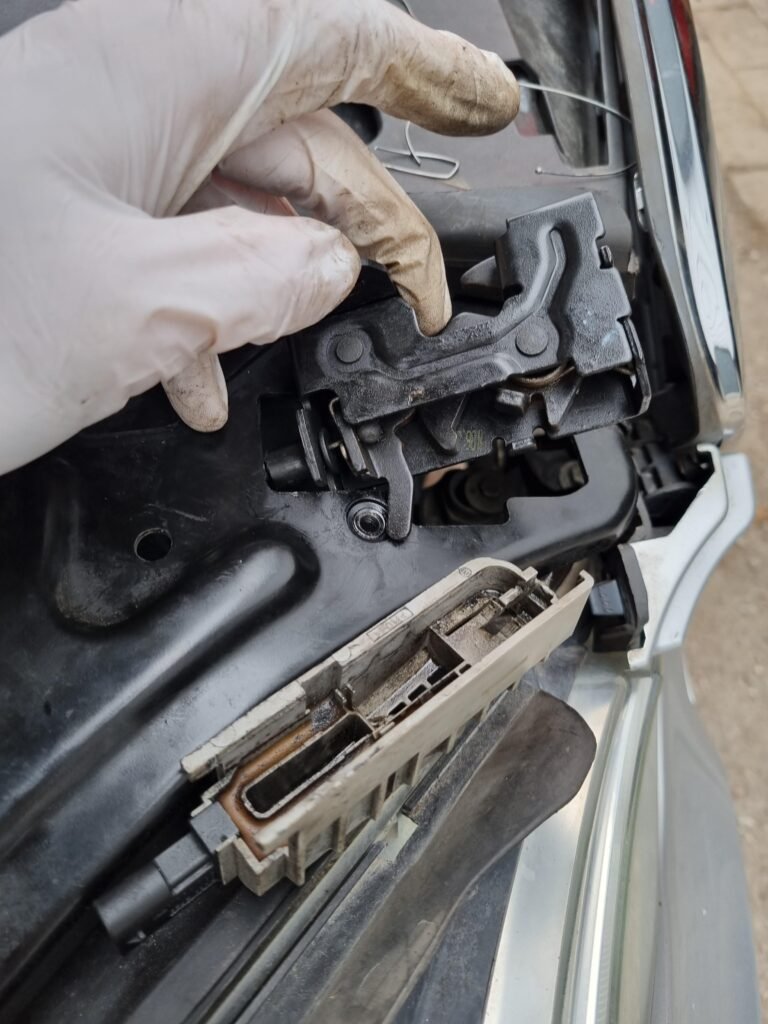
The latch end is usually held by a clip or bracket. Release the fastener and slide the cable end away from the latch lever. Avoid bending the latch because it can affect hood alignment.
What to Do If the Hood Release Cable Is Broken
A broken hood release cable can make removal harder because the normal handle may not work. In some cases, you may need to access the latch from underneath the vehicle or through the grille area.
Do not use excessive force on the hood. Forcing the hood can damage the latch, hood panel, or surrounding parts.

- ✦ Inspect the break location
Finding where the cable failed helps determine the easiest access point.
- ✦ Use safe access methods
Follow vehicle-specific repair steps instead of pulling on the hood.
Mistakes to Avoid When Removing a Hood Release Cable
Small mistakes during cable removal can create extra repairs. Many problems happen when people pull too hard, skip photos, or ignore the cable routing path.
Taking extra time during removal makes installation of a replacement cable much easier.

- ✦ Do not force stuck parts
Use inspection and proper tools instead of applying damaging pressure.
- ✦ Do not lose clips
Retaining clips keep the cable secure and should be saved for reuse or replacement.
- ✦ Do not ignore latch problems
A failing latch may cause future hood release issues even after cable replacement.
Checking and Preparing for Hood Release Cable Replacement
After you finish learning how to remove a hood release cable, inspect the old part carefully. Look for rust, stretched sections, damaged housing, or worn connection points.
A proper inspection helps you choose the correct replacement cable and prevents another failure. Always compare the new cable with the old one before installation.

- ✦ Compare cable length
The replacement cable should match the original routing and length.
- ✦ Check mounting points
Make sure all clips and brackets are included and fit correctly.