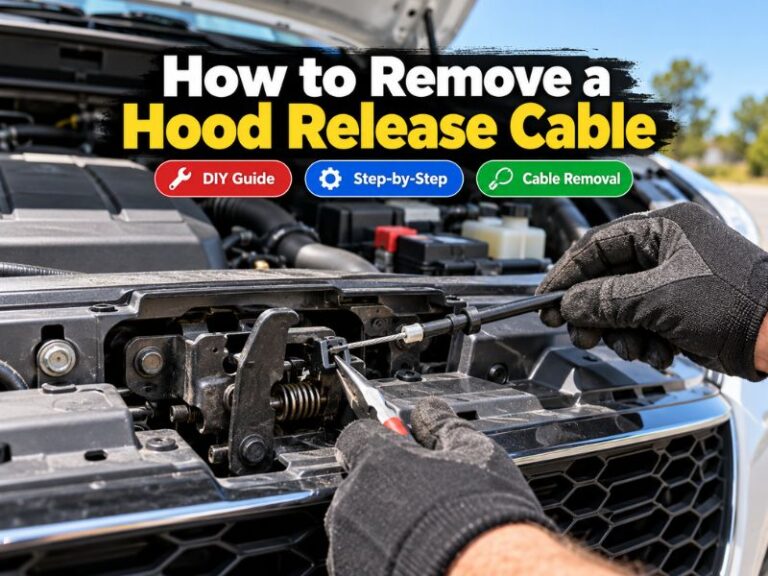
How to Fix a Hood Release Cable: Step-by-Step Repair Guide
A broken or sticking hood release cable can leave you unable to open the hood when you need to check the battery, add fluids, or make repairs. Fortunately, the problem is often caused by something fairly simple, such as a stretched cable, loose connection, dry latch, damaged handle, or seized hood latch.
Learning how to fix a hood release cable starts with figuring out which part of the release system has failed. Sometimes the cable only needs lubrication or adjustment. If the inner wire has snapped or the cable housing is damaged, replacing the cable is usually the proper repair.
This guide explains how the hood release system works, how to diagnose the problem, ways to open a hood when the cable is not working, and how to repair or replace the cable safely.
How to Fix a Hood Release Cable
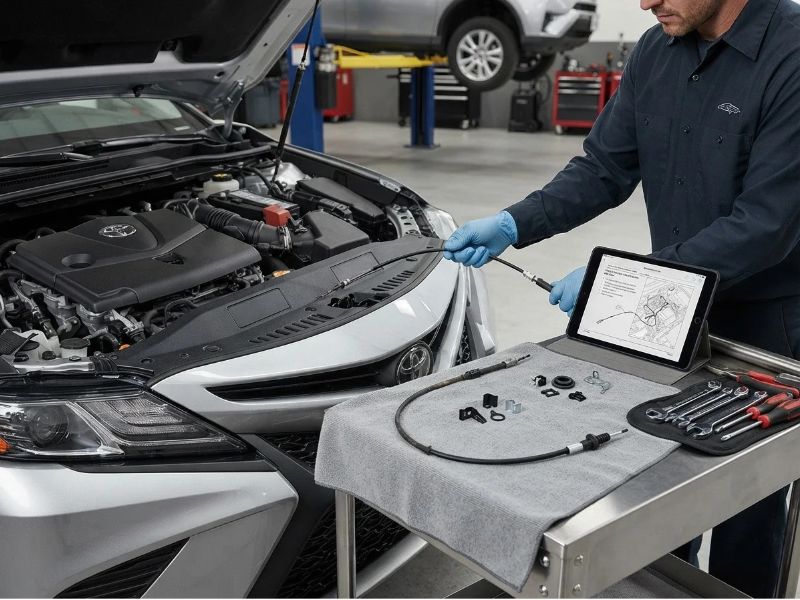
To fix a hood release cable, first inspect the interior release handle, cable connection, cable housing, and hood latch. Reconnect or adjust a loose cable, lubricate a sticking latch, or replace the cable if it is stretched, frayed, seized, or broken.
The basic repair process is:
- Determine whether the cable or latch is causing the problem.
- Open the hood if possible.
- Inspect the release handle and cable connections.
- Lubricate and test the hood latch.
- Adjust the cable if excessive slack is present.
- Replace the cable if it is damaged.
- Test the hood release several times before closing the hood completely.
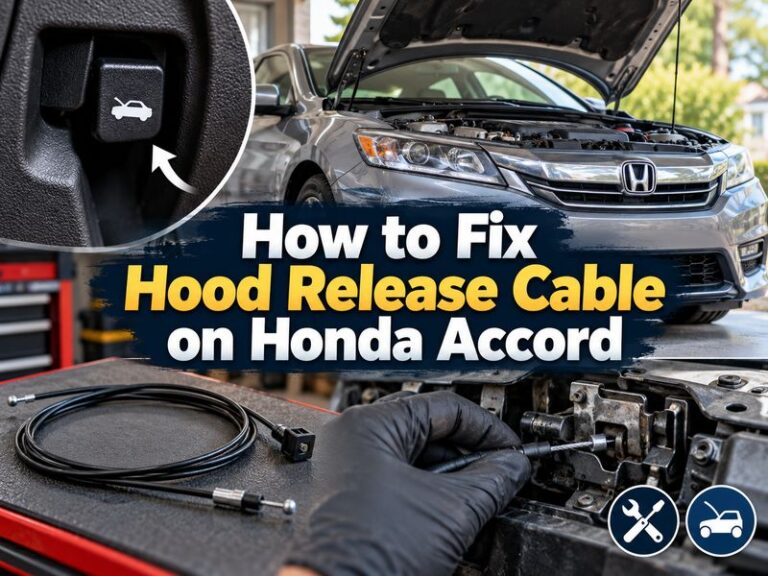
Exactly how the cable is routed and attached varies by vehicle, so the repair procedure may differ slightly between cars and trucks.
How the Hood Release Cable Works
Most vehicles use a simple mechanical system to release the hood.
The main components are:
- Interior hood release handle
- Hood release cable
- Cable housing
- Primary hood latch
- Secondary safety latch
When you pull the hood release handle inside the vehicle, the handle pulls an inner steel cable. That cable moves a lever on the hood latch.
The primary latch releases, allowing the hood to pop up slightly. You then operate the secondary safety latch near the front of the hood before lifting the hood completely.
The secondary latch is an important safety feature because it helps prevent the hood from opening while driving if the primary latch is accidentally released.
Signs of a Bad Hood Release Cable
Several symptoms can indicate that the hood release cable or related hardware needs attention.
Hood Release Handle Feels Loose
A handle that suddenly pulls with almost no resistance often means the cable has:
- Broken
- Become disconnected
- Pulled out of its mounting bracket
A small amount of movement is normal, but a completely loose handle usually indicates that the cable is no longer operating the latch.
You Have to Pull the Handle Several Times
If the hood eventually opens after repeated pulls, the cable may be stretched or poorly adjusted.
A sticky hood latch can cause the same symptom.
Hood Release Handle Is Very Hard to Pull
Excessive resistance can be caused by:
- Corrosion inside the cable housing
- A kinked cable
- A seized latch
- Dirt or rust around the latch mechanism
Do not continue pulling extremely hard. Excessive force can break the handle or snap the cable.
Hood Will Not Pop Open
If you can feel normal tension in the handle but the hood remains closed, the problem may be the latch rather than the cable.
The hood may also be putting too much pressure on the latch because of incorrect hood alignment or improperly adjusted hood bump stops.
Before Replacing the Hood Release Cable
A hood that will not open does not automatically mean the cable needs replacement.
Check a few simpler problems first.
Have Someone Press Down on the Hood
Ask another person to gently press down on the hood directly above the latch while you pull the interior release handle.
Then have the person release pressure.
This can reduce tension between the hood striker and latch and may allow a sticky mechanism to release.
Do not slam or aggressively push on the hood because the hood panel can be dented.
Inspect the Interior Release Handle
Look closely at the hood release lever inside the vehicle.
Check whether:
- The handle is broken
- The cable end has slipped out
- The mounting bracket is loose
- The cable housing has moved out of its retaining clip
If the cable simply came loose from the handle, reconnecting it may restore normal operation.
Check for Cable Movement
If part of the cable is accessible behind the release handle, carefully watch it while operating the lever.
A moving cable suggests the problem may be farther forward, possibly at the latch.
No cable movement may indicate a disconnected or broken cable.
Read More: how often should you replace a hood release cable
How to Open a Hood With a Broken Release Cable
Opening the hood is often the hardest part of repairing a failed cable.
The safest method depends heavily on the vehicle.
Pull the Cable With Pliers
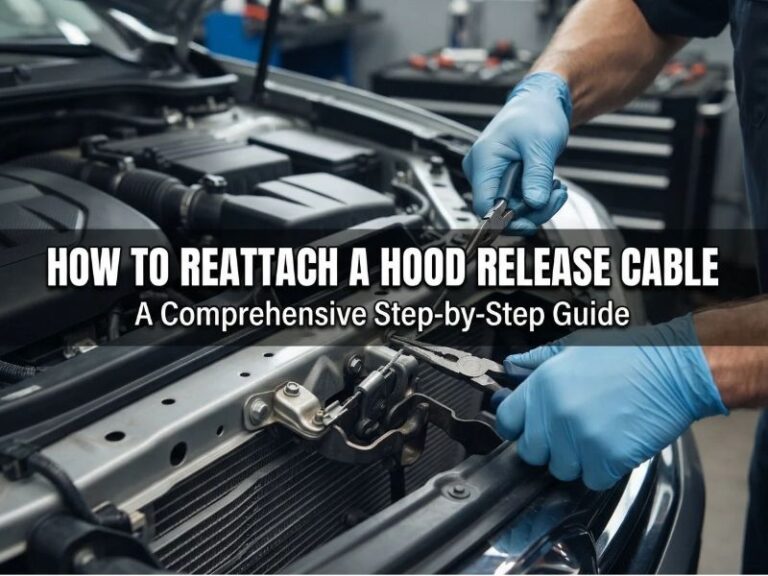
If the interior handle has broken but the cable itself is intact, you may be able to expose the cable end and pull it using locking pliers.
Grip the inner cable securely and pull it in the same direction the original handle would.
If the latch releases, open the hood normally using the secondary safety latch.
Access the Latch From the Front
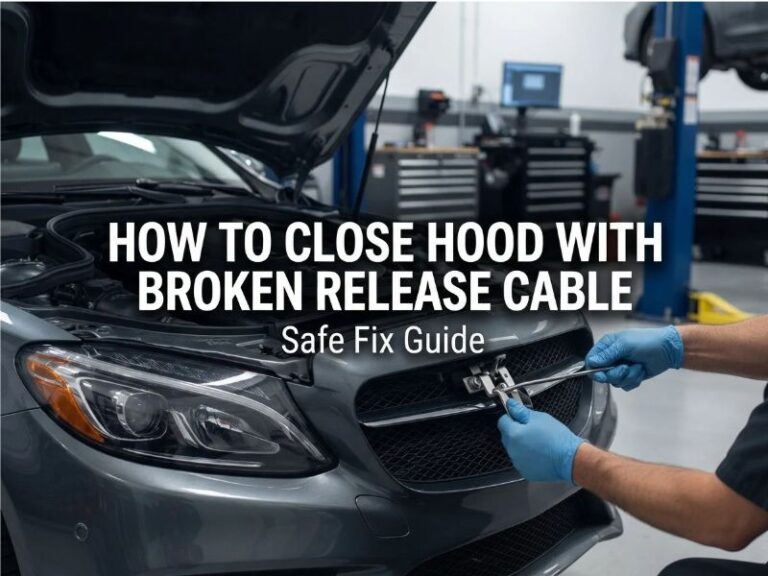
Some vehicles provide enough access through the grille or underneath the front bumper to reach the hood latch.
A long screwdriver or similar tool may sometimes be used to operate the latch lever manually.
However, access varies significantly between vehicles.
Avoid blindly forcing tools through the grille because you could damage:
- The radiator
- Air-conditioning condenser
- Wiring
- Grille components
- Hood latch assembly
If the latch cannot be reached safely, a mechanic may be able to open the hood without damaging surrounding parts.
How to Repair a Loose or Stretched Hood Release Cable
If the cable is intact but has excessive slack, adjustment may solve the problem.
Inspect the Cable Mounting Points
Check the cable where it attaches to:
- The interior handle
- Body brackets
- Hood latch
Make sure the outer cable housing is seated securely in every retaining bracket.
If the housing moves when the handle is pulled, the inner cable may not have enough travel to release the latch.
Reinstall Loose Retainers
Push loose cable housings or clips back into their correct positions.
Replace broken clips rather than relying on tape or temporary fasteners.
Cable housing position is important because the inner cable needs a fixed outer housing to operate correctly.
Adjust the Cable if the Vehicle Allows It
Some hood release systems have adjustable cable mounts or latch connections.
Remove excessive slack gradually.
The cable should be tight enough to move the latch properly but should not hold the latch partly released when the handle is at rest.
Many vehicles do not provide a normal cable adjustment. If a permanently stretched cable no longer provides enough movement, replacing it is usually better than attempting to shorten it.
Read More: how much does it cost to replace a hood release cable
How to Lubricate a Sticking Hood Latch
A stiff latch can make a perfectly good cable seem defective.
Once the hood is open, inspect the latch for dirt, rust, dried grease, and corrosion.
Clean the Latch
Remove loose dirt and debris around the latch mechanism.
If necessary, use an appropriate automotive cleaner on heavily contaminated moving parts, following the product’s instructions.
Lubricate Moving Parts
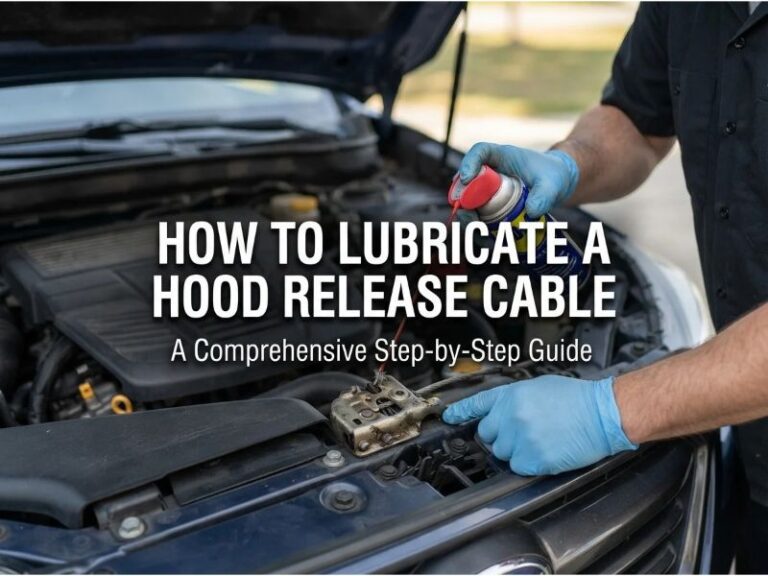
Apply a suitable automotive latch lubricant or light grease to the latch’s pivot points and moving surfaces.
Operate the latch several times manually to distribute the lubricant.
Avoid coating electrical switches or nearby components unnecessarily.
Check the Hood Striker
Inspect the metal striker attached to the hood.
Look for:
- Excessive wear
- Bent components
- Loose mounting bolts
- Obvious misalignment
Poor alignment can place extra pressure on the latch and make the release cable difficult to operate.
How to Replace a Broken Hood Release Cable
If the cable is snapped, badly rusted, kinked, or seized inside its housing, replacement is normally the proper fix.
Gather Basic Tools
Depending on the vehicle, you may need:
- Screwdrivers
- Socket and ratchet set
- Pliers
- Trim removal tool
- Flashlight
- Replacement hood release cable
- Suitable lubricant
The exact tools depend on the vehicle.
Disconnect the Cable From the Hood Latch
With the hood open, locate where the cable connects to the latch mechanism.
Take a photo before removing anything if the routing or attachment is complicated.
Release the cable end from the latch lever and remove the cable housing from its retaining bracket.
Disconnect the Interior Handle
Remove any trim panel necessary to access the hood release handle.
Detach the cable from the handle assembly.
Be careful with plastic trim clips because older clips can become brittle.
Trace the Cable Routing
Follow the original cable from the passenger compartment toward the engine bay.
Hood cables commonly pass through a firewall grommet, which helps seal the hole between the cabin and engine compartment.
Note every clip, bracket, and routing point before removing the old cable.
Correct routing helps prevent the replacement cable from:
- Kinking
- Rubbing against sharp metal
- Contacting hot components
- Interfering with moving parts
Remove the Old Cable
Release the cable from its retainers and carefully pull it out.
Avoid damaging the firewall grommet or nearby wiring.
Install the New Cable
Route the replacement cable along the same path as the original.
Secure it in all factory clips and brackets.
Make sure the cable follows smooth curves rather than sharp bends.
Reconnect one end to the interior release handle and the other end to the hood latch.
Test Before Closing the Hood
This step is especially important.
Operate the interior release handle while watching the latch.
Make sure the latch:
- Moves fully
- Returns to its normal position
- Releases easily
- Does not bind
You can use a suitable tool to simulate the hood striker entering the latch, then operate the release to confirm that the mechanism opens correctly.
Do not place your fingers inside the latch mechanism while testing it.
Only close the hood after you are confident that the new cable and latch are working properly.
What Causes a Hood Release Cable to Fail?
Hood release cables can last many years, but several problems can eventually cause failure.
Corrosion
Moisture entering the cable housing can cause the inner steel cable to rust.
Corrosion increases friction until the cable becomes difficult to move or eventually snaps.
Normal Wear
Every pull of the release handle places tension on the cable.
Over many years, the cable or its end fittings can gradually wear.
Damaged Cable Housing
A cracked, crushed, or kinked housing can prevent the inner cable from sliding freely.
Seized Hood Latch
A dry or corroded latch can require more pulling force than the cable was designed to handle.
Eventually, the extra stress can stretch or break the cable.
Broken Release Handle
Sometimes the cable is fine and the plastic interior handle fails instead.
Inspect the handle carefully before ordering a complete cable assembly.
Can You Repair a Snapped Hood Release Cable?
A broken hood release cable should generally be replaced rather than permanently spliced.
A temporary repair might move the latch, but a hood release system needs to work reliably every time.
A poorly repaired cable could fail again and leave the hood stuck closed.
Replacement cables are designed with the correct:
- Length
- End fittings
- Housing
- Mounting points
For a reliable long-term repair, replacing the damaged assembly is normally the better option.
Common Hood Release Cable Repair Mistakes
Several mistakes can make the repair harder or cause another failure.
Closing the Hood Before Testing the Repair
This is one of the biggest mistakes.
If the new cable is not connected properly, closing the hood may lock you out again.
Always test the latch mechanism repeatedly before fully closing the hood.
Using Too Much Force on the Release Handle
A handle that is extremely hard to pull usually indicates another problem.
Continuing to force it can break the cable or handle.
Find and correct the source of the resistance.
Ignoring a Sticky Latch
Replacing the cable without servicing a seized latch can overload the new cable.
Clean and lubricate the latch while performing the repair.
Routing the Cable Incorrectly
Sharp bends, contact with hot components, or poor mounting can shorten the life of the new cable.
Follow the original routing whenever possible.
When Should You Have a Mechanic Fix It?
Replacing a hood release cable is manageable for many DIYers once the hood is open.
Professional assistance may make more sense when:
- The hood is completely stuck closed.
- The latch cannot be reached safely.
- Access requires removing major body components.
- The cable runs through difficult dashboard areas.
- The hood latch or striker is damaged.
- You are unsure whether the hood will latch securely afterward.
A hood that does not latch correctly can become a serious driving hazard. Do not drive the vehicle if the primary hood latch cannot securely hold the hood closed.
FAQs About How to Fix a Hood Release Cable
Can You Fix a Hood Release Cable Without Replacing It?
Yes, if the cable itself is still in good condition.
A loose cable may only need to be reattached, a poorly seated housing may need to be secured, and a sticky latch may need cleaning and lubrication.
A snapped, badly frayed, rusted, or seized cable should normally be replaced.
How Do I Know if My Hood Cable Is Broken?
A release handle that suddenly feels completely loose is a common sign.
You may also find that the inner cable does not move when the handle is pulled.
Inspect both ends before assuming the cable is broken because the cable may simply have disconnected from the handle or latch.
Why Is My Hood Release So Hard to Pull?
The most common causes are a dry or corroded hood latch, damaged cable housing, internal cable corrosion, or excessive pressure between the hood striker and latch.
Lubricating the latch may help, but a stiff cable should be replaced if it does not move smoothly.
Can I Drive With a Broken Hood Release Cable?
A broken release cable does not normally affect the hood once the hood is securely latched.
However, you will not be able to access the engine compartment normally, which can become a problem if you need to check fluids, jump-start the battery, or inspect a mechanical issue.
If the hood itself does not latch securely, do not drive the vehicle until the latch problem is repaired.
Can I Use Pliers to Open a Hood With a Broken Handle?
Yes, sometimes.
If the release handle broke but the inner cable is still accessible and intact, pulling the cable carefully with pliers may release the hood.
Do not pull so aggressively that you damage the cable or surrounding trim.
Should I Lubricate the Hood Release Cable?
The hood latch should be lubricated periodically, but whether the cable itself should be lubricated depends on its construction.
Many modern cables use lined or sealed housings and are not intended to be filled with heavy lubricant.
If the cable is already binding internally, replacement may be more reliable than attempting to force lubricant into it.
Why Does My Hood Release Work Only After Several Pulls?
The cable may have too much slack, the cable housing may be loose, or the hood latch may be sticking.
Inspect the cable mounting points first, then clean and lubricate the latch.
If the cable has permanently stretched or is damaged, replacement may be necessary.
Conclusion
Learning how to fix a hood release cable mainly involves determining whether the problem comes from the cable, interior handle, cable mounting points, or hood latch. A loose connection or sticky latch may only require a simple adjustment or lubrication, while a snapped, seized, or badly damaged cable should usually be replaced.
Inspect the entire hood release system rather than replacing parts automatically. Most importantly, test the latch several times before closing the hood after a repair. A properly working cable should release the hood smoothly, while the primary and secondary latches should continue to hold the hood securely when closed.