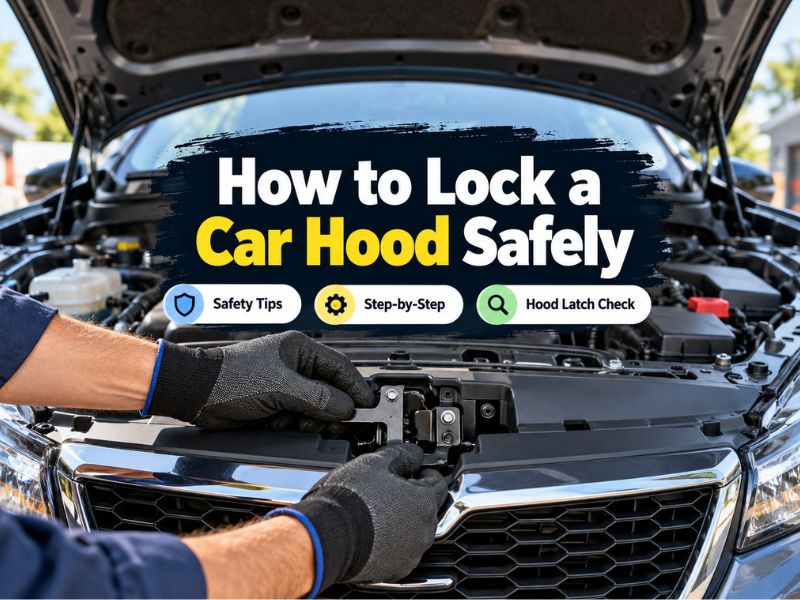
How to Lock a Car Hood Safely: Latch Checks and Fixes That Work
A car hood should not merely look closed; it should be held by its latch before the vehicle moves. If the hood is resting slightly high, the release handle feels loose, or the dashboard shows a hood-open warning, assume it is unsecured until you check it. A hood that lifts while driving can block your view and create a serious hazard.
Learning how to lock a car hood is usually straightforward. You lower it until the primary latch catches, then verify the engagement from outside the vehicle without relying only on the sound or the hood’s appearance. Many vehicles also have a secondary safety catch, but that backup is not a substitute for the main latch.
This guide explains how to prepare, close, and test a hood on a typical passenger vehicle. It also covers vehicles with a soft-close design, common reasons a hood will not latch, safe temporary decisions, and when to stop trying and have a qualified technician inspect the latch or release cable.
At a glance
- Keep fingers clear of the hood edge and latch area while closing it.
- Confirm the hood’s front edge sits evenly and does not lift when gently tested.
- Do not drive if the hood remains loose, visibly misaligned, or shows a hood-open warning.
How to lock a car hood safely and verify the latch
The safest general method is to park on level ground, make sure nothing is trapped in the engine compartment, and lower the hood in a controlled way. The exact closing technique varies: many hoods need a short, firm drop from a modest height, while some newer vehicles are designed to be pressed down by hand. Use the owner’s manual if it gives a specific instruction for your model.
Tools you will need
- Owner’s manual, to confirm the correct hood-closing method and identify model-specific warnings
- Flashlight, optional, for viewing the latch and checking for an obstruction in low light
- Clean cloth, optional, for removing dirt from the hood’s contact area without pushing debris into the mechanism
Step 1 Park securely and make the engine area safe
Stop on level ground when possible, shift into Park for an automatic transmission or set the parking brake for a manual transmission, and turn the engine off. If the engine or nearby metal parts are hot, wait until they are safe to approach; do not place your hands near belts, fans, or other moving components while the engine is running.
Remove tools, rags, containers, and loose parts from the engine compartment. Check especially around the hood latch, radiator support, and the edges of the compartment. A misplaced cloth or tool can prevent the latch from reaching its closed position.
If you opened the hood using an interior release handle, make sure the handle has returned to its normal position. A release cable that is still held under tension can keep the latch partly open on some vehicles. Do not pull the interior release again while you are trying to close the hood.
Step 2 Inspect the latch and the hood’s contact points
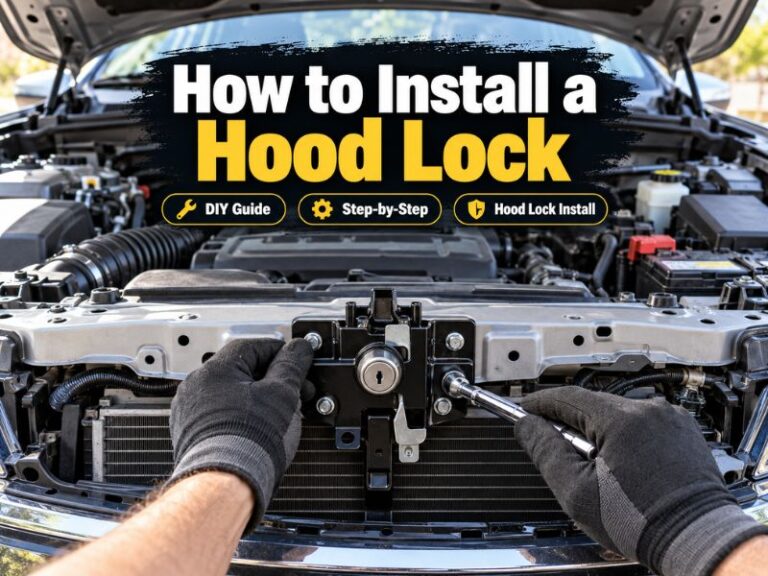
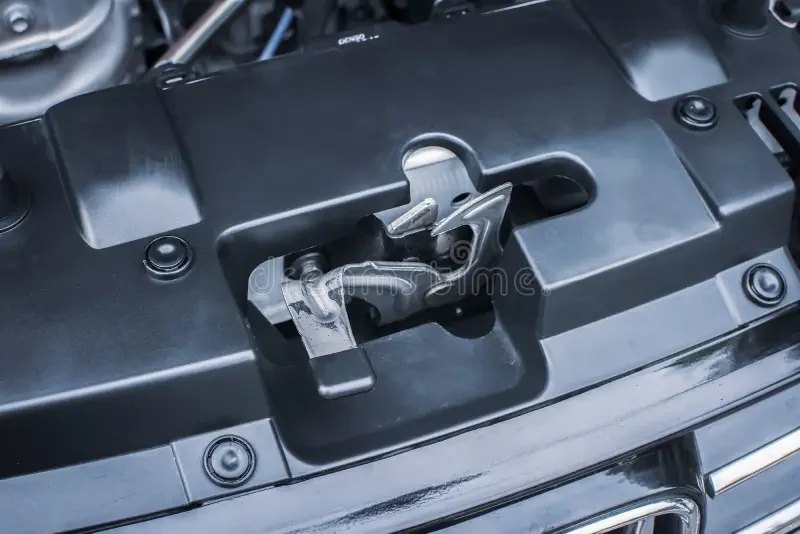
Look at the hood latch near the front center of the engine compartment, usually behind the grille or along the upper radiator support. The latch is the metal mechanism that captures a matching loop, pin, or striker attached to the hood. Some vehicles have two latch points, one on each side.
Check for leaves, ice, thick dirt, or a bent piece of metal that could block the mechanism. Also look at the hood’s front edge and the area around the striker. You are not trying to dismantle anything; the goal is only to identify an obvious obstruction or a latch that is already stuck in the closed position.
If the latch appears dirty, wipe reachable surfaces gently with a cloth. Do not force the mechanism open with a screwdriver, and do not put fingers into a spring-loaded latch while moving the hood. If the latch is visibly broken, detached, or bent, skip to the troubleshooting guidance rather than attempting to close the hood repeatedly.
Step 3 Release the secondary catch if it is engaged
Many hoods have a secondary safety catch, a backup hook intended to keep the hood from flying fully open if the primary latch is missed. If the hood is already slightly raised and will not open normally, reach under the front edge only as the owner’s manual describes and move the safety catch in its intended direction.
Keep your hand away from the central latch jaws and use the designated lever or tab. The location differs by vehicle, and some models use a visible handle while others require reaching through a small opening in the grille. If you cannot identify the catch confidently, stop and consult the manual instead of probing blindly.
After the catch releases, raise the hood fully and support it with the built-in prop rod or gas struts if the vehicle uses them. A prop rod must sit in its intended mounting point; do not rely on a loose rod or on partially extended struts that appear weak.
Step 4 Lower the hood using the method specified for the vehicle
Remove the prop rod from the support position and secure it in its storage clip, if fitted. Hold the hood at its outer edges or at the manufacturer-provided handholds, keeping fingers away from the latch and the meeting surfaces.
Lower the hood until it is a short distance above the closed position. If the manual permits a drop, release it from the specified height so its own weight engages the latch. Do not slam it from high above the fenders.
If the vehicle requires hand pressure instead, lower it fully and press down with both palms over sturdy areas near the front, following the manual’s instructions.
A successful engagement usually produces a distinct click, but sound alone is not enough. The hood should settle into an even position with the front edge aligned with the surrounding fenders and grille. If one corner remains high, do not press harder in random places; reopen it and look for an obstruction or alignment problem.
Important
Never close a hood with your fingers over the latch opening, and never drive while holding the hood down with your hand, a strap, or another improvised method. A damaged latch needs inspection, not extra force.
Step 5 Confirm that the primary latch is holding
Stand in front of the vehicle and examine the hood gap from side to side. The hood should sit evenly without a large raised section near the center or either corner. The release handle inside the cabin should also feel normal rather than pulled out or slack.
Place both hands near the front edge, away from the latch area, and try to lift the hood gently. Use only light upward pressure. A properly latched hood should not open or rise substantially.
This is a check of engagement, not a strength test.
If the hood lifts, stop. Lower it again only after checking the latch and striker for an obstruction or obvious misalignment. Repeatedly dropping or forcing a hood that will not catch can bend the latch, damage the hood, or worsen an existing cable problem.
Step 6 Check the secondary catch and the vehicle warning system
With the primary latch confirmed, gently lift the hood only enough to verify that it does not release unexpectedly. Do not deliberately defeat the primary latch to test the backup while standing in traffic or with your face over the hood. The secondary catch should remain available if the main latch is released, but its exact operation is model-specific.
A useful way to approach how to lock a car hood is to check your progress after each stage.
Close the hood completely and start the vehicle only if the hood is visibly secure. Watch for a hood-open warning light or message on the instrument panel. Some vehicles display a warning immediately, while others show it after the vehicle begins moving.
If the warning remains on despite a hood that appears closed, treat the condition as unresolved. The hood sensor, latch switch, latch position, or wiring may have a fault. Do not assume the warning is only an electronic nuisance.
Step 7 Perform a final low-speed check before normal driving
Before entering a faster roadway, take one last look at the hood from the driver’s seat and through the windshield. The hood should not flutter, sit high, or show an uneven gap. If the vehicle has a hood-open indicator, it should be off after the hood is properly closed.
If you must move the vehicle a short distance to a safer location and the hood is firmly latched with no warning, proceed slowly and avoid traffic when practical. Stop immediately if the hood begins to vibrate, the warning appears, or the view ahead changes. If the hood is not securely latched, arrange roadside assistance or a technician rather than driving normally.
What makes a hood stay locked?
A closed hood is held by the interaction of the latch, the hood-mounted striker or pin, and often a secondary safety catch. The primary latch must rotate or slide into its locked position around the striker. A spring then keeps the mechanism closed until the interior release lever or exterior safety catch is operated.
The hood may look closed even when the striker has only reached the safety catch. That is why a visual check and a gentle lift test matter. A small gap, a hood that can be raised by hand, or a warning message can indicate that the primary latch did not engage.
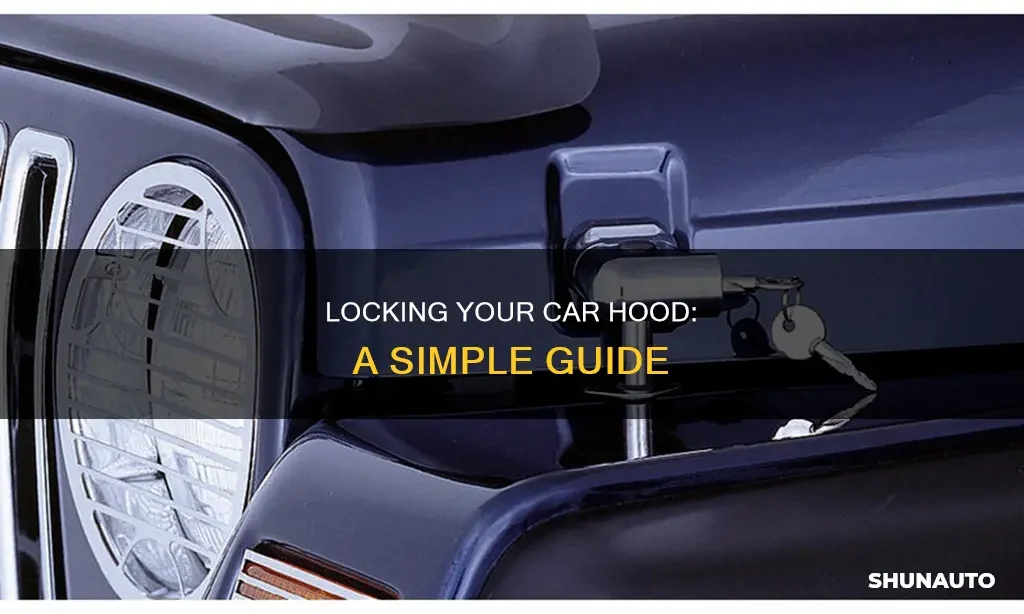
Why a clean latch matters
Dust, road salt, corrosion, and hardened grease can make the latch move slowly or prevent it from returning to its locking position. A light cleaning can remove surface debris, but avoid flooding the mechanism with household oil or a thick product that attracts more dirt.
Use only a lubricant recommended for automotive latches, and apply it sparingly after confirming the owner’s manual does not prohibit lubrication. Keep lubricant away from painted surfaces, rubber seals, electrical connectors, and the engine’s hot components. Lubrication will not correct a bent latch, stretched cable, or damaged mounting point.
How hood alignment affects the lock
The hood must meet the latch at the correct height and angle. A minor change after bodywork, a collision, a damaged hinge, or an incorrectly adjusted rubber hood bumper can leave the striker too high or too far to one side.
Do not adjust the hood hinges, striker, or rubber bumpers unless the service information for the vehicle clearly explains the procedure. These parts affect panel alignment and latch engagement, and an incorrect adjustment can create a hood that appears closed but is not reliably secured.
A simple confirmation checklist
Use this checklist each time the hood has been opened, especially after checking fluids, jump-starting a battery, or adding windshield washer fluid. It takes only a moment but checks more than appearance alone.
- The engine compartment contains no tools, rags, containers, or loose parts.
- The prop rod is returned to its storage clip, or the gas struts are fully clear of the closing path.
- The hood sits evenly against the surrounding body panels.
- The hood does not lift substantially when gently tested at the front edge.
- The interior hood-release handle is in its normal resting position.
- No hood-open warning remains on the dashboard.
- The hood stays still during an initial slow drive.
Check your result
A secure result is observable: the hood is flush and even, does not lift with gentle pressure, and produces no hood-open warning. If any one of these checks fails, do not treat the hood as locked.
What to do when the hood will not latch
A hood that will not lock usually has a specific cause, such as an obstruction, a latch held in the wrong position, a release cable that has not returned, or an alignment problem. Work through only the safe visual checks below. Avoid forcing the hood or reaching into a mechanism you cannot see.
| Symptom | Likely area to check | Safe response |
|---|---|---|
| Hood bounces back up | Obstruction, dirty latch, or striker misalignment | Reopen it, remove visible debris, and inspect alignment; do not slam it repeatedly. |
| Interior release feels loose | Release cable or handle connection | Do not rely on the secondary catch; arrange an inspection if the latch will not engage. |
| One side sits higher | Hinge, rubber bumper, or body alignment | Stop forcing it and seek a body or mechanical inspection. |
| Hood warning remains on | Latch switch, sensor, wiring, or incomplete engagement | Recheck the physical latch; if the warning remains, avoid normal driving. |
The hood is closed but pops up again
First reopen it and look for a forgotten tool, cable, or trim piece near the latch. If nothing is blocking it, inspect whether the latch is sitting in an already-closed position before the hood striker reaches it. A stuck latch may need to be reset by a technician rather than forced with a tool.
The hood will not open after pulling the release
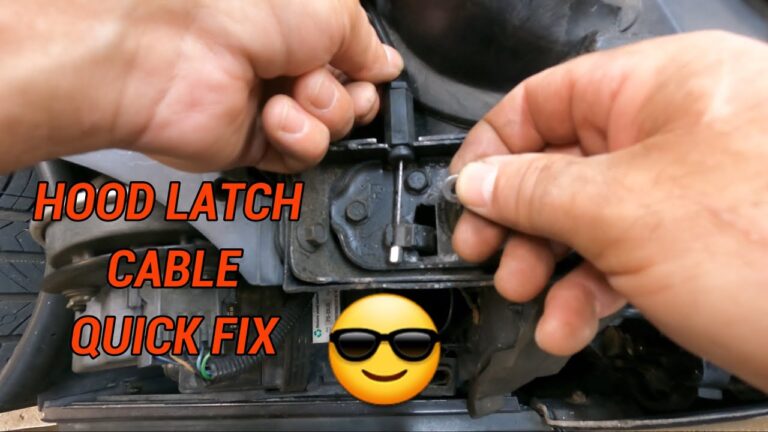
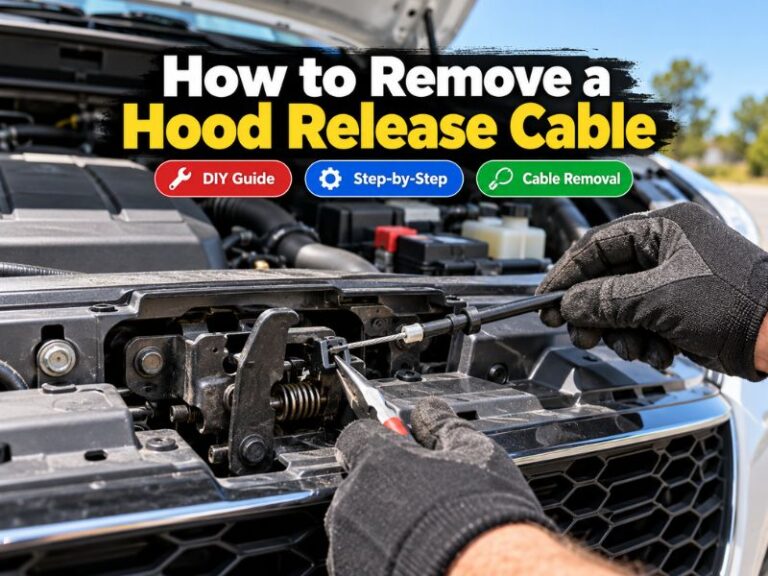
If the interior release operates but the hood does not rise, the primary latch may be under tension or the release cable may be stretched or detached. Have another person operate the interior release while you apply only light downward pressure and then release it, but do not place fingers into the latch. If that does not work, get professional help.
The hood is damaged or shifted after an impact
A collision can bend the hood, latch support, striker, or hinges even when the damage looks minor. In that situation, the question is not simply how to lock a car hood; the complete latch system needs to be checked for reliable operation. Do not drive at normal speed until the vehicle is inspected.
When roadside assistance or a technician is the right choice
Stop and seek qualified help if the latch is cracked, the hood cannot be made flush, the release cable is broken, the hood warning stays on, or the hood rises during a gentle test. Also stop if you would need to remove parts, bend metal, bypass a latch, or place your hands where the mechanism is hidden.
If the hood is unsecured in a driveway or parking area, leave the vehicle parked and keep people away from the front until it is repaired. A temporary strap or cord is not a dependable replacement for the factory latch and should not be used as permission to drive.
Frequently asked questions
Should I slam the hood to make it lock?
No. Use the closing method in the owner’s manual. A controlled drop from the specified height may be correct for one vehicle, while another requires hand pressure.
Slamming the hood can damage the latch, paint, hinges, or panel.
How can I tell whether the hood is really latched?
Check that the hood sits evenly, then apply gentle upward pressure at the front edge away from the latch. It should not rise substantially. Confirm that any hood-open dashboard warning is off.
Do not rely on a click alone.
Can I drive if the secondary safety catch is holding the hood?
No. The secondary catch is a backup feature, not the normal locking position. If the primary latch will not engage, keep the vehicle parked or move it only under appropriate roadside-assistance guidance to a safe repair location.
Why does the hood warning stay on after I close it?
The hood may not be fully latched, or the latch switch, sensor, wiring, or release mechanism may have a fault. Recheck the hood physically. If it is secure but the warning remains, have the system inspected before normal driving.
Is it safe to lubricate a hood latch?
Only if the vehicle’s maintenance instructions allow it and you use a suitable automotive latch lubricant sparingly. Cleaning and lubrication cannot repair bent metal, a broken spring, a damaged cable, or a misaligned striker.
Finish with a physical check, not just a click
Knowing how to lock a car hood means confirming that the primary latch has captured the hood and that the panel stays securely in place. Park safely, clear the engine compartment, close the hood using the vehicle’s specified technique, and test it with gentle upward pressure. Then check the dashboard for any hood-open warning.
If the hood remains raised, shifts after an impact, will not latch, or shows a warning despite appearing closed, do not force it or drive normally. Leave it parked and have the latch, striker, release cable, and sensor inspected before relying on the vehicle again.