How to Stop a Hood Latch From Rattling and Check It After Repair
A rattling hood can make an otherwise normal car sound as if something serious is coming loose. The noise often appears over rough pavement, during acceleration, or when the engine is idling, and it may change when you press lightly on the hood. In many cases, the cause is not a damaged hood panel but a latch that has lost adjustment, a dry mechanism, worn rubber stops, or loose hardware.
You can often correct the problem with a careful inspection, a small adjustment, and the right lubricant. The important qualification is that the hood latch is a safety component: it must hold the hood securely at speed and still release normally from inside the vehicle. If the latch, mounting panel, or release cable is bent or damaged, do not rely on a simple tightening job.
This guide explains how to stop a hood latch from rattling without guessing at the source. You will learn how to locate the noise, inspect the latch and hood supports, make small compatible adjustments, lubricate the mechanism, and confirm the hood is fully secured before driving. The final checks are as important as the repair itself.
At a glance
- A hood can rattle because the latch is dry or misaligned, but worn rubber hood stops can cause the same symptom.
- Make only small alignment changes and keep the hood release path free of lubricant and debris.
- Never consider the repair complete until the hood closes, latches, releases, and stays secure during a careful road check.
How to stop a hood latch from rattling and verify the repair
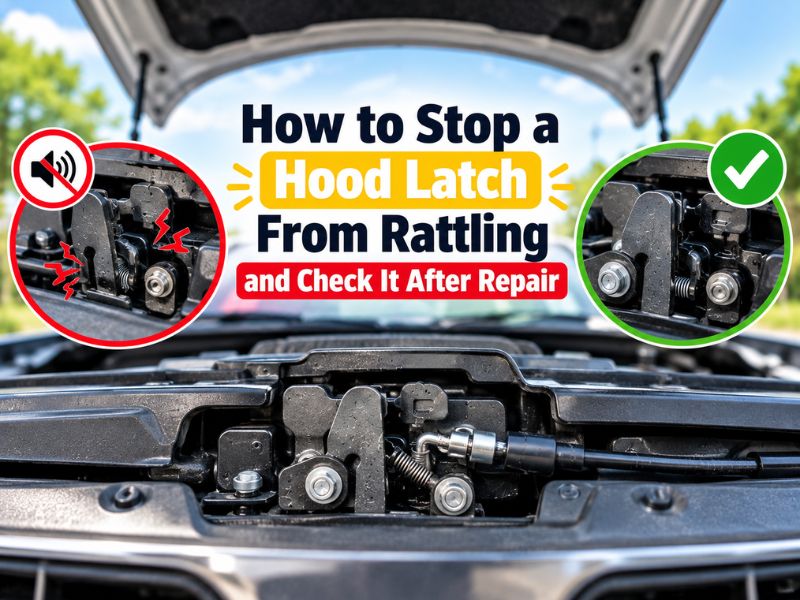
The safest approach is to identify whether the noise comes from the latch area, the hood supports, or a nearby loose part before changing anything. Work with the vehicle parked on level ground, the engine switched off, and the parking brake set. If the engine is hot, wait until the latch area can be handled without a burn risk.
Most latches use a primary catch that holds the hood closed and a separate secondary safety catch that prevents the hood from flying open if the first catch is not engaged. Some designs also use adjustable rubber bump stops that support the hood and prevent metal-to-metal movement. The exact shape and adjustment method vary by vehicle, so use the owner’s manual when it identifies a specific latch or striker adjustment.
Tools you will need
- Flashlight, for seeing the latch, striker, fasteners, and rubber stops
- Clean rag or shop towel, for removing old grease and wiping away excess lubricant
- Appropriate hand wrench or socket, matched to the latch or striker fasteners
- Automotive latch lubricant or white lithium grease, suitable for the vehicle’s metal latch mechanism
- Optional: helper, to operate the hood release while you observe the latch
Step 1 Reproduce the rattle without forcing the hood
Start by confirming what you are trying to fix. With the vehicle parked, press down gently on different areas of the closed hood, especially near the front corners and the center above the latch. Listen for a click, tap, or loose-metal sound, and notice whether the hood moves more than expected.
Do not bounce your weight on the hood or slam it repeatedly. A small amount of movement may be normal, but a distinct rattle or visible gap between the hood and its supports suggests that the latch or bump stops need attention.
If the noise occurs only while driving, ask a helper to listen from inside the parked vehicle while you gently close the doors or press the hood by hand. Do not place anyone in a position near moving traffic to diagnose the sound. The goal is to narrow the source, not to duplicate road speed in an unsafe way.
Important
Do not drive with a hood that will not latch positively, sits visibly higher on one side, or can be lifted after closing. A hood that opens while moving can block the driver’s view and create an immediate crash hazard.
Step 2 Inspect the latch, striker, and hood supports
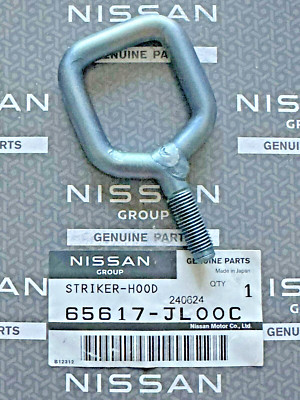
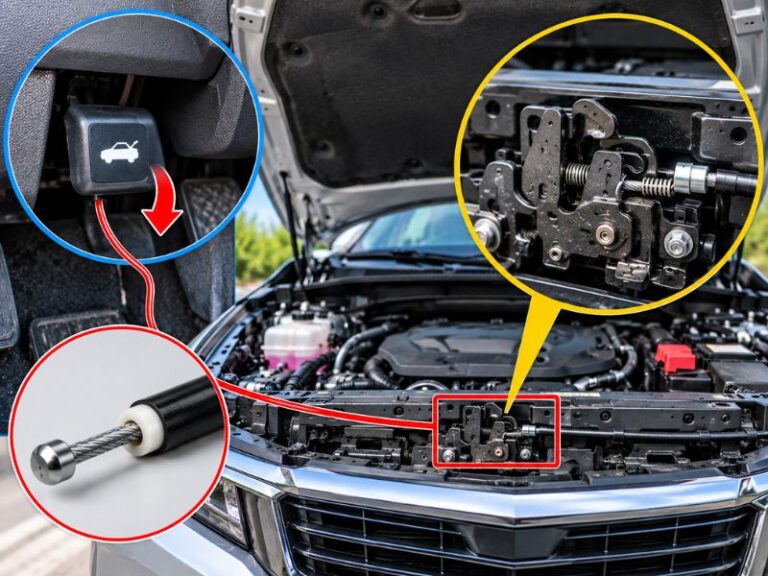
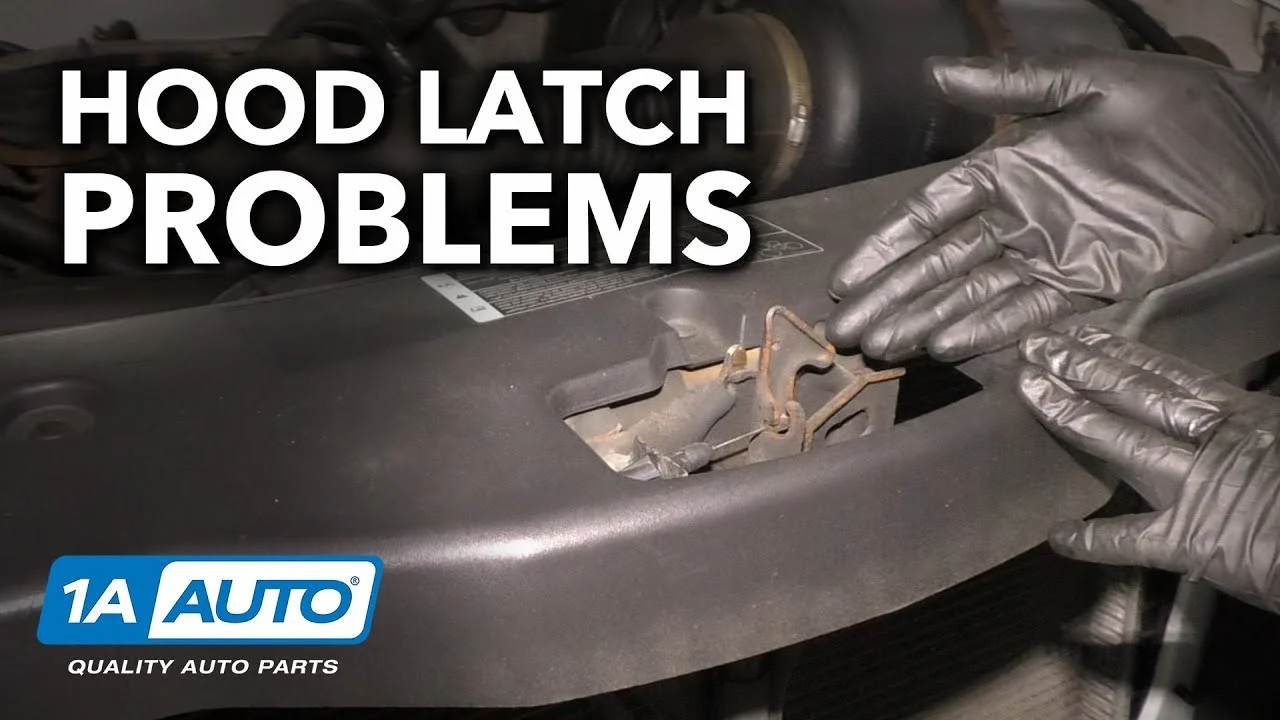
Open the hood using the interior release, then find the latch at the front of the engine compartment. The striker is the metal loop or pin attached to the hood that enters the latch when the hood closes. Inspect both pieces for looseness, bent metal, heavy rust, cracks, or signs that the striker has been contacting one side of the latch.
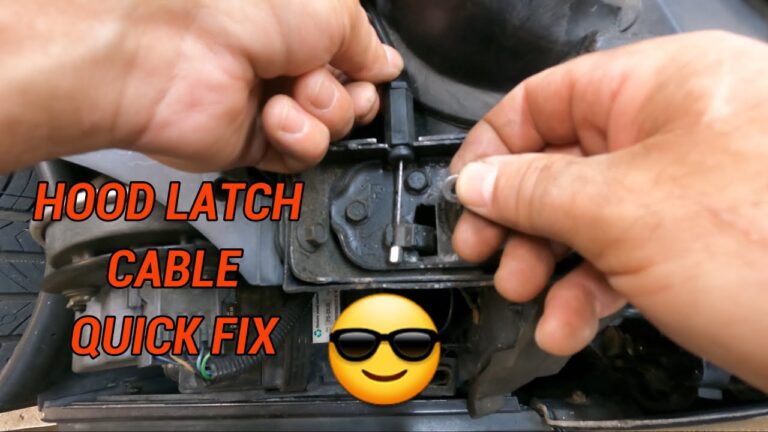
Check the hood release cable where it connects to the latch. It should not be kinked, frayed, or held under unusual tension. Also look for a latch spring that is broken or weak, and make sure the secondary safety catch moves freely when you operate it by hand only as directed by the vehicle design.
Next, locate the rubber hood bump stops. These are usually adjustable rubber pads near the front corners or along the hood’s support areas. They should be present, reasonably soft, and positioned to support the hood without pushing it so high that the latch cannot engage.
Inspect nearby items while the hood is open. A loose grille, headlight bracket, radiator support cover, air-intake duct, or plastic trim can sound like a hood rattle even when the latch is working correctly. Tighten or secure a clearly loose non-latch component only if you can identify its proper fastener and it does not affect the hood’s closing path.
Step 3 Clean the contact points and check for interference
Use a clean rag to remove dirt, old hardened grease, and loose debris from the visible latch surfaces, the striker, and the area around the rubber stops. Do not spray cleaner deep into the latch without checking the product instructions; some cleaners can strip useful lubricant or damage nearby plastic and paint.
Look for paint buildup, a displaced rubber seal, wiring, or a piece of trim touching the latch or striker. Even a small obstruction can keep the latch from reaching its normal locked position. The hood should approach the latch evenly rather than sliding sideways into it.
With the hood still open, operate the interior release and observe the latch movement. It should return to its normal resting position when the release is let go. If the mechanism sticks, fails to return, or feels disconnected from the cabin release, stop before adjusting it.
A release problem may require cable or latch replacement rather than lubrication.
Step 4 Lubricate the latch without contaminating the release path
Apply a small amount of automotive latch lubricant or white lithium grease to the moving metal contact points, including the rotating catch and the surfaces where the striker is held. A thin coating is enough. Excess grease collects dust and can migrate onto the release cable, rubber parts, painted surfaces, or the secondary safety catch.
Move the latch through its normal motion only if your vehicle’s design allows it to be safely manipulated with the hood open. Keep fingers clear of the rotating catch, and do not use a screwdriver to force the latch shut unless the service instructions specifically call for that procedure. If the latch closes accidentally while the hood is open, the hood may not open normally until the interior release is operated.
After applying lubricant, work the mechanism several times through its normal release movement. Wipe away visible excess. The result should be smooth movement without binding, grinding, or a loose springing sensation.
Step 5 Make a small latch or striker adjustment only when alignment is clear
If the latch and striker are visibly off-center, or if the hood sits unevenly when closed, an adjustment may remove the rattle. Before loosening anything, use a marker or a small piece of tape to mark the original position of the latch or striker. This gives you a reference and makes it easier to return to the starting point.
A useful way to approach how to stop a hood latch from rattling is to check your progress after each stage.
Loosen the relevant fasteners only enough to allow controlled movement. Do not remove the latch or striker. Move it a very small amount in the direction needed to center the striker in the latch, then snug the fasteners while keeping the part square.
The correct direction depends on the vehicle, so avoid assuming that moving the striker inward or outward is always the answer.
Close the hood gently from a low height and inspect the gaps around the front edge. It should sit level with the surrounding fenders and grille, and the release should still operate normally. If the hood now requires excessive force, pops back up, or sits higher than before, return to the marked position and reassess.
Do not use latch adjustment to compensate for a bent hood, crushed radiator support, damaged latch mounting panel, or a missing body component. Those conditions can make a seemingly secure hood unreliable.
Helpful tip
Adjust one component at a time. Changing the striker, latch, and rubber stops together makes it difficult to tell which change helped and can create an unsafe over-tightened or misaligned hood.
Step 6 Set the rubber hood stops without preloading the hood
If the latch is centered and the hood still moves against its supports, inspect the adjustable rubber bump stops. On many vehicles, turning a stop raises or lowers it, but the direction and locking method vary. Make a small change to one stop, then compare the hood’s height and movement with the opposite side.
The stops should support the hood and prevent shaking while allowing the primary latch to close fully. They should not force the hood upward so hard that the latch is under constant pressure or the hood cannot sit flush with the surrounding body panels.
When the hood is closed, check that the front edge is even from side to side and that pressing lightly near each corner does not produce a sharp tap. If one stop is missing, split, or permanently flattened, replace it with the correct part rather than compensating by over-adjusting the latch.
Step 7 Close and test the hood in a controlled sequence
Before closing the hood, remove tools and rags from the engine compartment and confirm that no cable, wiring, or trim is in the latch path. Lower the hood from the manufacturer’s recommended height or let it settle gently if the vehicle instructions specify that method. Do not slam it repeatedly to make it catch.
After the first closure, look through the gap at the front edge if possible and confirm that the hood is level. Pull upward gently at the front edge without putting your body weight on it. A properly latched hood should not rise or release from this light check.
Then operate the interior hood release. The hood should pop up slightly or otherwise respond as designed, after which the secondary safety catch should prevent full opening until you release it at the front. Close the hood again and repeat the gentle upward check.
If the release handle feels loose, the hood does not pop up, or the secondary catch does not hold the hood, stop using the vehicle until the fault is corrected. Smooth lubrication cannot make a broken latch safe.
Step 8 Confirm the result with a short, cautious road test
Once the stationary checks pass, drive only in a safe area at low speed. Listen for the original rattle over a few ordinary surface changes, without intentionally hitting potholes or rough pavement. Keep the first test short enough that you can return and recheck the hood immediately.
After stopping, inspect the hood position again. It should remain level and fully closed, with no new gap, vibration, or change in the release handle. If the noise remains, do not keep tightening parts at random; return to the inspection and consider that the sound may come from nearby body hardware or a damaged latch.
A successful repair has three parts: the rattle is gone or clearly reduced, the hood sits correctly, and the primary and secondary retention systems work normally. If any one of those conditions is missing, the task is not complete.
Why a hood latch rattles in the first place
A hood latch rattles when a part that should be held under light, controlled contact has too much clearance or can move against another surface. The latch may be dry, the striker may be slightly misaligned, or the hood may be resting on worn bump stops instead of being held firmly in its intended position.
Normal vibration from the engine and suspension can expose a small amount of looseness. The sound may be intermittent because the hood shifts only when the vehicle twists, brakes, accelerates, or crosses a particular type of pavement.
Common causes and what they usually look like
| Likely source | Observable clue |
|---|---|
| Dry or dirty latch | The latch feels stiff, sounds gritty, or improves temporarily after careful lubrication. |
| Misaligned striker | The hood sits unevenly, the striker contacts one side, or closing requires sideways pressure. |
| Worn hood bump stops | The hood can be pressed down and released with a tapping sound or excessive front-edge movement. |
| Loose latch hardware | The latch or its mounting bolts visibly move when the hood is pressed or the release is operated. |
| Nearby trim or bracket | The rattle remains even when the hood latch is firmly engaged and the sound comes from one corner or behind the grille. |
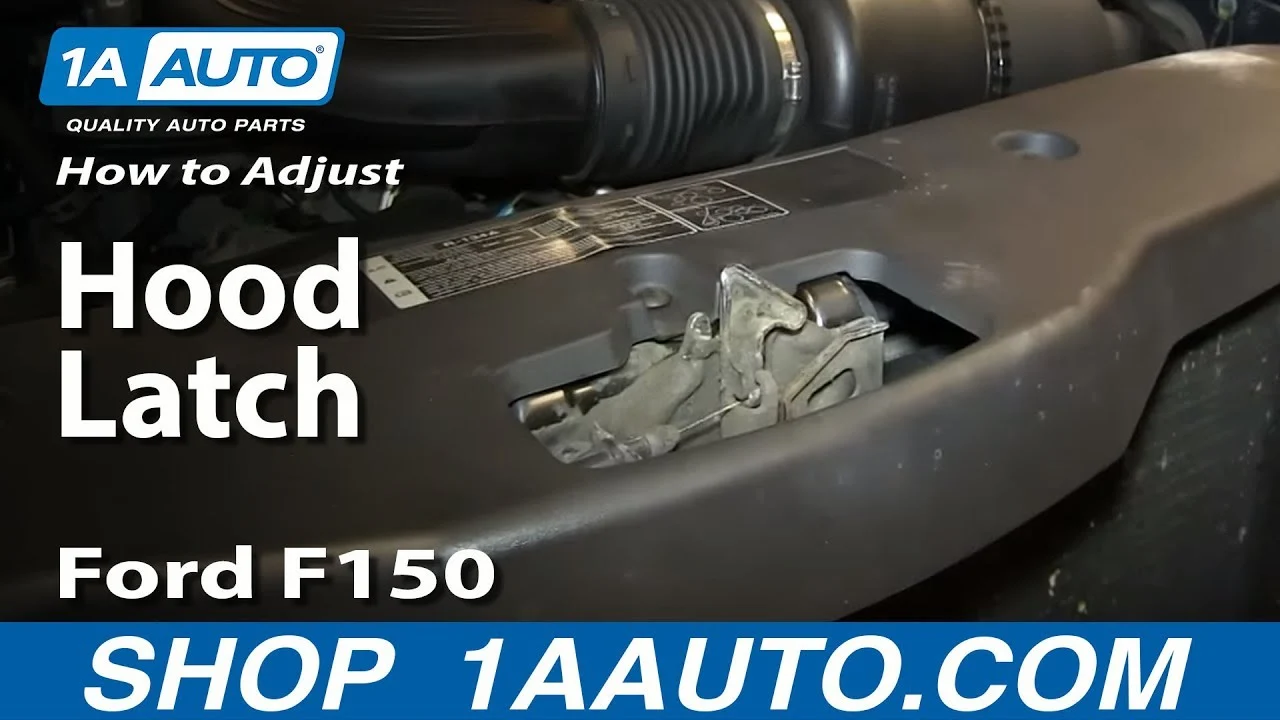
Some vehicles use a hood latch assembly with a separate adjustable striker, while others position the latch itself on a movable bracket. The repair principle is the same—restore correct alignment and firm support—but the fasteners, access, and adjustment direction are not universal. Understanding how to stop a hood latch from rattling also means recognizing the limits of the method.
If your vehicle has a powered hood, active pedestrian-protection system, or unusual hood-release mechanism, do not disturb sensors, actuators, or pyrotechnic components while chasing a noise. Use the service information for that model or have the system inspected by a qualified technician.
How to verify the hood is actually secure
A quiet hood is not enough evidence that the repair worked. Verification should establish that the hood is aligned, the latch is fully engaged, the secondary catch functions, and the release cable still works without excessive force.
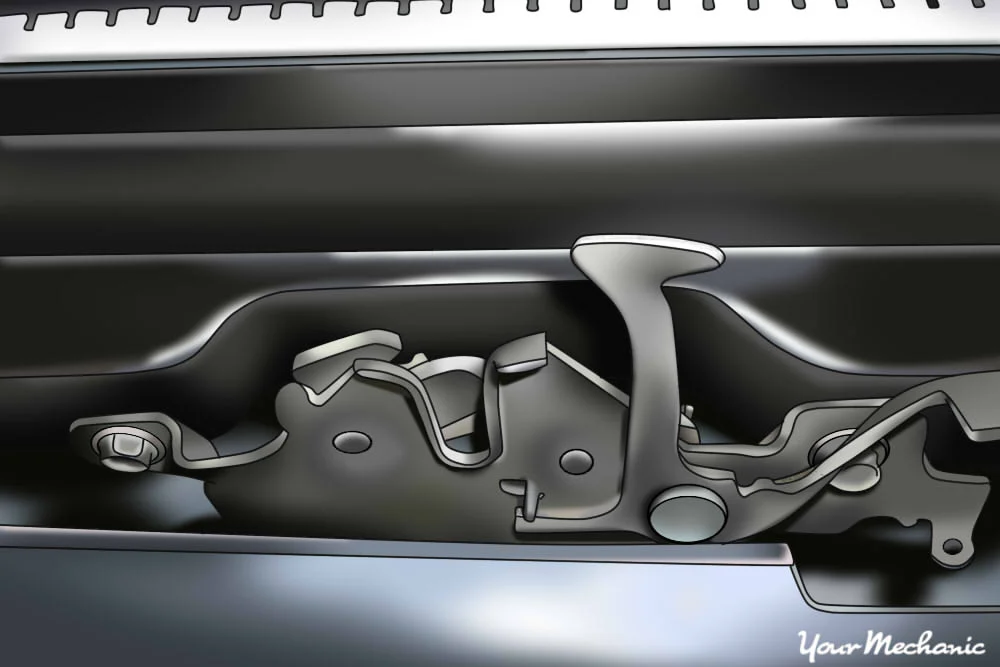
Use the visual and hand checks together
Stand in front of the vehicle and compare the hood’s front edge with the grille and fenders. Uneven gaps, one high corner, or a hood that sits proud of the body may indicate excessive bump-stop height or poor latch alignment.
With the hood closed, use both hands to apply gentle upward pressure at the front edge. Do not jerk the hood or lean on it. It should remain held in place, and there should not be a distinct clunk from the latch area.
Open the hood using the normal cabin release, then test the secondary safety catch. This catch is not a substitute for the primary latch, but it should prevent the hood from opening fully if the first catch is released. If the secondary catch does nothing, repair the problem before driving.
Know when the noise points to damage
Stop adjusting and seek qualified help if you find a bent striker, cracked latch bracket, torn mounting metal, a frayed release cable, or a latch that will not remain in its closed position. These faults can require replacement parts or body repair, and forcing alignment can weaken the mounting area further.
Professional inspection is also sensible after a front-end collision, even when the hood appears to close. A slightly shifted radiator support or hood hinge can change latch geometry in a way that is difficult to judge from the outside.
Troubleshooting a rattle that remains
If the hood still rattles after cleaning, lubrication, and a careful alignment check, avoid repeating the same adjustment with increasing force. A persistent noise usually means the source was misidentified or a worn part needs replacement.
The hood is quiet when pressed but rattles on the road
Inspect the grille, headlight assemblies, air-intake duct, radiator support cover, and plastic splash shields near the front of the vehicle. Road vibration can make any of these parts sound like a hood latch, particularly when the noise comes from one side.
Check for missing clips and fasteners, but do not remove trim simply to reach a suspected noise unless you know how it is retained. Broken plastic clips may need replacement, and a loose headlight or grille bracket can require a different repair from the hood latch.
The hood is difficult to close after adjustment
The striker or latch may have been moved too far, or a rubber bump stop may be holding the hood too high. Return to the marked original position and make only one small change at a time. The hood should close with normal hand pressure and should not need to be slammed.
Also check that the latch is not already in its closed position while the hood is open. If it is, the striker cannot enter correctly. Operate the release as designed to reset the latch before attempting to close the hood.
The hood releases, but the rattle comes back
Recurring noise can indicate a worn latch spring, enlarged mounting holes, a loose fastener, flattened bump stops, or a striker that is no longer round and smooth. Lubricant may reduce friction without correcting mechanical wear.
Replace damaged rubber supports or worn latch components with parts compatible with the vehicle. Do not substitute a random bolt, washer, or piece of rubber in the primary retention system.
The release handle feels loose or stays near the floor
A loose cabin handle may mean the cable has stretched, come out of its retainer, or partially failed. Because the driver may need to open the hood in an emergency, a questionable release cable should be repaired before normal driving rather than hidden with latch adjustment.
Hood latch rattle questions beginners often ask
Can I use penetrating oil on a rattling hood latch?
Use it only if the product is appropriate for the latch and you follow the label, then apply a proper latch lubricant afterward if needed. Penetrating oil can help loosen corrosion, but it is not always a lasting lubricant and may wash away existing grease.
Should I tighten the hood latch bolts as much as possible?
No. Tighten them to the vehicle manufacturer’s specification when available, or at least keep the fasteners secure without over-tightening and distorting the bracket. Excessive force can damage threads or pull a latch out of alignment.
Why does the hood rattle after the latch was lubricated?
Lubrication helps friction and sticking, but it does not repair worn bump stops, loose fasteners, a bent striker, or nearby trim. Recheck the hood’s support points and inspect surrounding hardware instead of adding more grease.
Can worn rubber hood stops make the latch seem loose?
Yes. Flattened or missing stops allow the hood to move and tap against the latch or body. Replace them with the correct type, then confirm that they support the hood without preventing full latch engagement.
Is it safe to drive if the hood has a small amount of movement?
Only if the hood is fully latched, level, and passes the gentle upward check and secondary-catch test. Any uncertainty about whether the primary latch is engaged is a reason not to drive until the system is inspected.
Confirm the latch before treating the rattle as fixed
Learning how to stop a hood latch from rattling is mostly a matter of finding the real source, restoring clean and correct contact, and resisting large adjustments. Inspect the latch, striker, release cable, bump stops, and nearby trim; lubricate only the proper moving surfaces; and make alignment changes in small, reversible increments.
Finish with the visual check, gentle upward check, release test, secondary safety-catch test, and a cautious road check. If the hood will not latch positively, the release does not work normally, or any mounting metal is damaged, stop and arrange a qualified inspection. A silent hood is useful, but a securely retained hood is the result that matters.